Base-building basics
Let’s talk about the basics when it comes to the build menu and related concepts.
General tips
Here are some general tips to consider for your Valheim base:
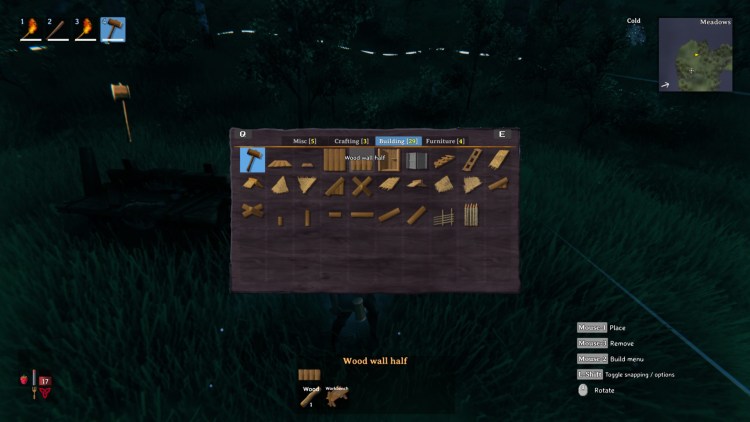
- Right-click when you have the hammer equipped to open the build menu. You’ll need a nearby Workbench for various objects in the crafting, building, and furniture tabs.
- Highlight an object with your cursor and click the middle mouse button to dismantle it. You can pick up the resources you’ve used.
- There are times when objects won’t automatically “snap” when placed next to another piece. You’ll have to jiggle or walk around until the pieces fit.
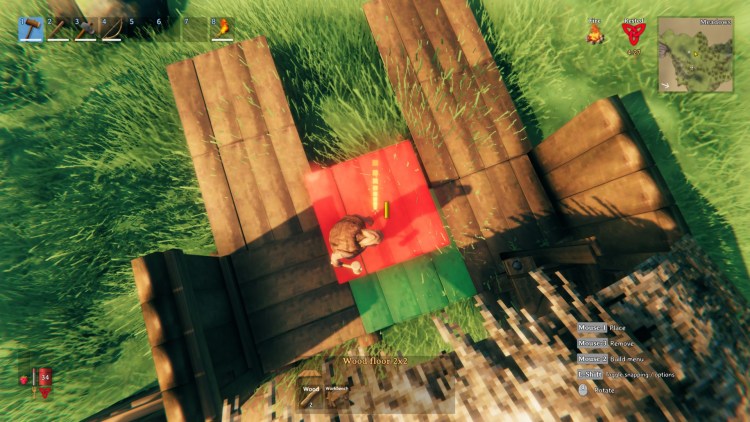
- If you don’t want objects to snap together, you can hold the “shift” key. This will let you freely place an object while ignoring any surfaces that it can be attached to.
- Take note of structural integrity and ventilation.
The Workbench’s shed or hut
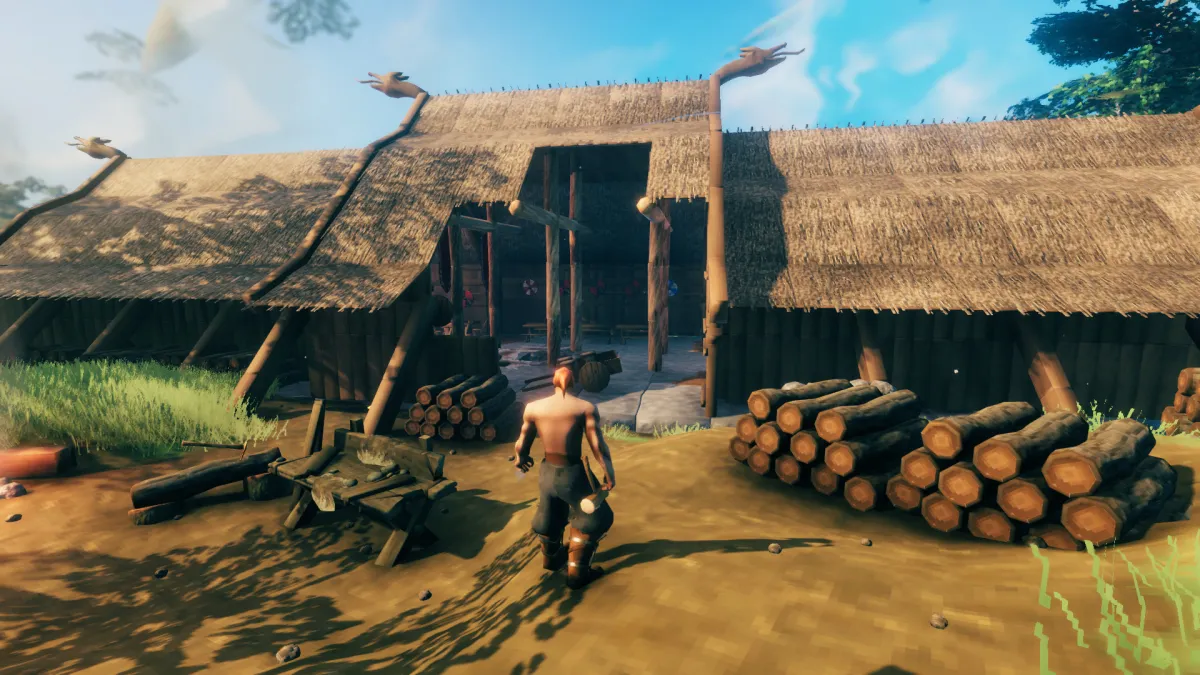
As mentioned in our basic crafting tips, your Workbench should be surrounded by a few walls and covered by a roof. Think of it as though you’re building a shed or a hut with one side that’s open. That’s if you want to interact with the Workbench for crafting actions such as making starter gear or repairing tools. You’ll probably need to repair your hammer anyway since it’ll slowly lose durability the more stuff you construct.
With that initial part done, you’ll want to expand a bit to build your first base. Ideally, you’ll want to be surrounded by flat tiles (though this can be remedied shortly). Likewise, it’s a bad idea to start plopping down wood floors. Instead, my suggestion, at least for your first base, is to simply add more walls and thatched roof pieces around it.
All right, let’s talk about structural integrity and proper object placement.


Published: Feb 18, 2021 08:15 am