The basics
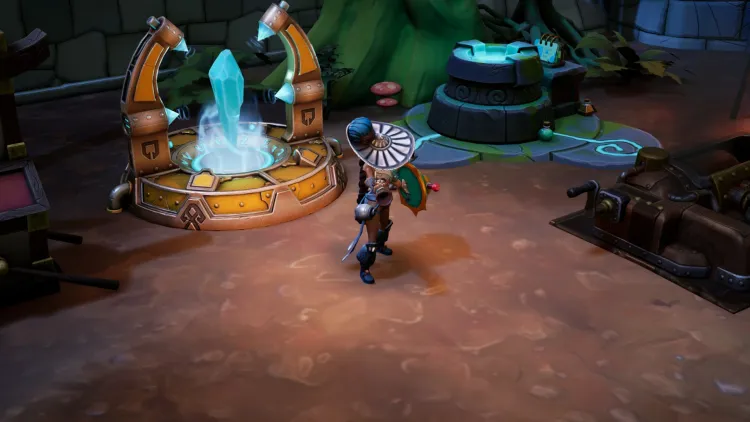
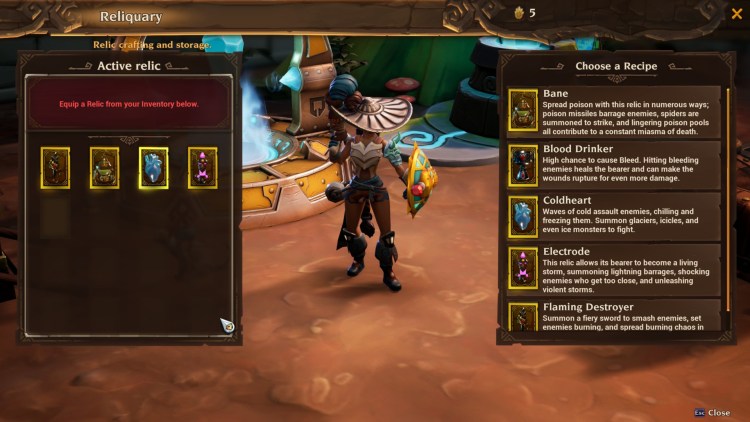
In order to equip relics in Torchlight III, you must first complete a short tutorial quest where you’ll defeat a boss in the Fields of Unrest – The Chasm. You’ll then be directed to your fort to construct a Reliquary. Accessing the Reliquary allows you to unlock and equip relics for your characters.
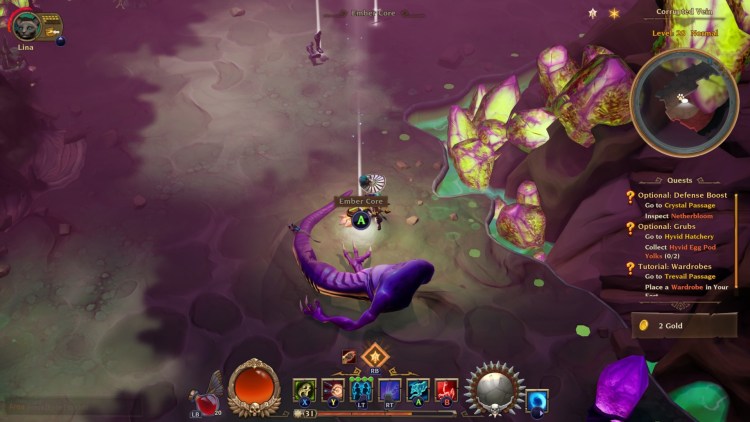
You can only activate one relic at a time and unlocking a new one costs 24 ember cores. The ember cores themselves are common drops found when killing bosses in Torchlight III‘s regular areas as well as those in Mapworks Portals.
If you want to switch to a relic you’ve already unlocked on that character, then you don’t need to worry since that won’t cost a thing. As for your alts, you won’t need to spend ember cores either, and the relics will retain the levels and progress you’ve had on your main character. It’s possible for your alts to run around using maxed-out relics if need be.
Note: You must unequip upgraded relics used by certain characters if you want them to become available for your alts.
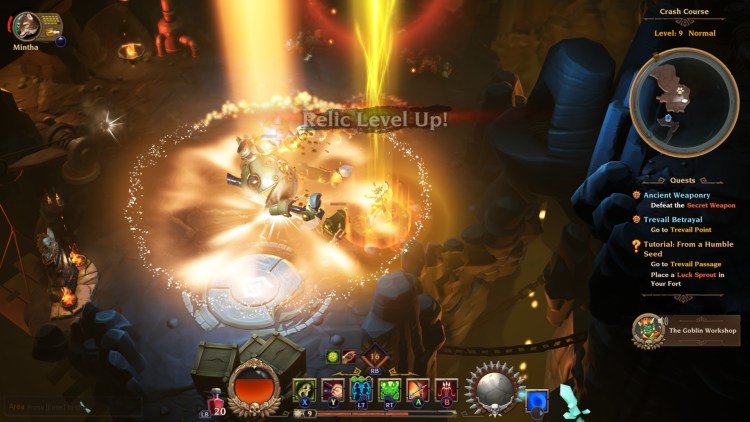
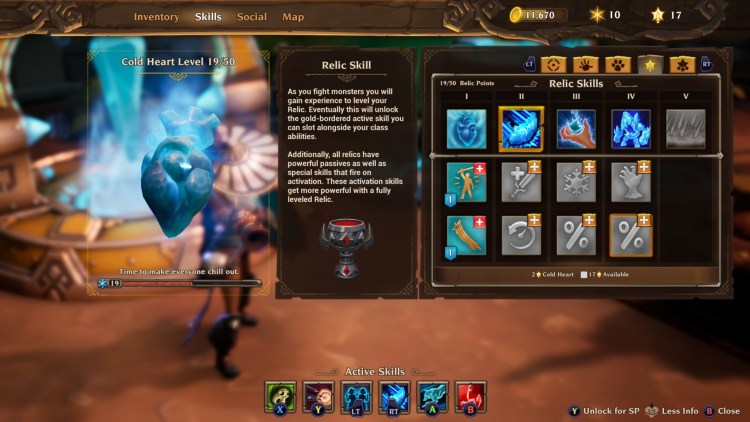
Speaking of level-ups and upgrades, relics gain ranks via XP and each level-up confers a relic skill point. These upgrades can reach up to rank 10 to provide additional boosts.
Here are some additional details:
- The relic’s main ability is unlocked by default and there are two upgradable perks related to it. The main ability only lasts for a short period and it has a lengthy cooldown.
- An additional active skill that can be hotkeyed is unlocked once your relic reaches level 5. There are also two upgradable perks solely related to this active skill.
- Two passive perks for the relic are unlocked at levels 10 and 15 respectively and they each have two upgradable boosts.
- The final passive is unlocked at level 30. It has no upgradable perks.
- Relic passives are automatically enabled once you reach those levels.
- Certain relic perks synergize well with some legendary items or the passives you’ve unlocked via the Legendarium.
Next up, let’s discuss the Bane (poison) relic.




Published: Jun 27, 2020 04:15 am