Ritual Ashes of the Sker Hotel is a tricky map full of twisting passages and cryptic puzzles. If you’re struggling, let me help you with our Sker Ritual Ashes of Sker Hotel guide: Full walkthrough and all objectives.
How to complete every objective in Sker Ritual: Ashes of Sker Hotel
Sker Hotel is brutal to navigate, so expect the story to take a few goes until you’ve familiarized yourself with the map layout. I found the lighting in this stage particularly obnoxious, to the point where I changed my graphics settings. I turned my Gamma up and also turned Volumetric Fog off. You can find this right at the bottom of the graphics menu.
There are multiple objectives to complete in the Sker Hotel, so let me explain each one step by step.
Refuel the Teleportation Platform
Your first mission is to restore power to the Teleporter in the middle of the Grand Hall. You’ll be coming back here often, as it’s like a central hub for the map. Grab the Canister by the Teleporter and open the door to your left.

Head downstairs, and you’ll see a room full of purple fumes. There are four targets on the walls to shoot in here, but the fumes will kill you if you stay too long. Fortunately, you can hit three of them from the doorway. There’s a target tucked in the right corner of the room, and you can briefly enter and shoot it before taking fatal damage.
The fumes will dissipate when you hit every target, allowing you to get inside. Interact with the receptacle to the left to place the canister. This room is the Basement Furnace, and I recommend memorizing the location, as the Super Charger machine is here. Once you’ve placed the canister, stand in a circle near the receptacle while the progress bar on the left fills up. Finally, grab the canister, interact with the marked receptacle in the Grand Hall, and then interact with the Teleporter.
Failure to Launch
Your next mission is to do the same thing again for three other receptacles near the Grand Hall. The issue is finding the canisters in the first place, as they have random spawns. I found one in the corridor behind the staircase in the Grand Hall.
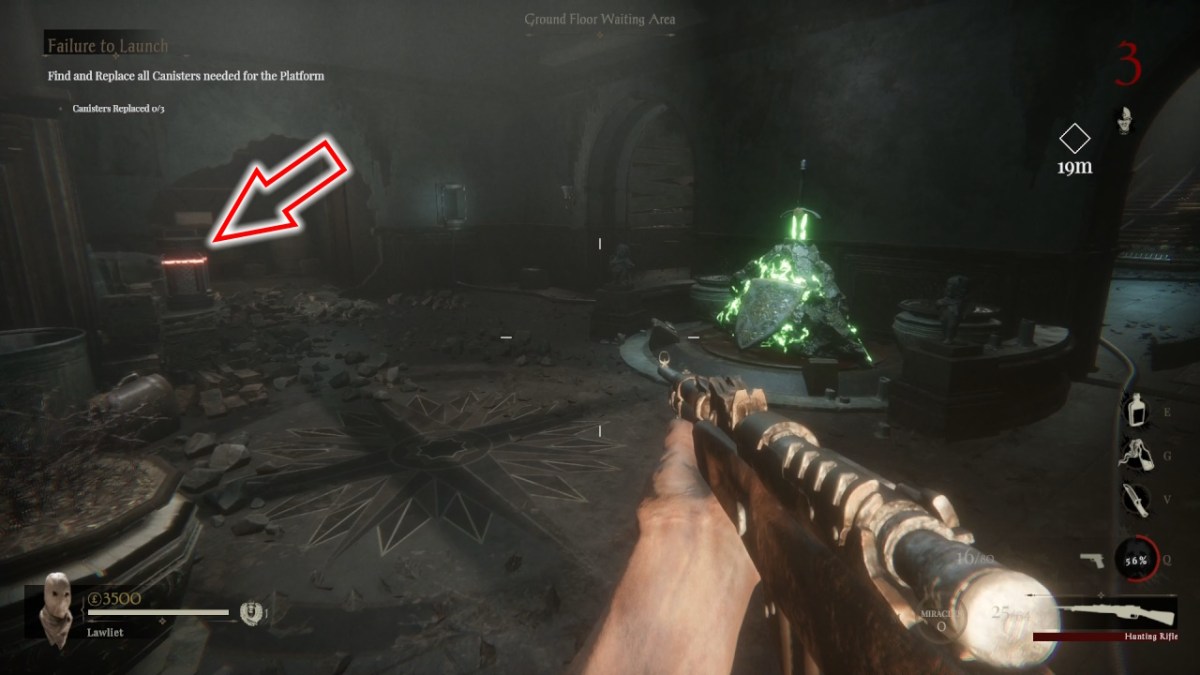
I found another in the room just behind the Grand Hall near the green sword (pictured above).
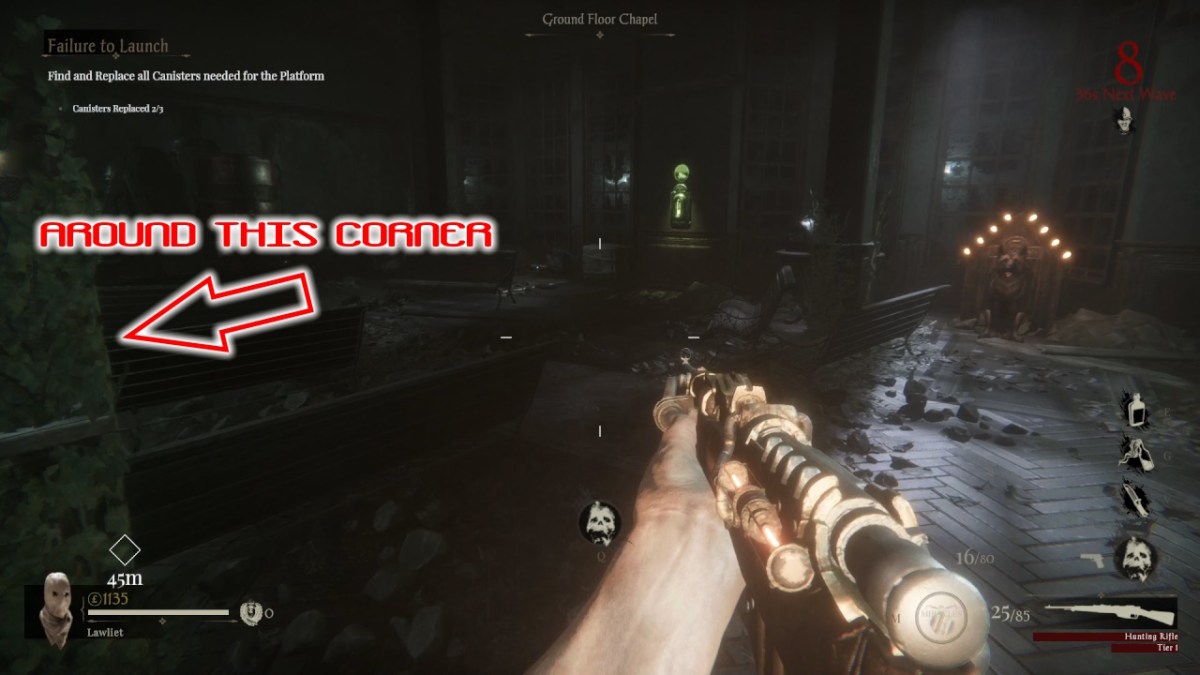
The final canister took me a while to find, as I had to open two more doors on the ground level to reach it. It was in the Ground-Floor Chapel, which is through the door dead opposite the first one you opened to access the Basement Furnace.
Strange Places
With every canister in place, you’re finally ready to use the Teleporter for the first time. You’ll arrive in a room with a chest directly in front of you when you teleport. Open the chest, and five Killerwatts (electric zombies) will spawn. Defeat them and the Howler will appear in the chest you opened. Oddly enough, the Howler costs £2000, but it’s an essential purchase and is required for the quest.
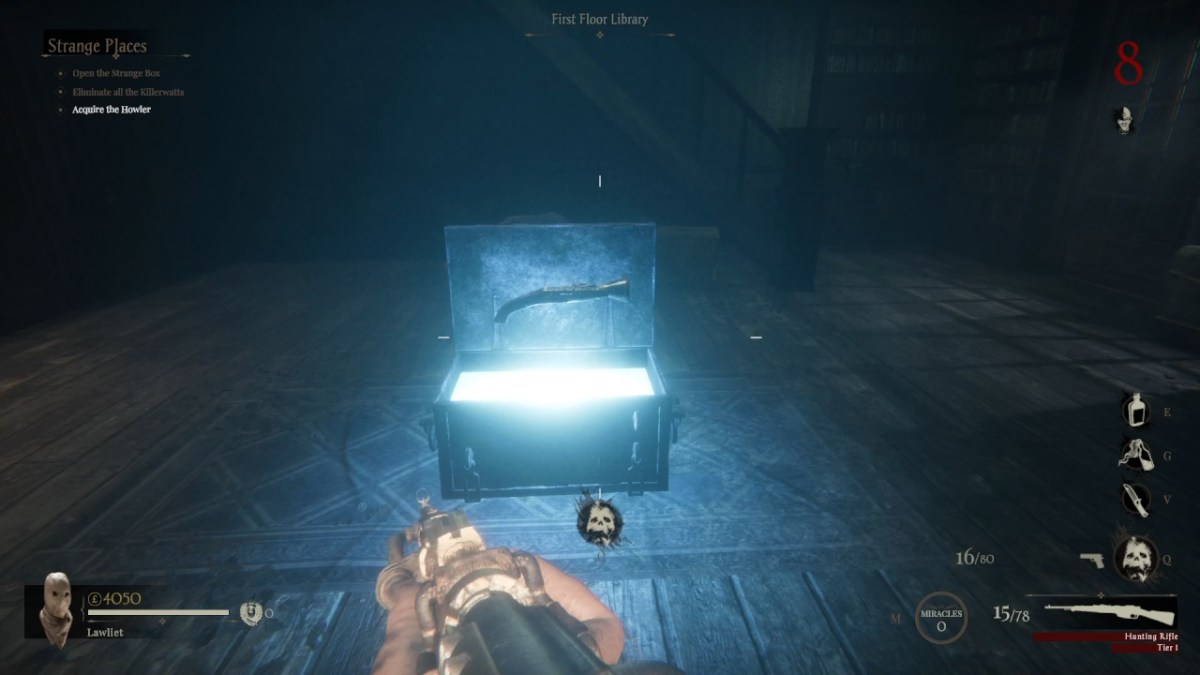
The Howler is a fantastic weapon and deals a ton of damage. It’s so good that I put it through the Super Charger twice during my run and used it as my primary weapon. It hits hard and is pretty ammo-efficient as well.
How to use the Howler in the Dark to Enter the Cryptic Code
This is one of the most confusing steps in the story for this level. You’ll need to head downstairs for this one, so go down the staircase toward the Basement Furnace and turn right instead of left to access the rest of the underground rooms.
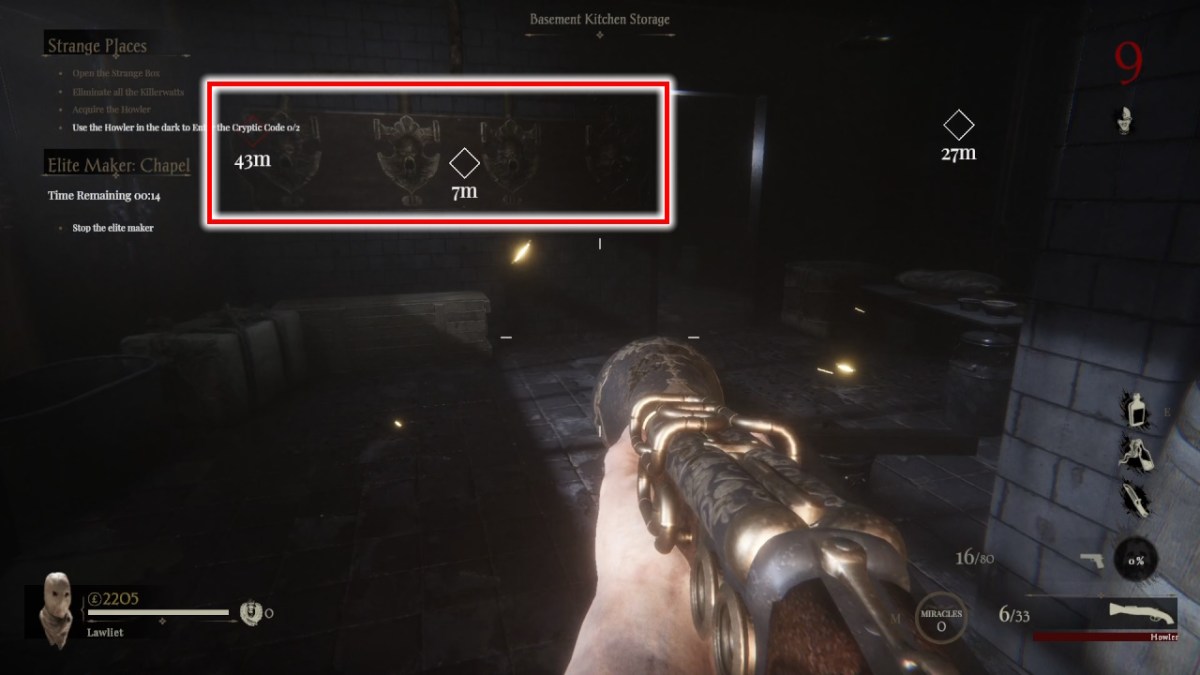
When you reach the navigation marker, you’ll see four heads on the wall (pictured above), each with a number underneath. You have to shoot the heads with the Howler in a specific order, but you can’t see that order until there’s a ‘dark round.’

These rounds are brutal as a ton of Killerwatts spawn, but a code appears on the wall, showing the order. Once you’ve shot the heads in the correct order, you’ll need to do so again in another location. Head back to the Grand Hall and toward the Ground Floor Chapel to find the Ground Floor Manager’s Office. I recommend memorizing where this room is, as there’s an accessible ammo machine.
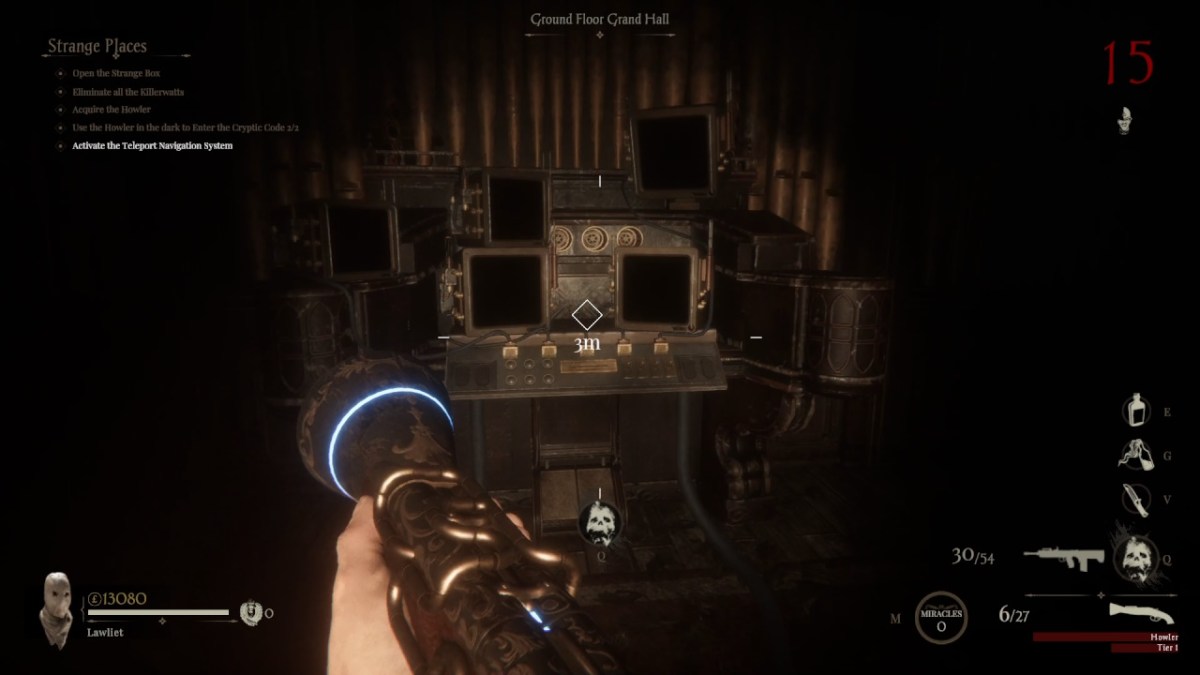
Once you’ve entered the codes, head up the stairs in the Grand Hall and interact with the Navigation Machine at the top.
Retrieve the Punch Cards
You can use the Navigation Machine to pick the teleporter destination. It looks complicated, but it’s simpler than you think.
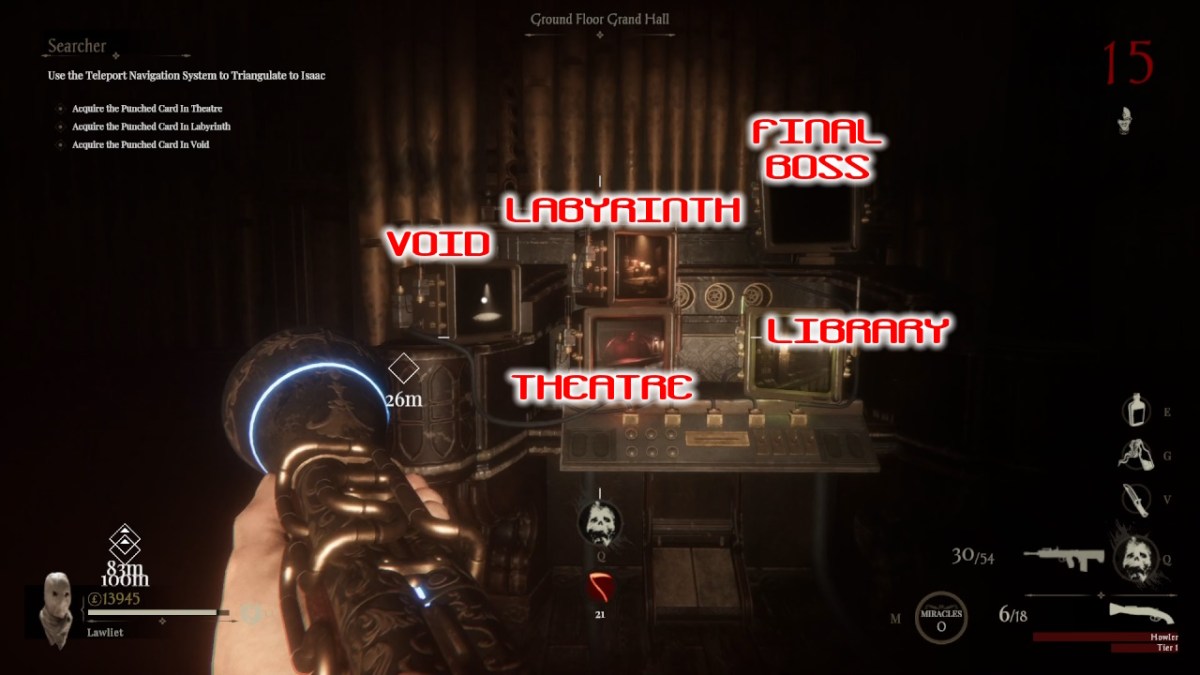
I’ve labeled where each screen will send you in the picture above. You can tackle these objectives in any order you wish, but here’s the route I used. After each task, return to the machine to pick a new destination.
Theater
Teleport to the theater and interact with the green button. After a few seconds, a creepy animatronic rat will appear on the stage. Your objective is to find five parts to finish building it.
Fortunately, these parts always spawn in the same locations.
The first one is on a seat in the theater room itself. Once you have it, teleport back to the Grand Hall, and you’ll find another next to one of the canister receptacles.
You can switch the teleporter destination to The Library for easy access to the next part. Enter the teleporter, and it’s right in front of you.
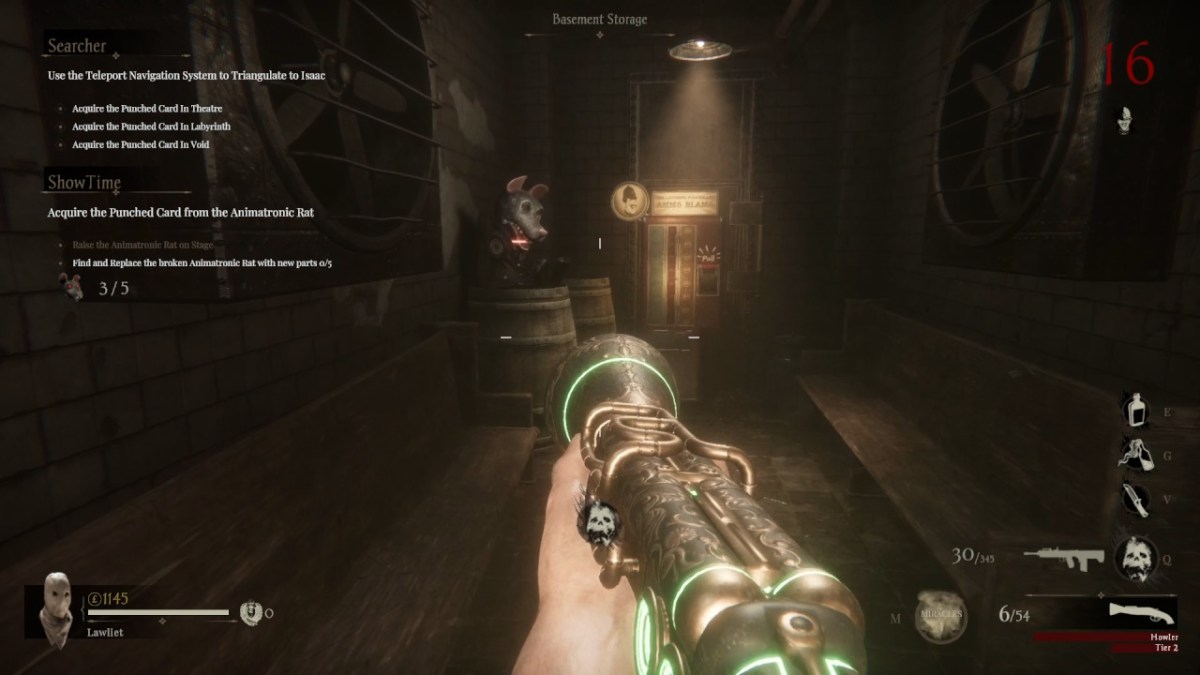
For the penultimate part, return to the main room and downstairs to the Basement Furnace. Walk past the Super Charger and around the corner, and you’ll find the item near another ammo machine.

The final piece is by the first Cryptic Code you solved in the basement (pictured above).
Once you have all five animatronic parts, return to the theater and finish building the rat. Now, all you need to do is power up your furry friend.

While you’re on this step of the mission, Killerwatts will drop batteries when killed (pictured above). You need 10 to power the rat.
The issue is that this can take multiple rounds. I took three rounds to do this part and stayed in the main room to do so. The main room is great, as you can hide behind the stairs and use the ammo machine in the Manager’s Office.
When you have 10 batteries, return to the rat and hand them over. Frustratingly, you must deliver the batteries one at a time, so you may want to do it between rounds.
You can collect your first punched card once you’ve powered up the rat.
The Void
This place is horrifically dark unless you turn your brightness up. Fortunately, the objective is simple. Kill enemies while you’re standing inside the circle.
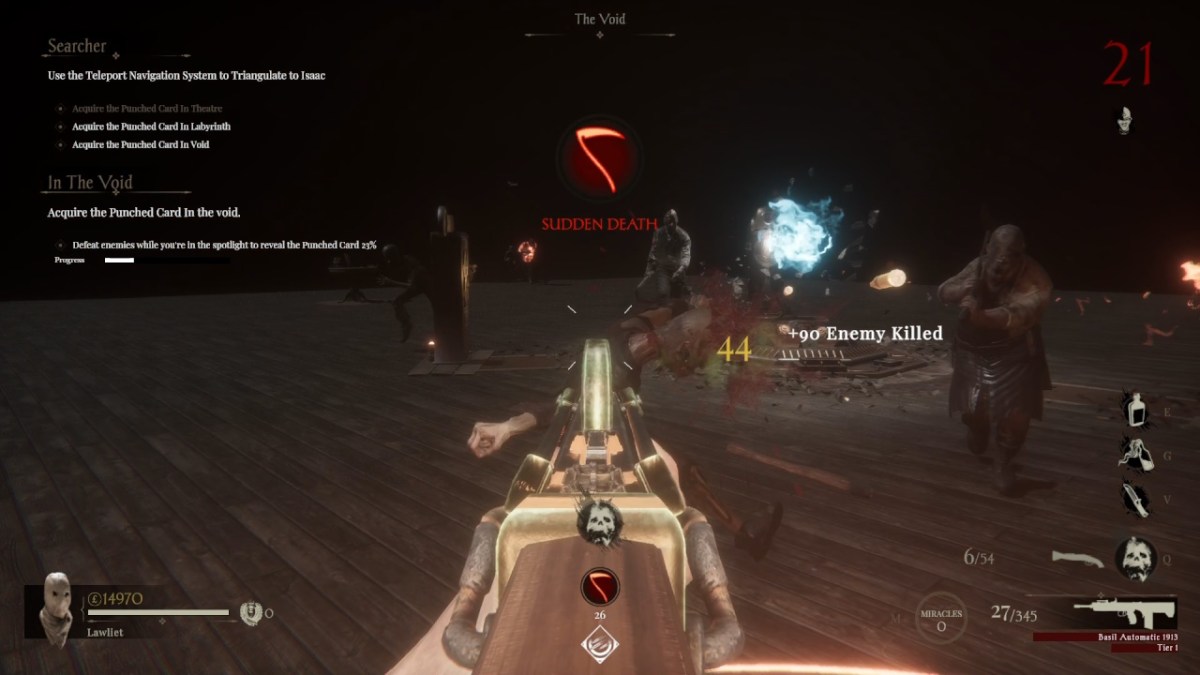
The circle slowly moves around the room, and there’s an ammo machine in the middle if you need it. To fill the bar, you need at least 100 kills, which may take multiple rounds. Once you’ve hit the quota, grab the punched card from the table and go back through the teleporter.
The Labyrinth
I won’t sugarcoat it. The Labyrinth sucks! This area is a maze, and while it’s not particularly big, it’s almost impossible to navigate as all the corridors look the same.

First, interact with the machine by the teleporter with the green light on the controls. This is a cloning machine, and it spawns a cute little lamb. The lamb will slowly follow you but can get lost if you run around.
Your goal is to guide the lamb to another identical cloning machine. There’s one in the maze in a similar room with a green light. Once you find it, let the lamb completely stop before pressing the button.
Your lamb now becomes a pair of lambs, and you must find another cloning machine with a green light. Repeat the process, and your two lambs will become four.
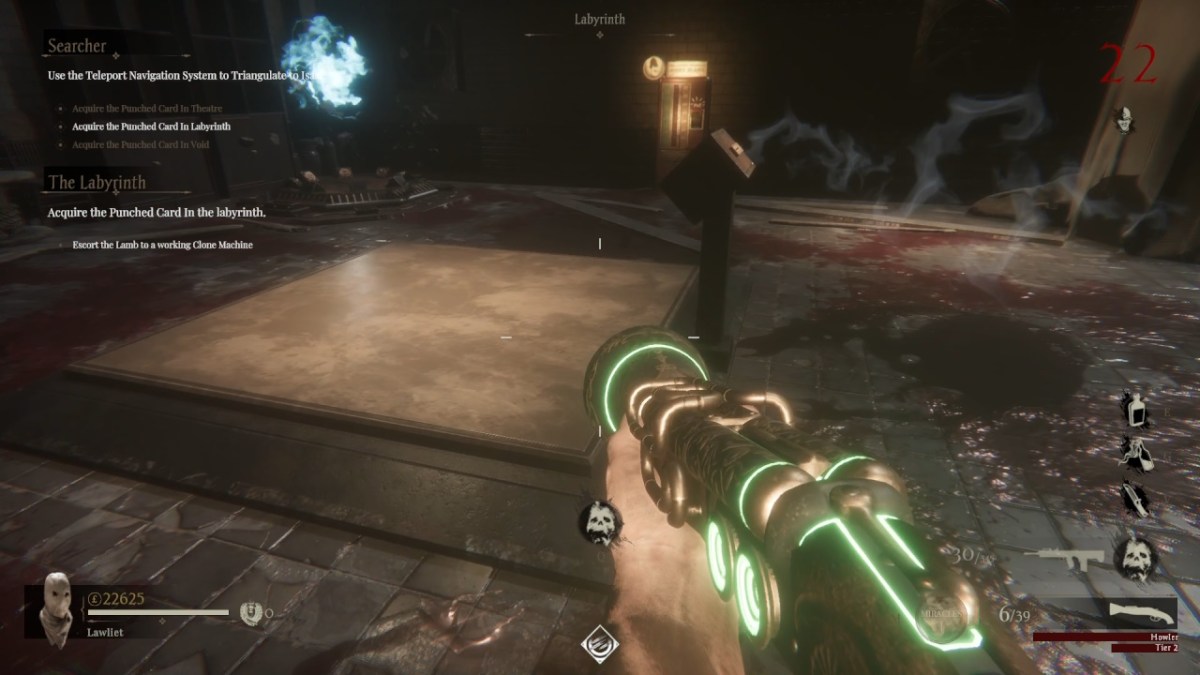
Now you’re a master of this shepherding business; you’re looking for the room pictured above. I lost three of my lambs on the way here, and it took ages to find them again, so take this step as slowly as you can. Enemies can’t hurt the lambs, but the situation can fall apart if you get overwhelmed.
Once all four lambs have stopped on the square platform, interact with the control panel and grab the punched card.
With all three cards in hand, interact with the navigation machine. You have to defend the machine by standing near it, and this step takes quite a while. You’re especially exposed at the top of the stairs, so feel free to move around if needed.
Once the bar is complete, you can use the screen to the top-right to challenge the boss.
Defeat Isaac
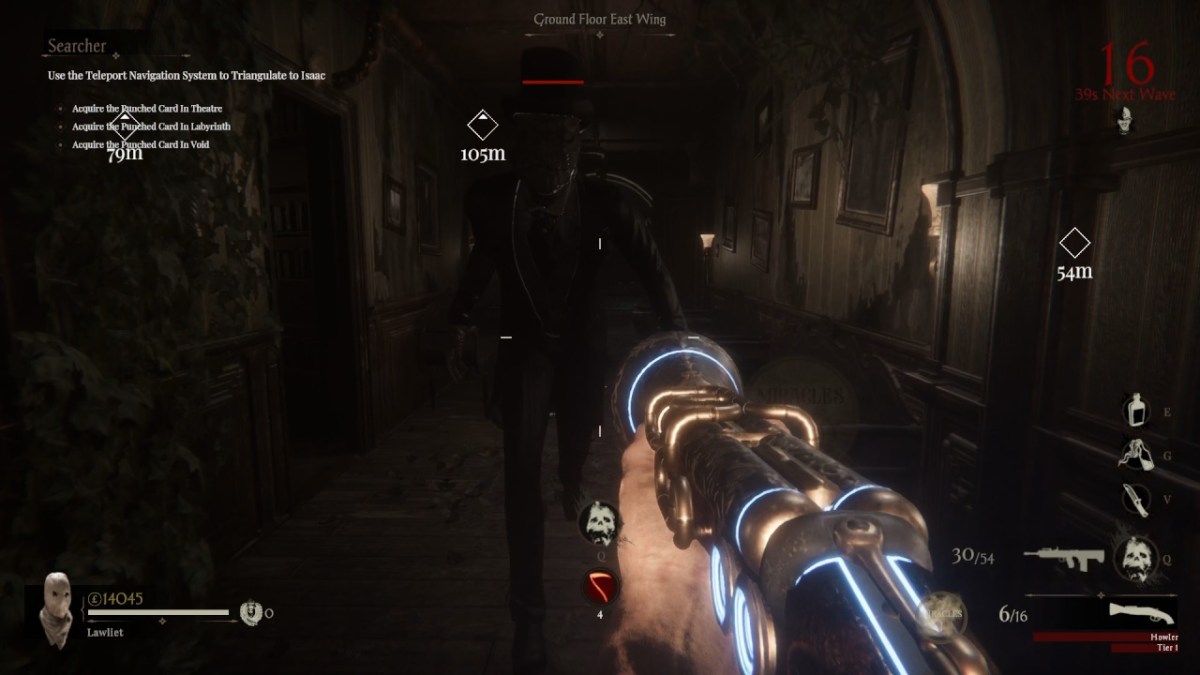
Isaac is a formidable opponent, but you should be fine if you’ve been upgrading your Howler. The bigger issue is how overwhelming the arena can become, as there are tons of enemies and environmental hazards. This boss is a slouch on lower difficulties where you can quickly burn him down.
Keep your distance and avoid taking careless damage, and you’ll emerge victorious. Once Isaac is defeated, you can end the mission or keep going and see how long you can survive.
The layout of this level is more intricate than the first, but it is much more manageable when you know the layout.




Published: Apr 22, 2024 06:29 pm