Encounter #1: The Last City
The Last City is a location we’ve only seen from a distance and from a couple of missions in Destiny 2. In the Scourge of the Past raid, the introductory part takes place in the city itself. This massive area has several important locations, but for now, you’ll want to head over to the central building which is how we’ll be able to start the encounter.
The goal of this encounter is to destroy the shield generators in various locations around the city. You’ll be aided by a digital map which means your teammates will guide you to the correct spots. Players need to kill Berserkers, pick up orbs, and deposit them in the correct locations.
You want to divide your team into these squads:
- Map Team – two players; one should be a Warlock with Well of Radiance = this team is in charge of calling out where the other players need to go to
- Runner Team 1 – two players; any class; roaming supers = this team will be running around to find Berserkers, kill them, pick up orbs, and deposit them in the correct locations for the odd-numbered “rounds”
- Runner Team 2 – two players; any class; roaming supers = this team will be running around to find Berserkers, kill them, pick up orbs, and deposit them in the correct locations for the even-numbered “rounds”
Berserkers
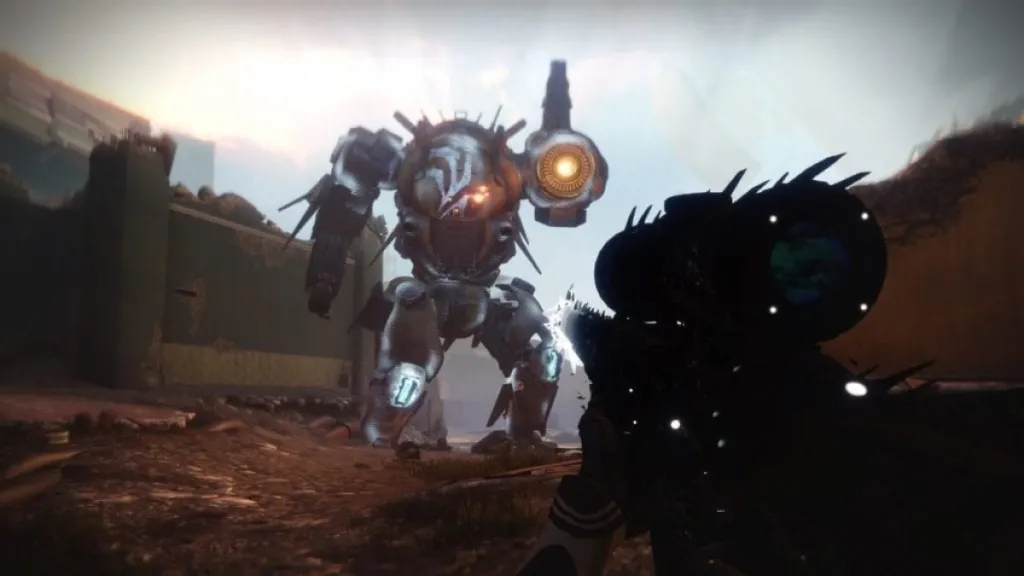
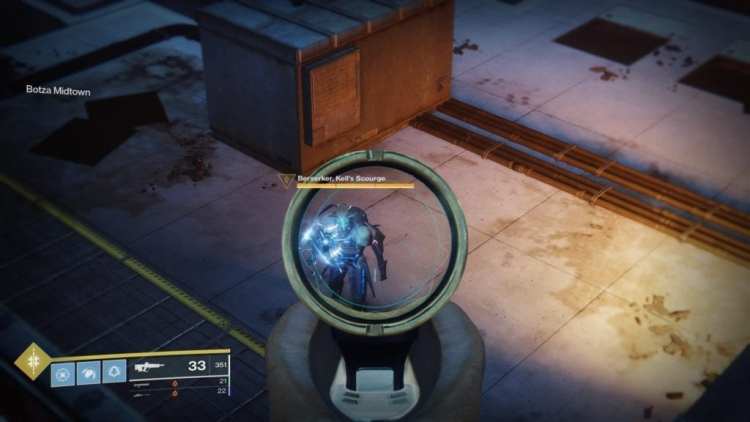
You’ll be introduced to Berserkers fairly early on and they’ll play an even bigger role later in the raid. Berserkers hit hard and they annoyingly teleport around. They also cast a barrier around themselves that slow you down and prevent you from using a super. While they’re inside this barrier, they’ll also start charging their Arc railgun. If a Berserker shoots you with this, you’re as good as dead.
To prevent the Berserker from fully charging its weapon, you’ll need to players to stand in front and behind him. They’ll need to shoot the red glowing panels (one in front, one behind) to stun and break its immunity completely.
Berserkers will drop orbs that are an integral part of the encounters. For this one, the orb they drop will allow you to charge the map’s pylons.
The Map
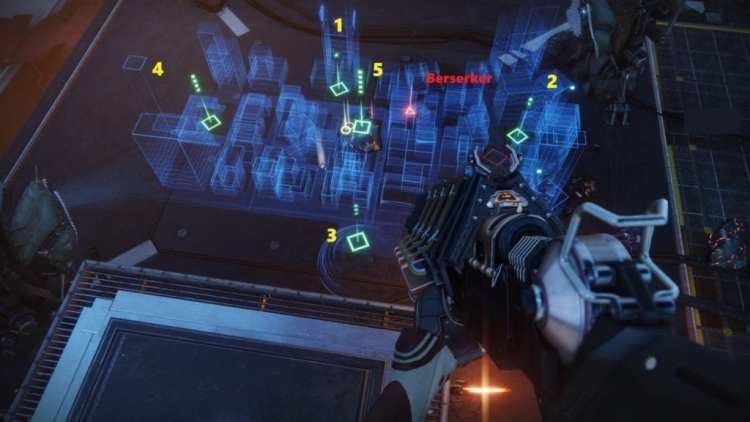
The map shows you the city’s layout in full. The green pips represent the locations: 1, 2, 3, 4, and 5 — with the fifth being the central rooftop with the map. A player on the map needs to call out where the red triangle (Berserker) has spawned so the runners can kill it. Since only one Berserker needs to get killed at any given time, the Runner teams should assist each other.
These Berserkers spawn in various alleyways so it’s good to be familiar with the map and the locations in the city. The major areas, though, are where you need to deposit those orb charges that Berserkers drop.
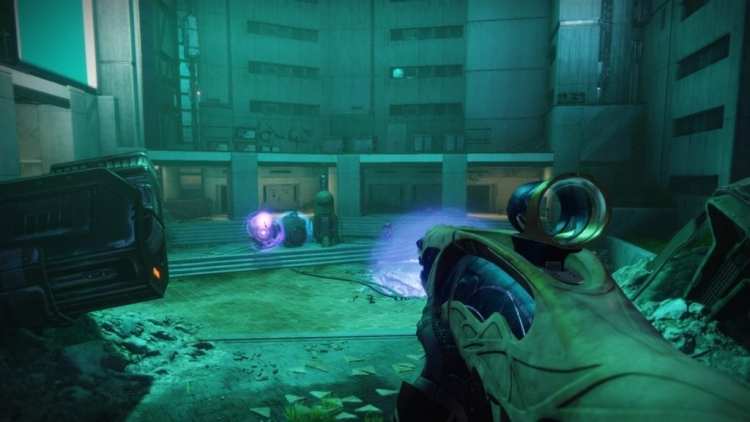
Location #2: “Blue District” – If this is the marked location where a runner needs to deposit an orb, then the player looking at the map just needs to tell them to “go to #2,” “go to the far east location,” or “go to the Blue District.”
There are also locations #3 and #4 (south building and west building respectively). Location #5 is the central roof deck with the map. Memorize the layout of this area just so you’ll always know where to go.
Running And Gunning
In any case, once a Berserker is killed, have one player from a designated team pick up the orb first. The second player from that same team will pick up the other orb a few moments later. Yes, you need to pick up those orbs one at a time.
The reason why you need to do this is that the map caller needs to see where each specific orb needs to go. Whenever a player picks up an orb, the map will show the number of pips that player has which corresponds to any of the five drop-off locations. Planting the incorrect orb in a pylon will cause a wipe.
- One of the runners will always head to #5, the map building/rooftop (if the map caller specifically tells them to). This player won’t need any back-up and should just avoid mobs that they encounter.
- Another will go to any of the other four locations (depending on what the map caller says). The inactive runner team will need to head to that location to clear enemies, especially servitors, so the orb can be planted. Use roaming supers to clear out mobs quickly.
- I should also mention that the players carrying orbs can’t shoot weapons and so they definitely need the backup.
- Please note that each orb also has a minute-long timer which will kill you if you don’t deposit it fast enough.
Once Runner Team #1 has deposited both orbs to the correct pylons, the map caller will point out the location of the next Berserker. This time around, Runner Team #2 needs to do the orb carrying part since the previous team won’t be able to pick up orbs until later. They’ll just have to assist with mob clearing.
Once both sets of orbs have been placed, you’ll just need to keep repeating the process until the encounter is beaten. Check out the video below from YouTuber Rudex on how this encounter plays out:
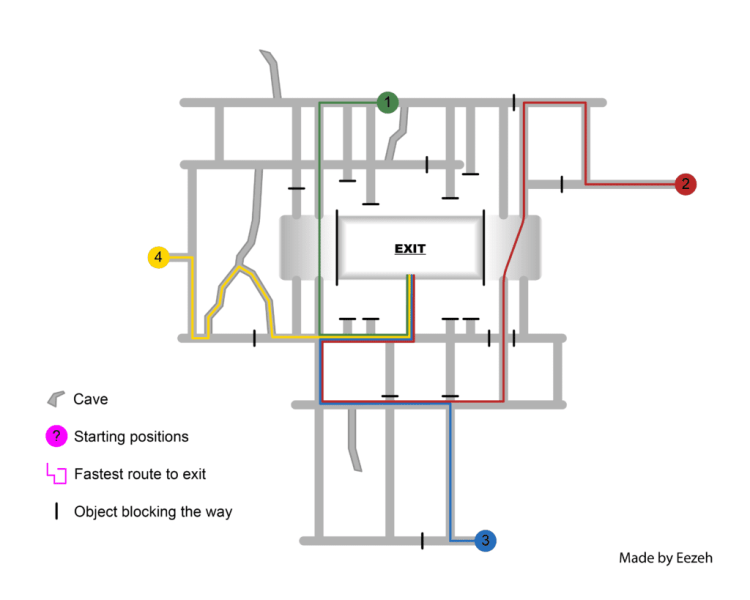
Clearing this encounter rewards powerful gear. With this done, just head over to one of the collapsed holes near the pylons (such as the one in the Schnell Building) to get to the next area, the sewers. You’ll just need to go around through the pathways until you find a small nook that takes you to the Servitor Chase/SRL encounter.
If you lost your way, you can refer to the map below by Reddit user MrEezeh:
More Secrets
There are a couple more secrets that we know of for the first encounter and you can check them out at your leisure (or peril). The first one allows you to spawn a tank. It’s perfect for clearing mobs in the streets and alleyways. Check out the video below courtesy of Reddit user JDTonReddit:
Next, there’s also a hidden challenge which you can unlock by activating six hidden buttons in the area. This will turn your run into the “Like a Diamond” Flawless Challenge. You’ll need to clear every encounter without a single player dying, otherwise, the entire team will get booted straight back into orbit. Watch the entire flawless run from the perspective of pro player Sweatcicle:




Published: Dec 9, 2018 01:27 am