Resident Evil 3 is the latest Capcom title to get the remake treatment. The original Resident Evil 3: Nemesis released back in 1999. Which, if you think about it, the generation born when the original released are barely old enough to legally drink in the United States. Dang, if that doesn’t make you feel old, I don’t know what will. If you’re someone new to the series, you might not have your wits about you as to what is transpiring in Raccoon City, and are in need of a tip or two.
Even if you played last year’s Resident Evil 2 (2019), there are differences in the two games, old and new. To help ease you into new waters, we’ve put together a few tips for all of you rookie RPD officers set to hit the wild streets of Raccoon City.
Tip 1: Know the tools of the trade
Really, any place on the map can be important. But, the most important places in Resident Evil 3 are the places you’ve been, and places you’re going. Sounds silly, right? Well, hear me out. There are a number of small rooms in Resident Evil 3. Most of the time, you’ll run by one without even thinking twice about it, this happens quite a bit early on as you’re still really trying to figure out how to get the power back on to the train station and familiarizing yourself with buildings and streets.
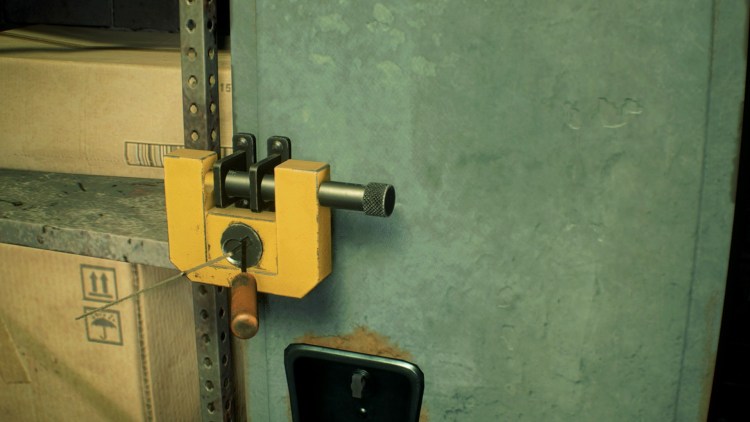
This is important, as these rooms often hold items behind small locks and chained handles. You won’t be able to access these doors, crates, or lockers until you have the right tools. Initially, some of those tools include the bolt cutters and lock pick. Both are important if you’re wanting to grab the M3 shotgun from the get-go.
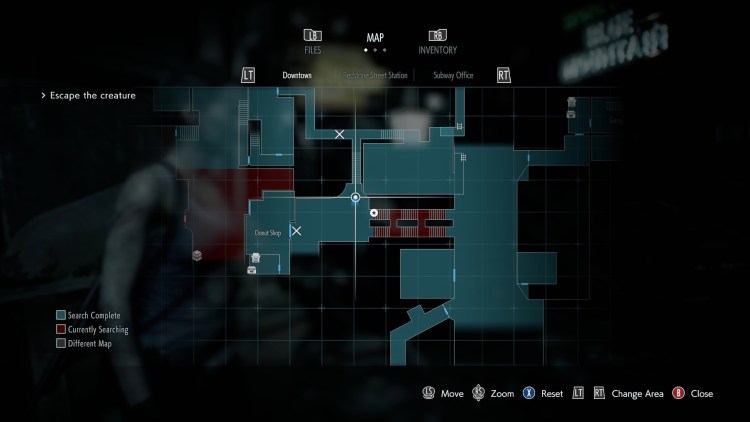
When you approach certain chained doors or crates with a simple lock, even if you know you don’t have the lockpick or bolt cutters, still investigate it. As you get lost in sprints around the city, you might forget that you now can access all of those lockers and areas you couldn’t before due to not having the right tools. Descriptions on your map such as “Simple Lock” and “Chained Door” indicate that the lockpick is needed for the simple lock, and the bolt cutters for the chained door.
If you’ve found yourself stuck, chances are there’s a room you haven’t been to since acquiring the necessary tool to access it. Check the map for any completely darkened areas or doors that haven’t been opened; one of your newly acquired tools is the key forward.
Tip 2: Maps and zombie attacks
In Resident Evil 3, even if you killed an enemy with multiple headshots, you might find them up and at’em when you go back to a room you’ve cleared. Most times, if enemies are still present in a portion of the in-game map, it will have a reddish-maroon tint to it. If you start to panic, hit the map, assess the situation, check your inventory, and then get a good idea of where you’re going to next.
In some cases, it’s possible to rid the streets of all enemies. An exploding head is a sure sign of a confirmed kill. Other times, however, even if you pumped a zombie full of lead, that doesn’t mean they won’t be up and walking on a return trip. The best way to make sure the undead stay dead is by filling their head with bullets. Usually, it can take anywhere from three to four shots in the head to bring down a zombie, sometimes fewer, and definitely nears the 10 range when shooting the body alone.
The best option is to go straight for the head with explosive force. This calls for the M3 shotgun and you’re looking at one-and-done confrontation. The pistols are also fairly accurate, allowing you to pick off enemies from a distance. In cases where you encounter Nemesis, the dodge and pistol can combo for some hefty damage. If you’re in a real pickle, you can get a good stockpile of grenades if you use them conservatively. They deal out big amounts of damage to all enemy types, including Nemesis. Even so, there’s another important tool that doesn’t require any gun powder or explosions.
Tip 3: Let’s roll one together
The evade button was added to help dodge the now quicker moving zombies and head-on sprints from Nemesis. In many cases, the move can help you save time by avoiding enemies, dodging critical hits, and is always an option instead of blowing copious rounds of ammunition.
I personally recommend becoming a master of the evade. Even in my second playthrough of Resident Evil 3, I found myself using it much more frequently, saving ammo in just about every encounter where I previously stood and fired. During my second playthrough, I managed to stockpile 60+ rounds of ammo within the first 20 minutes or so.
There are often times when you’ll run back through the Raccoon City streets, looking for hints or tackling your current objective. But, in order to do so, you’ll have to wade through small pockets of enemies. In cases like these, don’t be shy to call on your inner pacifist and avoid confrontation. Doing so ensures that you’ll have dispensable ammo in situations where using the move is almost impossible due to the number of enemies approaching. And, when you finally make it to the last two Nemesis boss battles, you’ll thank me.
Tip 4: Crates and hazards
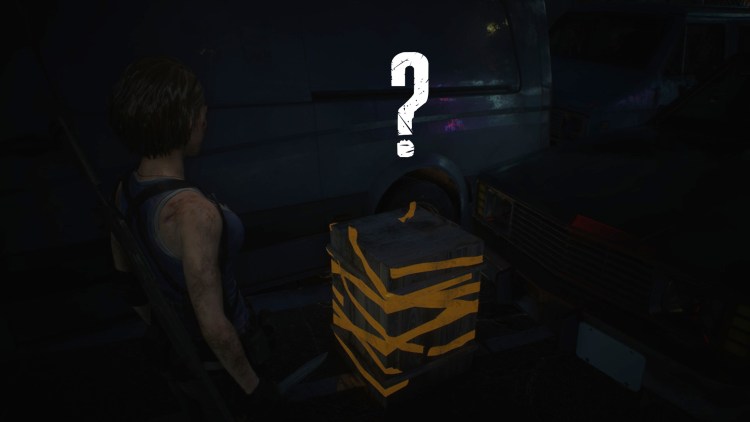
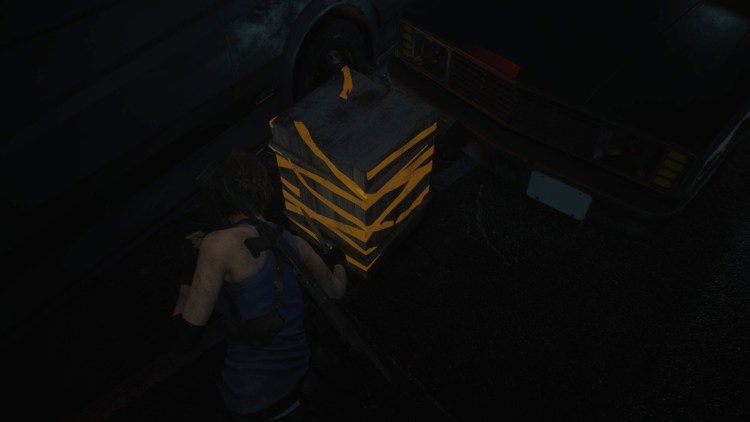
When I first saw a crate in Resident Evil 3, I didn’t know what to make of it. I walked by each lazily-taped wooden box, wondering, “What instrument is needed to access the contents of this box?!” A hammer? Crowbar?
No, you only need to stab it with the knife or shoot it. They’ll contain items like gunpowder that can be crafted into various ammo types, herbs for health, and generally shotgun or handgun ammo. The crates range anywhere from hidden to the naked eye, to right out in the open. If you don’t break one down right away, it too will show up on your map. But, there are other tools all around you on the battlefield that can getcha out of a pickle.
If you’re choosing between fight and flight, always take a quick survey of your surroundings. In some areas, there are red fuel barrels or electrical generators that can cause damage to enemies. I would recommend only blowing up the first initial ones and preserve what you can. When Nemesis appears, these can help you down him long enough to run away. When you fire at the barrels, they’ll explode, usually blasting wide enough to hit enemies you might think are out of its range. The generators, on the other hand, can electrify multiple enemies or Nemesis, killing or slowing them enough to get some shots in. If used, they will eventually recharge for another go.
Tip 5: Don’t sweat the petty things, pet the sweaty things
Much of your time spent in Resident Evil 3 might be expelling ammo, shooting everything in sight. Or, you might be the pacifist-type mentioned above and avoid all attacks. Either way, the best use of your time when encountering enemies is finding out their attacks, movements, or patterns. Again, these aren’t necessarily the same enemies from 1999. They may now move quicker, lunge further, and in some cases, cause more damage than ever before.
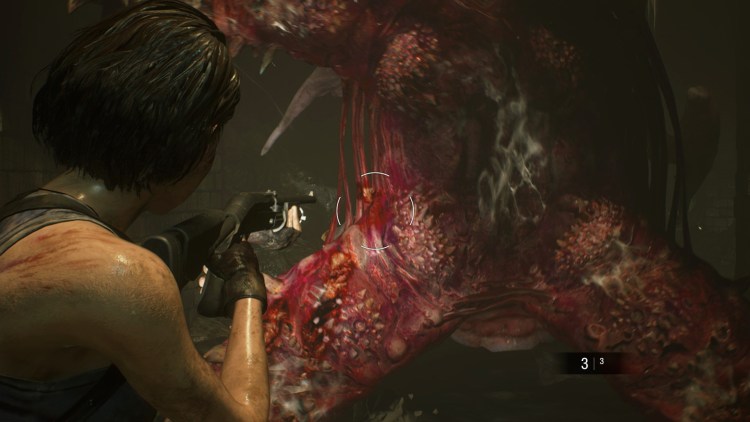
My recommendation is to get familiar with them all: the Pale Heads, the Brain Suckers, and of course, Nemesis. For example, you’ll learn through documents and first-hand encounters that Pale Heads demand that you hit them with something high-caliber in order to stop their advances. A weapon like the Lightning Hawk magnum is the perfect hand cannon for this particular situation.
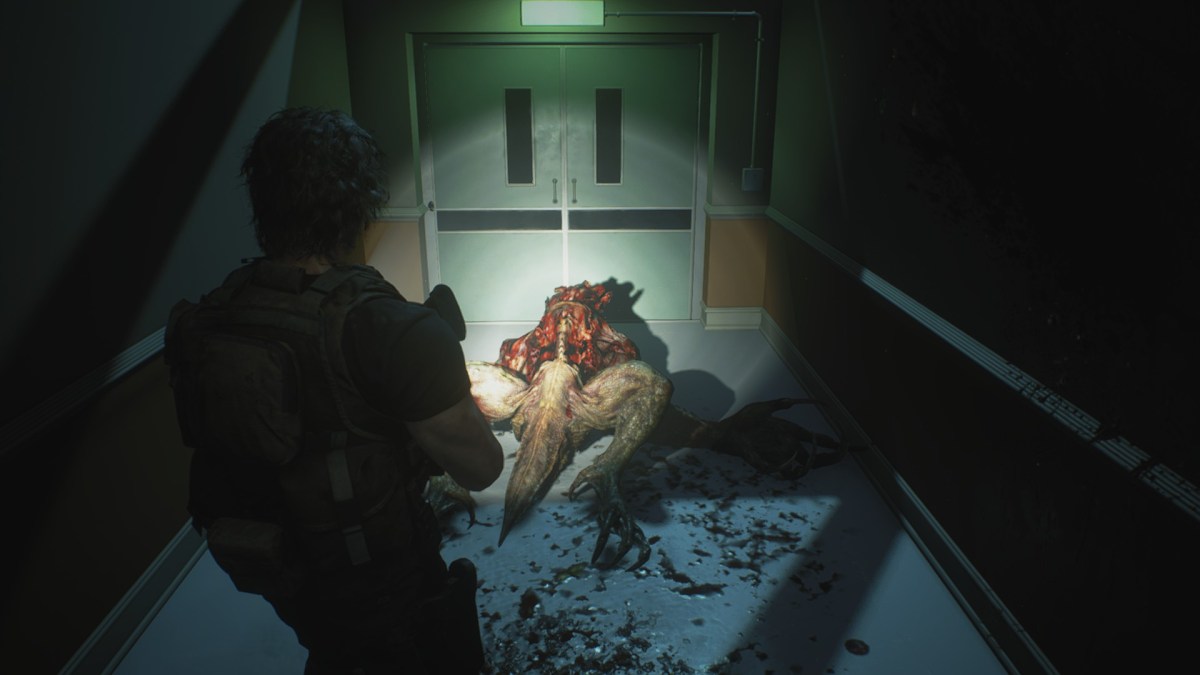
Down the road, you’ll encounter creatures like the Hunter β which can kill you in one swipe. It’s important to know that now in case you arrive at that juncture and you haven’t saved yet. There are cases where multiple enemy types will occupy a space you need to be in. In order to make it out alive, your survival can depend on how well you know the oncoming threat.
Everything mentioned is used often and frequently throughout your entire playthrough. From the first steps onto the streets of Raccoon City, and right down to the final moments of the game. Well, rookie, good luck out there.
Jill Valentine, over and out.




Published: Apr 3, 2020 05:00 pm