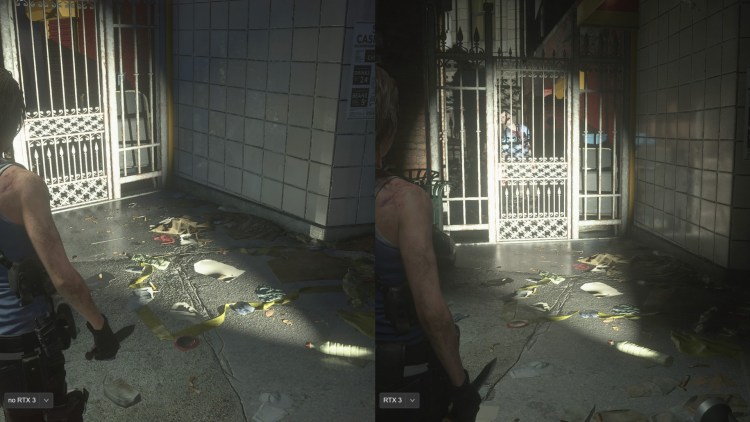
Resident Evil Village launched with ray tracing, which made it the first game in the series to have the feature. However, it’s no longer on its lonesome, as the remakes of Resident Evils 2 and 3, along with Resident Evil 7, have all now received the same treatment. Updates for all three games rolled out last week and, naturally, there were some issues from people playing the games on weaker hardware. Capcom quickly responded by offering a branch containing previous versions of the games. This piece compares the main branch versions of all three games with ray tracing both off and on, as well as pictures of each game’s menu.
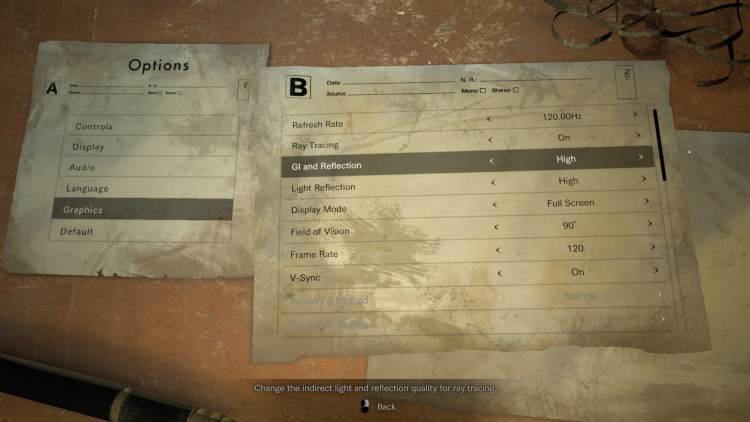
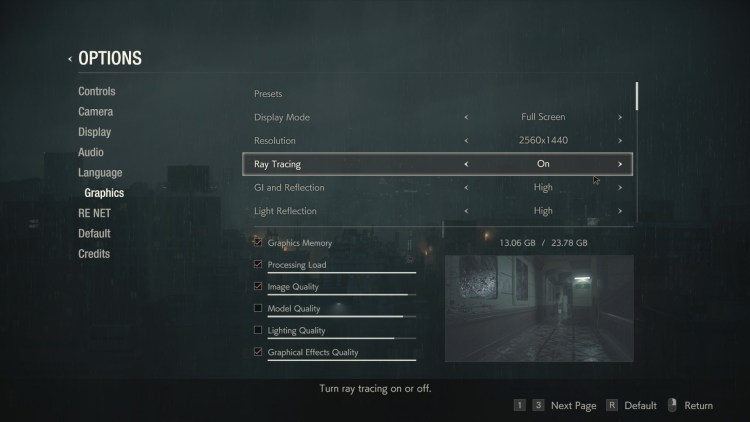
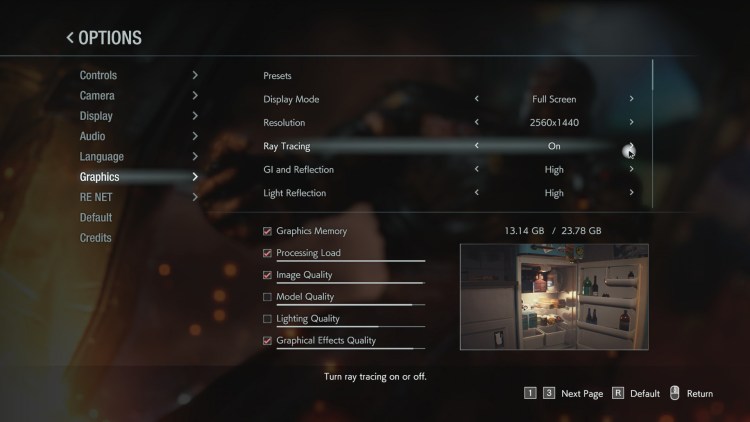
As all three Resident Evil games run on the same engine and received the exact same updates, it isn’t any surprise that the offerings here have parity across games. Across the three, ray tracing can’t be turned on and off while in-game, so settings can only be altered in the main menu. Naturally, this made taking exact comparison shots harder. All the games allow you to turn ray tracing on and off via the graphics menu. There are two options below the on and off toggle that determine the strength of the ray tracing. They’re GI and Reflection and Light Reflection. Both can be swapped between low, medium, and high.
I had all three games set to 1440p and 120Hz. Without ray tracing, I got a fairly consistent 120 fps in both RE 7 and RE 2, with frames closer to 100 fps in RE 3. With the latter, it’s likely due to the opening of that game having busier sections than the other two. With an RTX 3090 FE, ray tracing didn’t always significantly change the performance. Oftentimes, the games ran only five or so frames lower than without any ray tracing whatsoever, which was quite surprising to see. Of course, this changes with larger areas and areas with notably more light sources. The police station lobby in RE2 is a good example of the latter. All in all, this appears to be a satisfactory implementation of the technology. That is, as long as you’ve got the rig to run it.
Resident Evil 7
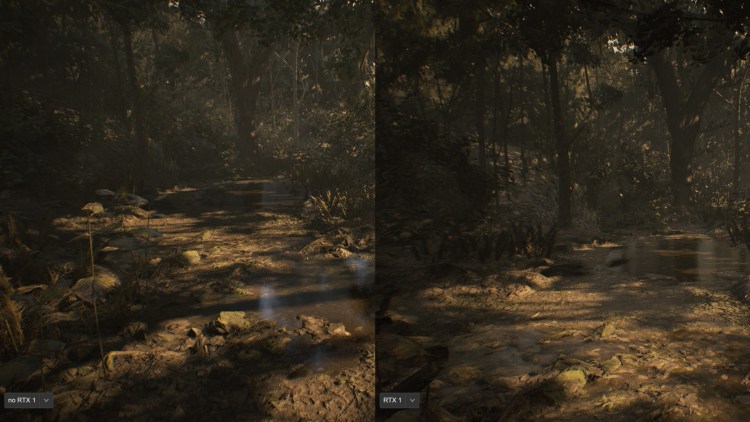
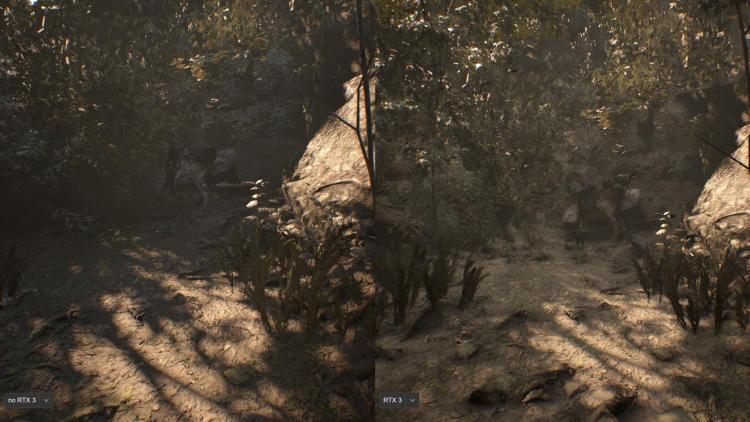
The images here were all captured during the prologue of RE 7, shortly after Ethan exits his car and prepares to enter the guest house where he has his first reunion with Mia. This is one of the best parts of the game to look at for ray tracing, on account of the sunlight and copious shadows cast by the trees. Pools of rainwater reflecting light aren’t hard to spot either, making this game the easiest of the bunch to really notice what’s what right off the bat. The textures in this game have held up the worst out of the three, but it still offers impressive sights that ray tracing only enhances.
Resident Evil 2
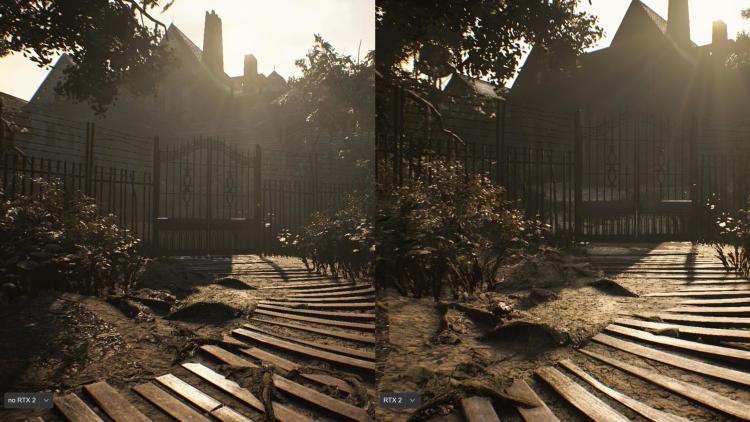
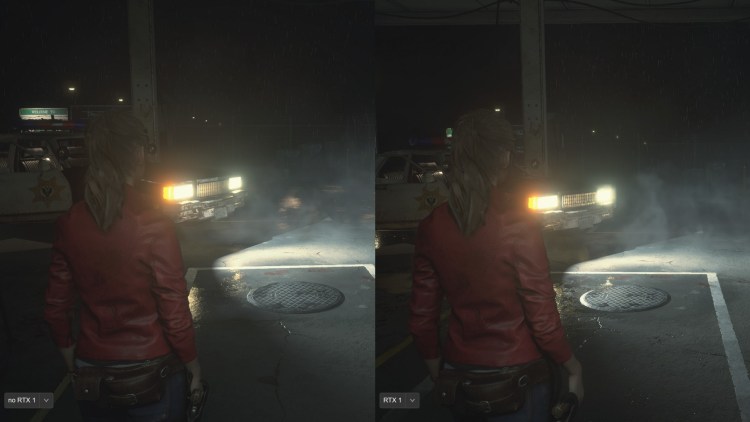
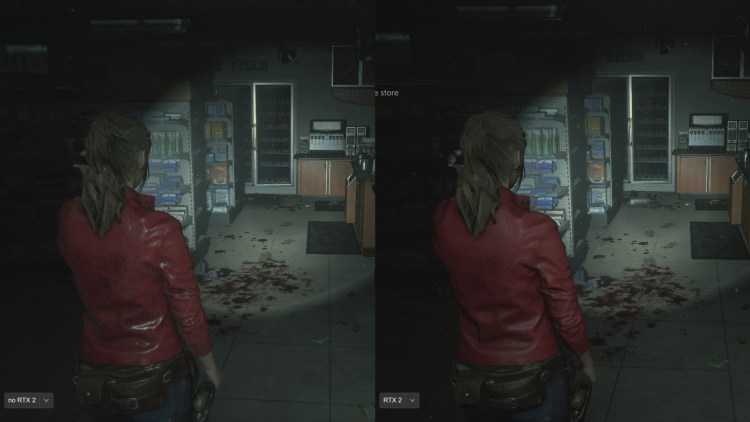
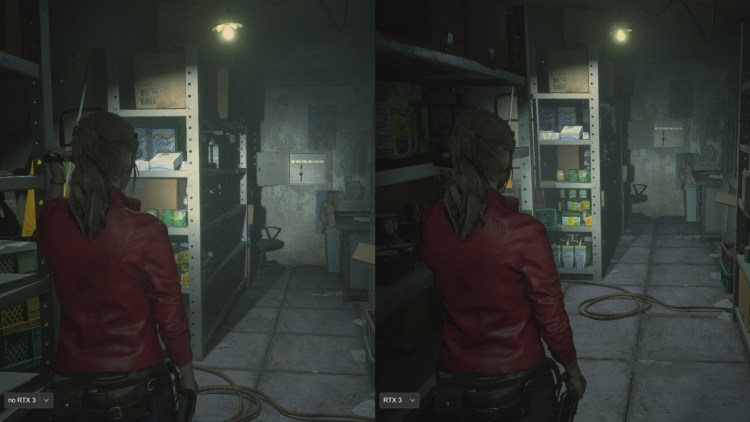
For RE 2, I went ahead and got all my captures from the beginning of Claire’s A game. Namely, I used the exterior and interior of the gas station she finds herself at in the start. It’s interesting to note how quickly both RE 7 and RE 2 thrust players directly into action. There’s a brief opening and then you have normal control without any special gimmicks or segments that feel on rails. I appreciated this, as it made finding spots to capture simpler. As RE 2 autosaves you into a linear sequence after entering the door within the gas station, I just went ahead and started a new game to capture the RTX versions of the first two pictures.
Resident Evil 3
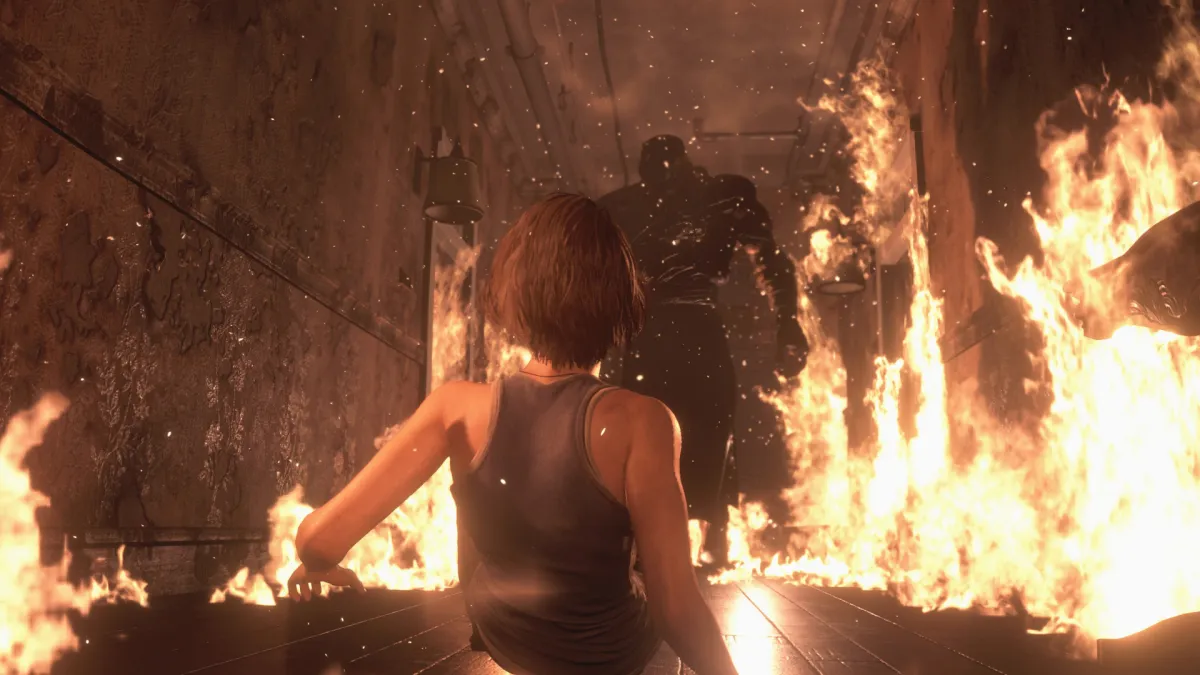
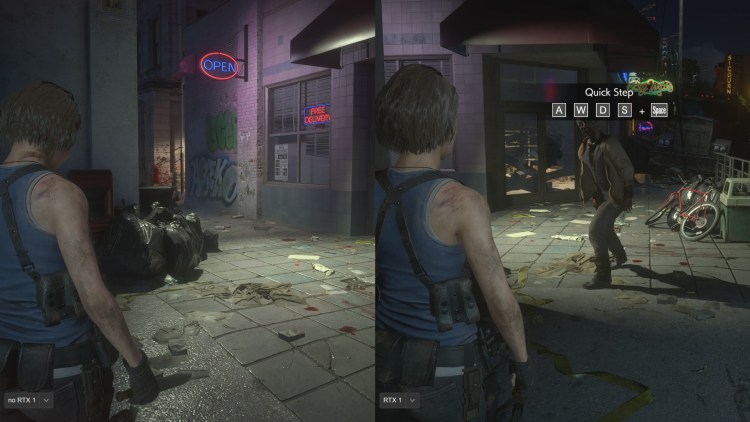
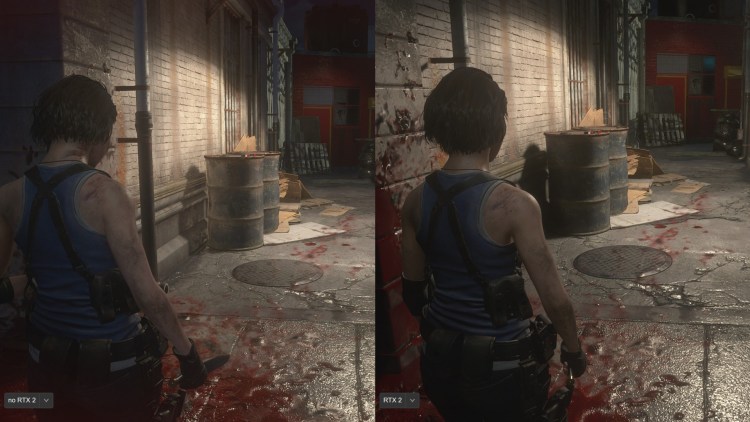
Conversely, RE 3 has a showier intro, what with the first-person section in Jill’s apartment, followed by the Nemesis chase that kicks the game off. I captured the images after getting to the game’s first typewriter and the first shots clearly aren’t from the same angle. However, I wanted to include the zombie’s shadow, so I left it as is. The largest difference among any of the nine comparisons is the last one here, as you can clearly see the much more prominent reflection in this section’s fourth image.
That about does it for this look at the new ray tracing updates for this trio of Resident Evil games. It’s always nice to see older titles receive patches like this out of the blue, but not if you don’t have a rig that can handle it.




Published: Jun 24, 2022 04:00 pm