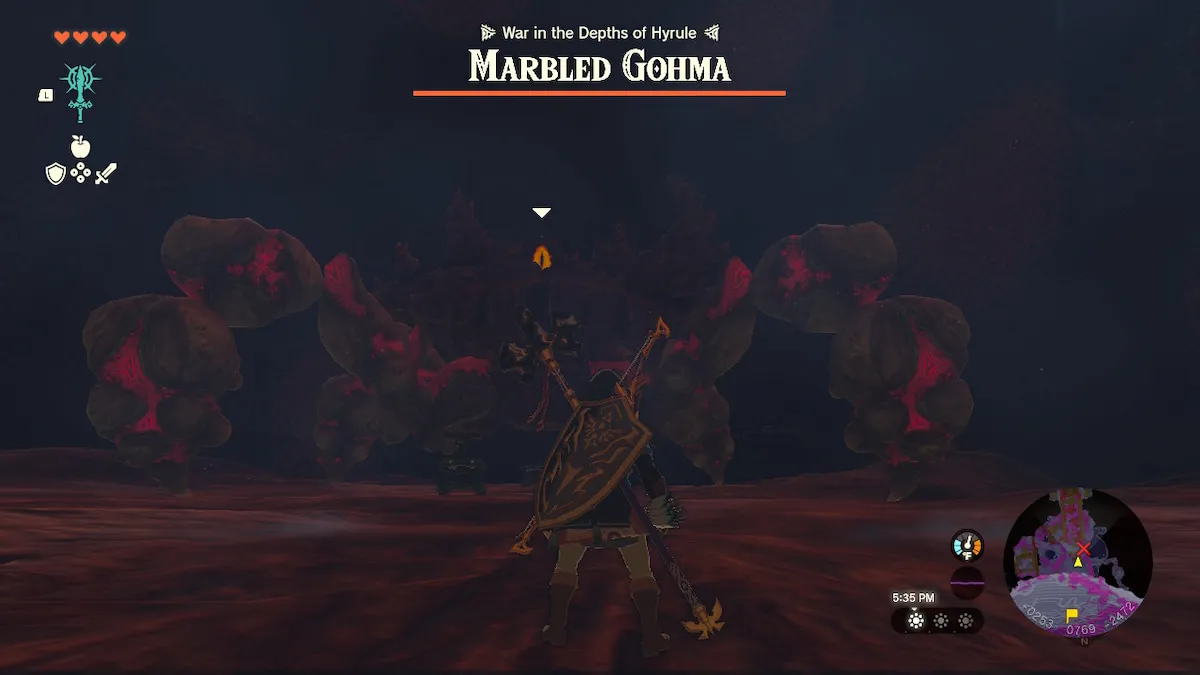
In The Legend of Zelda: Tears of the Kingdom, you do battle against the Marbled Gohma at the end of the Fire Temple as part of the main Goron questline. Whether you fight this semi-throwback boss at this point in the game or later on in the Depths, you have Yunobo by your side to smash its marbled rock legs apart to easily access its weak point. If you opt to skip the Fire Temple and travel to the final boss area, however, the Marbled Gohma appears without Yunobo there to help you. Fortunately, you’re more than capable of taking on the Marbled Gohma on your own, so here’s how you do just that.
Fighting the Marbled Gohma without Yunobo
General Strategies
For its first phase, the Marbled Gohma walks around and executes one of a handful of attacks depending on your proximity to it. If you stand relatively far from the boss, it will launch about three small rocks in your general direction that explode after some time passes.
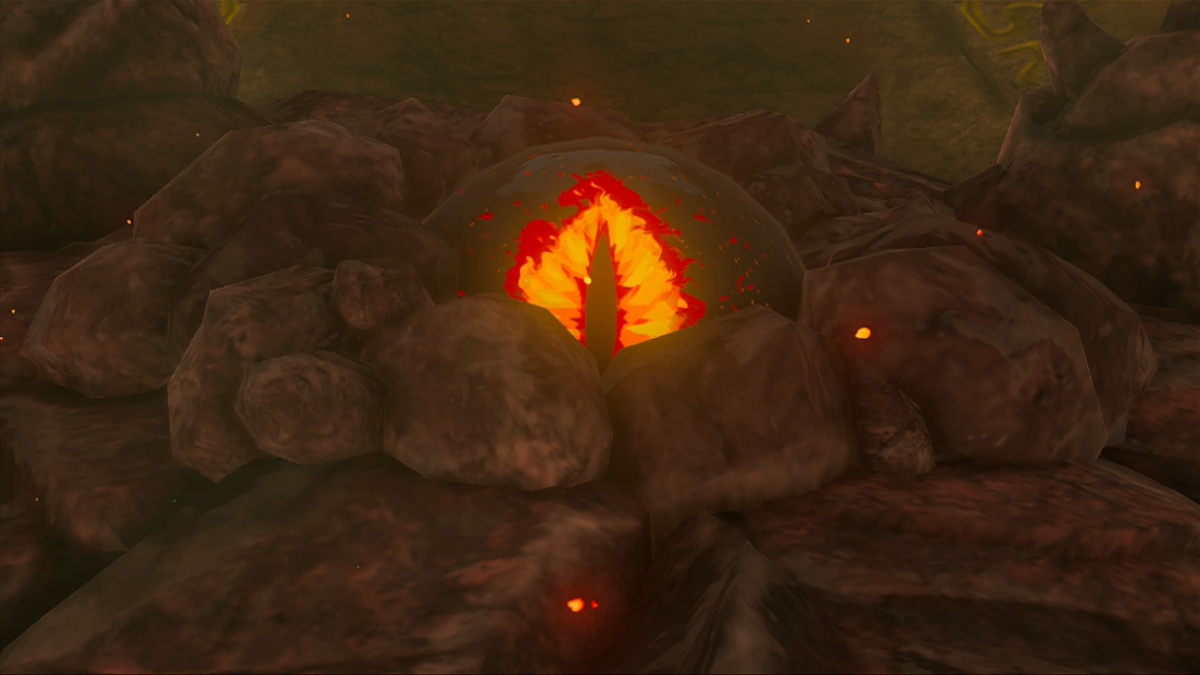
Unfortunately for the Marbled Gohma, you can utilize these rocks to your advantage by using Recall on one of them so that it travels back to the monster’s eye. Then, after you cancel Recall, the rock will explode on the eyeball, damaging the boss and stunning it so you can land more hits on it. Additionally, you can stun the Marbled Gohma by grabbing one of the rocks with Ultrahand and moving it next to the monster’s body so that the explosion hits it.
After stunning the boss, you’ll want to hurry up to the top of its body before it recovers so you can deal sufficient damage to its eyeball. Climbing on top of it manually will prove quite tricky due to the body’s odd shape, however, so I prefer to utilize Ascend to pass right up to the eyeball. It stays stunned for quite a while, but it will eventually get up and shake for a short while before attempting to fling you off. Simply glide off its body to avoid taking damage here.
Other Noteworthy Moves
While grounded, if you get close to the Marbled Gohma while it’s active, it will slam its entire body down and emit a damaging shockwave. It doesn’t become vulnerable after this, so just run away when you see it getting ready to slam down. If you stay close to one of its legs specifically, it will instead lift that leg and aim it toward you before attempting to crush you with it.
Unlike the body slam, this actually does leave the Marbled Gohma vulnerable, albeit for not as long as when you stun it. As soon as it lifts its leg, quickly go underneath it, Ascend your way to the top, get some hits in, and leave before it shakes you off.
Second Phase
When encountered outside of the Fire Temple, the Marbled Gohma’s second phase plays out somewhat differently. With no ceilings to crawl around on, the Marbled Gohma stays grounded and attacks just like normal, albeit with one new trick up its sleeve. When at a distance, the boss slams down and completely surrounds you with large rocks that explode over time much like the smaller ones. You can climb up one of them and glide away to avoid the explosions or you can Recall one of them to pass underneath it.
Using Recall on one of the big rocks won’t send it over to the boss to stun it like what happens with the smaller rocks, but fortunately, the Ultrahand strategy still works with the bigger ones. Keep in mind that the larger rocks have a massive blast radius, so move them a safe distance away so you don’t accidentally take damage while stunning the boss.
If you avoid all of the dungeons in Tears of the Kingdom before heading to Ganondorf, then the Marbled Gohma will spawn as the second in a series of six bosses you’re required to fight before the final encounter. As long as you execute these strategies and take care to avoid unnecessary damage, this fight shouldn’t pose too much of a threat.


Published: Jul 20, 2023 07:08 pm