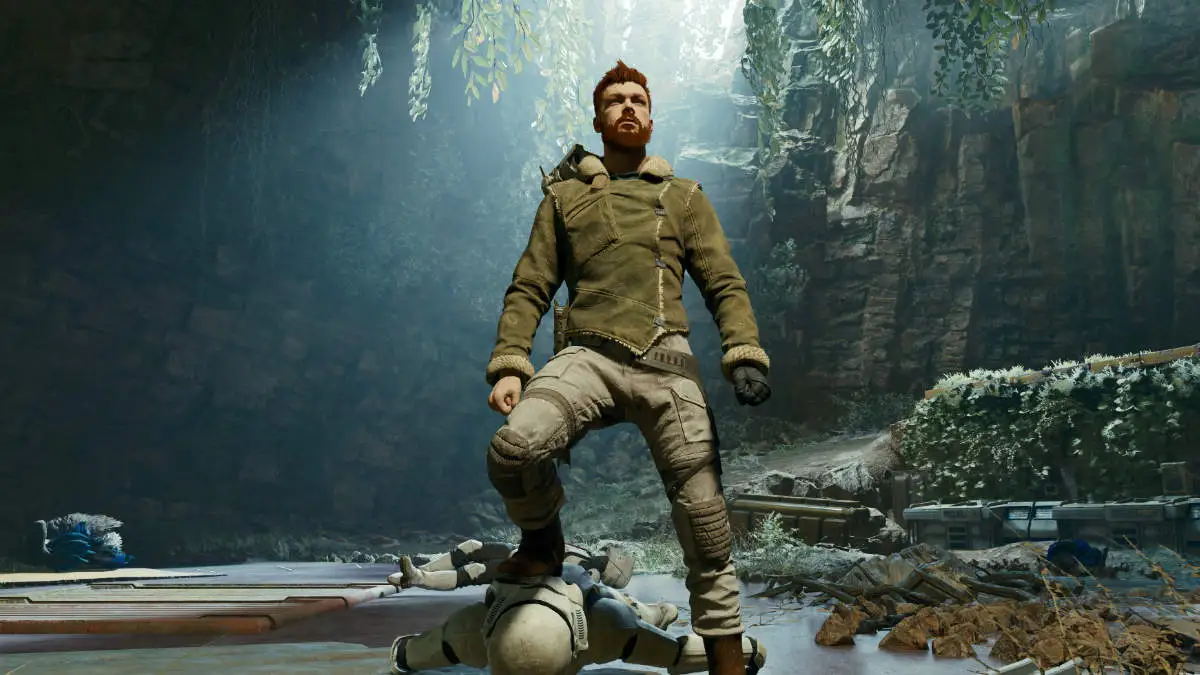
There are plenty of gorgeous sights to see in Cal’s latest adventure throughout the galaxy. You’re sure to experience some memorable moments, worthy of photos to look back on and share. Utilizing the Star Wars: Jedi Survivor in-game Photo Mode is a bit confusing at first though, so here’s how to use it and find the storage folder location on PC.
How to use Photo Mode in Star Wars Jedi: Survivor
Let’s cover the basics first. Players can access the Photo Mode editor via Esc or Start to enter the main game menu. You’ll notice the control prompt at the bottom left corner of the menu screen.
You can freeze time for your photos by entering the start menu, but just keep in mind there’s no way to apply major changes to what’s happening in the game once in the Photo Mode editor.
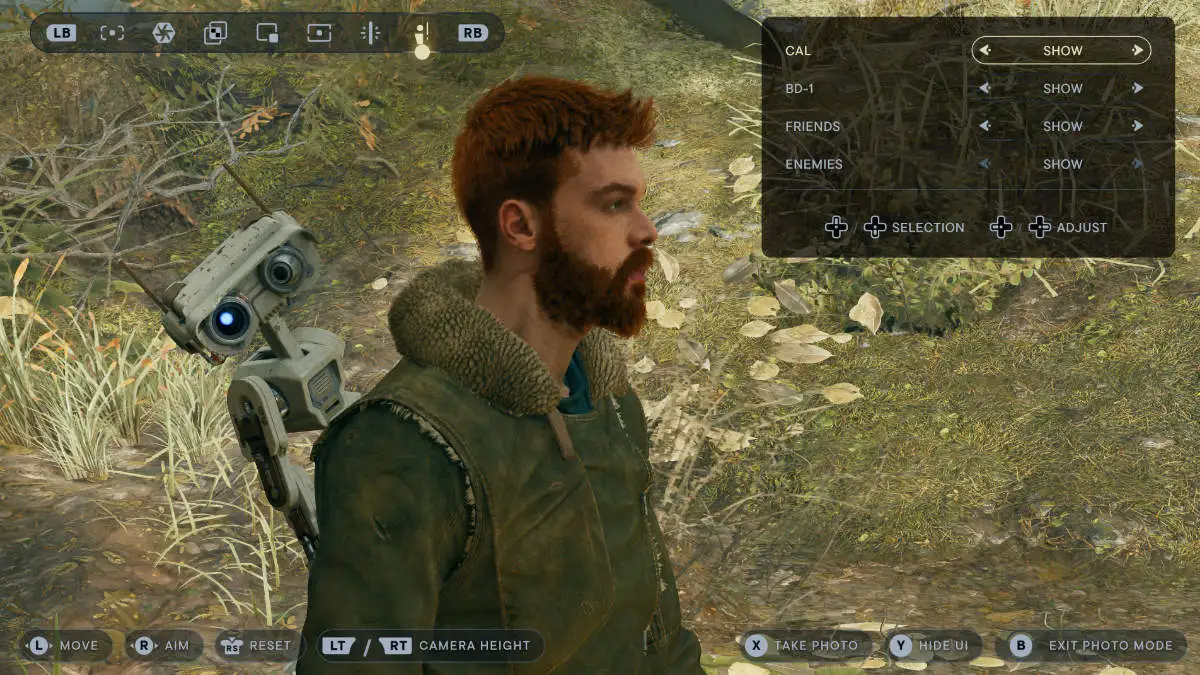
The Photo Mode editor UI lists the various controls along the bottom of the screen. The top left selection bar lets you toggle between effect categories which break down further into detailed options in the top right menu.
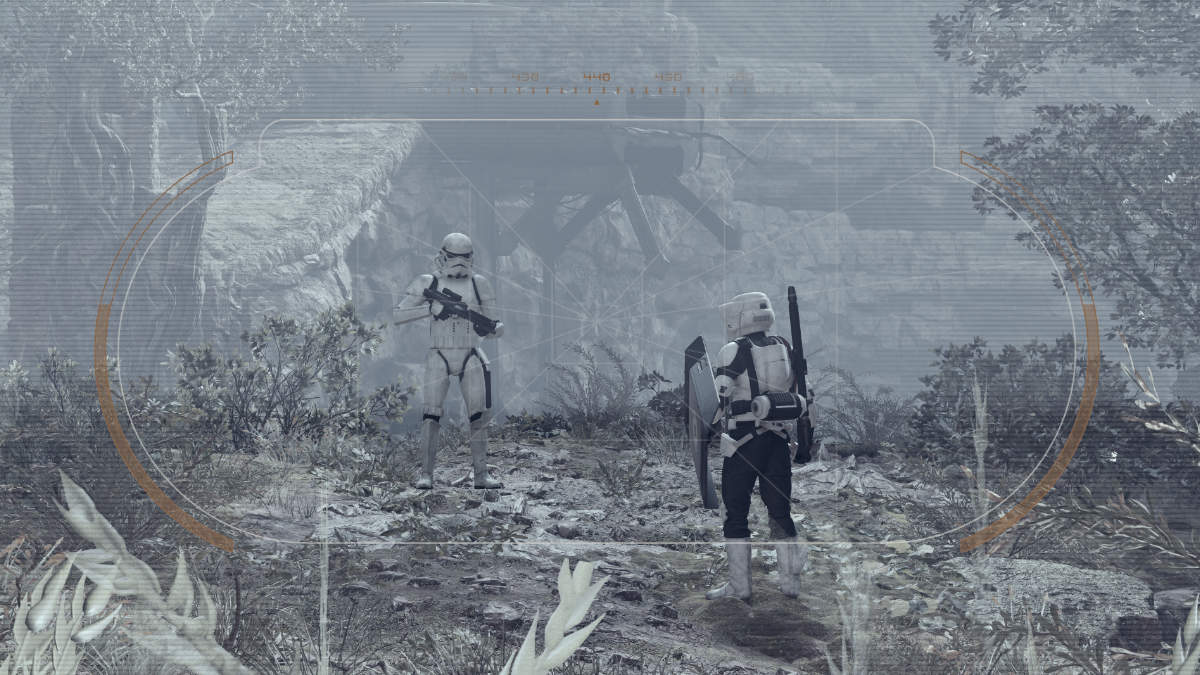
There are options for lighting, zoom, filters, overlays, color editing, and removing certain player models from view. You can also adjust filter strength, add watermarks to deter photo pirates, and quickly reset all custom changes. Overall the photo mode is a relatively simple, but useful, tool for showcasing the game in your own way.
However, the Photo Mode isn’t perfect. There are two main things you want to keep in mind before snapping away. You need to hide the UI before taking each photo or it will appear in your photos.
You also cannot change the default storage folder location. The lack of information on where the screenshot folder is on PC doesn’t help either. The game auto-applies a screenshot path to your “Pictures “folder under the This PC directory. So in other words, PC > Pictures. This is typically under the C: drive with your operating system by default. Within “Pictures” you’ll find a folder labeled “Respawn” which contains your precious photos.
Another thing to keep in mind is that HDR on PC can cause issues with your screenshot colors, so make sure Windows doesn’t ruin your images.
That’s everything you need to know regarding how to use Photo Mode in Star Wars Jedi: Survivor. The PC performance issues still exist, but you can at least turn up your graphics settings for the best shots.
We also have some guides for how to unlock all the beard and hair options for Cal, find the different mounts, and Quality vs Performance Mode at Attackofthefanboy.com.


Published: May 1, 2023 10:57 PM UTC