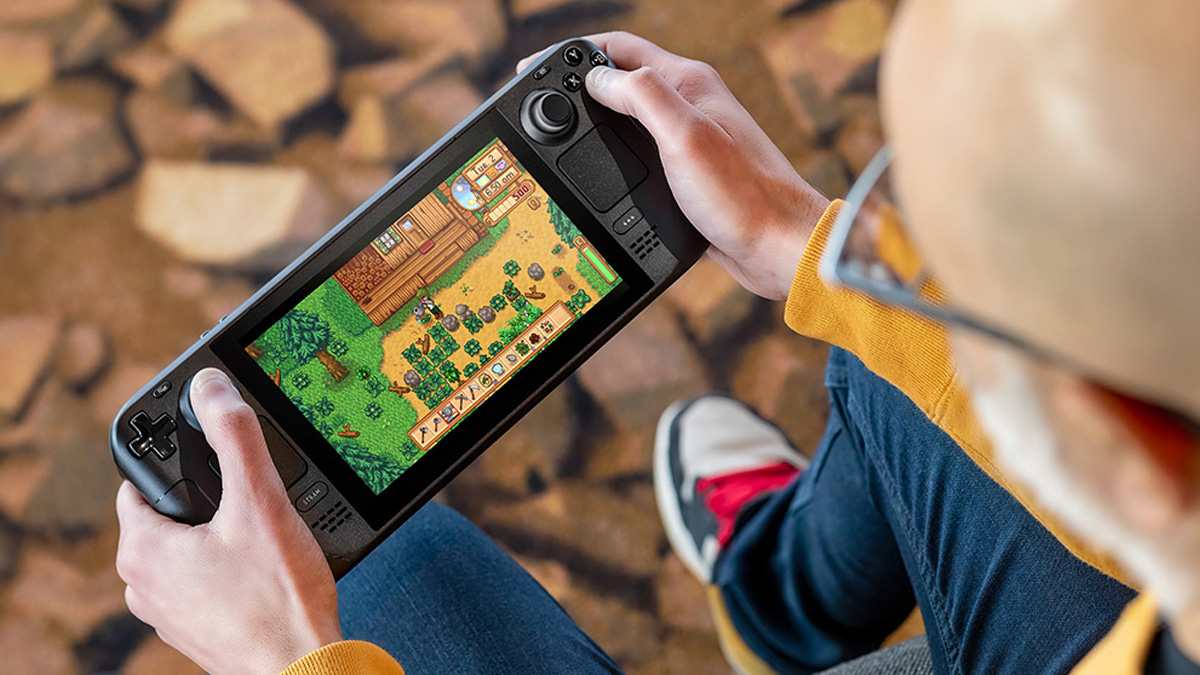
Modern PCs and consoles make it easier than ever to take screenshots of your gameplay. This ensures that whenever you come across an unexpected moment in a game, such as a memorable gameplay interaction or an odd glitch, you can look back at that moment without having to store it purely in your brain. Naturally, the Steam Deck also includes such an option, allowing you to make the most out of your PC games on the go. If you want to learn how to take a screenshot on your Steam Deck, you have come to the right place.
The Steam Deck lets you instantly snap a picture of your gameplay simply by pressing the ‘Steam button’ and the ‘R1 button’ on your system at the same time. If done correctly, a notification will show up on the Steam Deck screen confirming you have taken the screenshot. To see where the Steam Deck saves your pictures, hit the Steam button and then choose ‘Media’ from the menu. From there, you should find your screenshots under the ‘All’ tab or the ‘Recent’ tab if you took them a little while ago.
How do you share Steam Deck screenshots on your PC?
Although taking screenshots on your Steam Deck does not require much at all, sharing them on your PC takes a bit of setup. Select a screenshot from your list and hit the ‘Options’ button on the upper right of your Steam Deck. Then, you click ‘Upload’ and pick either ‘Private’ or ‘Public’ depending on if you wish to post the screenshot on social media or not. As of right now, you can only upload each screenshot one at a time.
After that, go to the Steam app on your desktop, click on your user name at the top, then click on ‘Content’ before selecting ‘Screenshots.’ This should display every screenshot you took on your Steam Deck. Then, click on a screenshot and copy and paste it onto your browser before saving it from there.


Published: Feb 8, 2023 01:00 pm