In The Legend of Zelda: Tears of the Kingdom, you can acquire weapons and armor that reference past Zelda adventures. Some of those items are available in an instant if you have the right amiibo, but you can also find them stashed in special locations throughout Hyrule. You just have to know where to look. Here is our guide explaining how to get the Sea-Breeze Boomerang in The Legend of Zelda: Tears of the Kingdom.
Tears of the Kingdom – how to Get the Sea-Breeze Boomerang
To get the Sea-Breeze Boomerang without help from an amiibo, you need to be ready to travel. The weapon is deep within the Depths, which is an underground realm where the damage you take can’t be recovered without items specifically crafted to counter the effects of gloom. Before you spend time on a lot of other activities, you might want to figure out how to get the Depths armor set to improve your odds of survival.
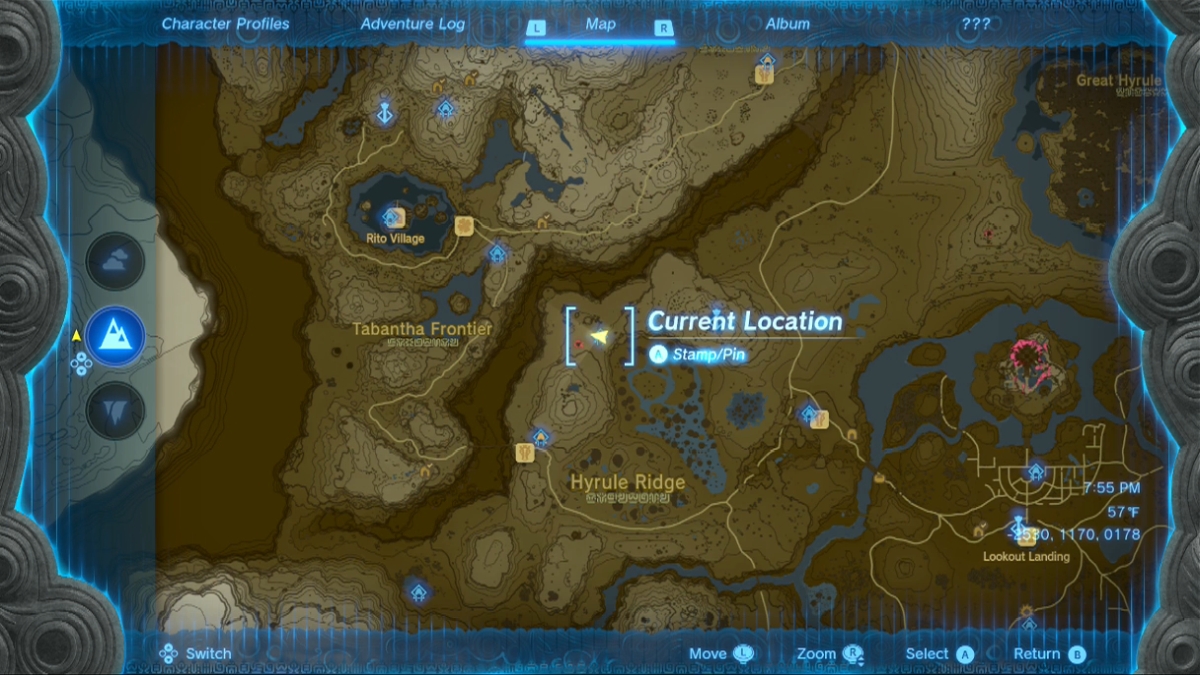
You will find the Sea-Breeze Boomerang in the Hebra Canyon Mine, which lies deep within the Hebra Mountains Depths. To get to that part of the map most readily, fast travel to Runakit Shrine on the surface. It is located west of the Lindor’s Brow Skyview Tower. The map below shows its location on the world map.
Facing out from Runakit Shrine with its entrance to your back, you should see nasty red light over the top of the grass ahead of you. Run forward and you’ll find the red light emanates from Hyrule Ridge Chasm. Dive into the opening to enter the Depths. As you land, you’ll find you’re not far from the Tikanur Lightroot.
There are numerous ways to negotiate the Depths. The best way to make progress in the Depths that I’ve found is to start by activating any Lightroot you can. That way, you’ll can see more of the map without having to use Brightbloom Seeds. The Depths are a twisting, winding place. It’s easy to miss a useful path if it lies outside your limited range of vision.
Travel north from Tikanur Lightroot, activating any Lightroot you come across. You want to make the bulk of the map to the northwest available, so veer in that direction when possible. Specifically, your goal is to activate Mu-ufatur Lightroot.
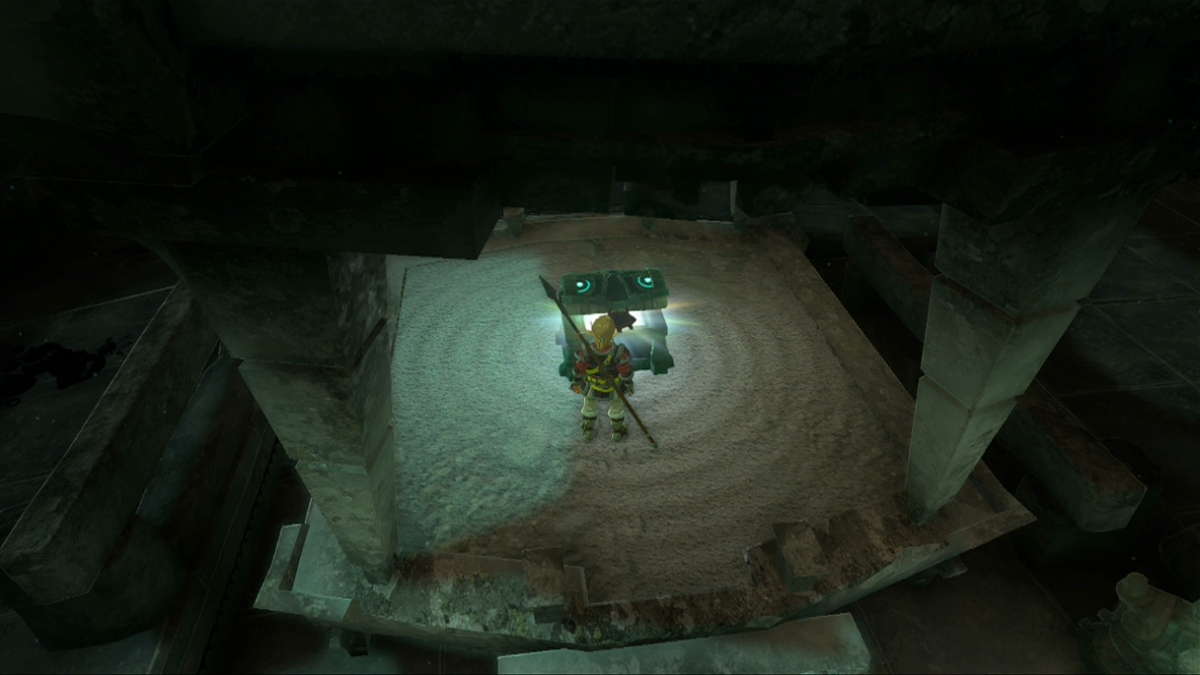
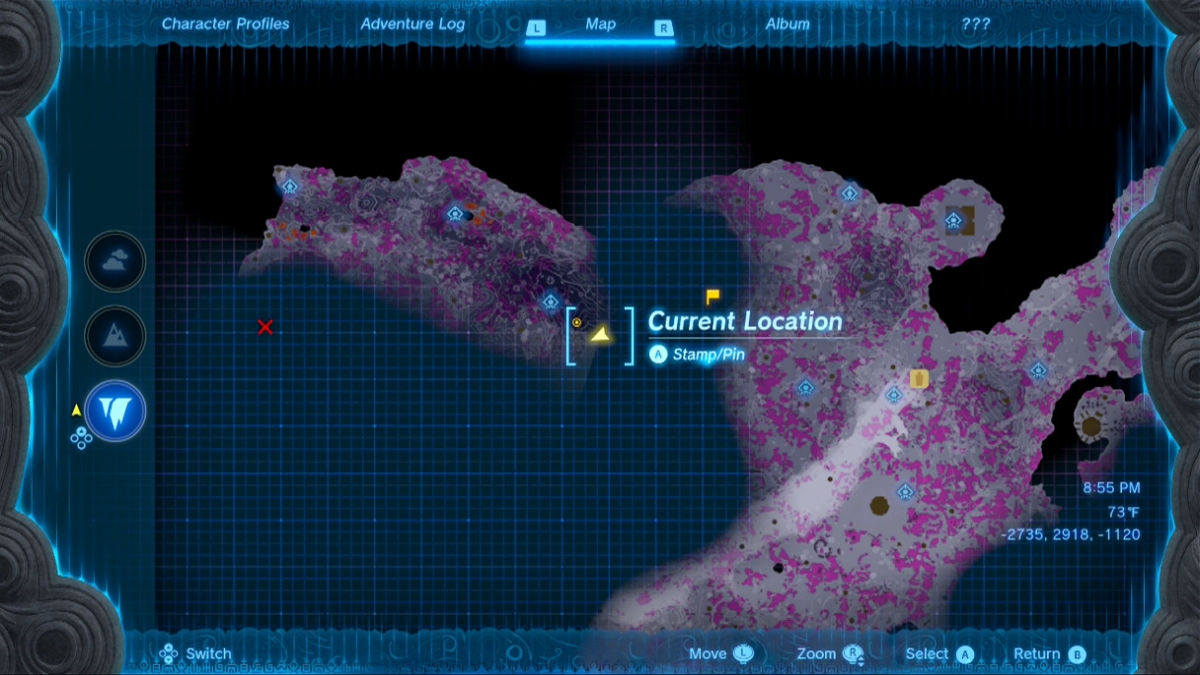
Once you have Mu-ufatur Lightroot activated, you’re almost done. You can float most of the way downhill to the southeast to reach your destination, Hebra Canyon Mine. When you arrive, you’ll see a treasure chest resting on an obvious pedestal that you can open for the Sea-Breeze Boomerang. The above image shows the location of the treasure chest.
The Legend of Zelda: Tears of the Kingdom is now available for Nintendo Switch.


Published: May 20, 2023 8:08 AM UTC