The Legend of Zelda: Tears of the Kingdom features some interesting quests. Late in the game, you’ll find one of the most interesting of those quests as you work to assemble a friendly robot. It’s quite the undertaking. Here is our guide telling you how to complete Right-Leg Depot in The Legend of Zelda: Tears of the Kingdom.
Tears of the Kingdom – how to complete Right-Leg Depot
Late in the game’s campaign, you must track down Mineru. This is part of the main quest, and it’s quite an involved process. If you need help, check out our guide telling you where the fifth sage is.
After finding Mineru and partially assembling a mechanical body, she asks you to find four more pieces from the nearby depots. Each location presents a puzzle of some sort. To complete Right-Leg Depot, you must guide the piece through an obstacle course to deliver it safely to the assembly point.
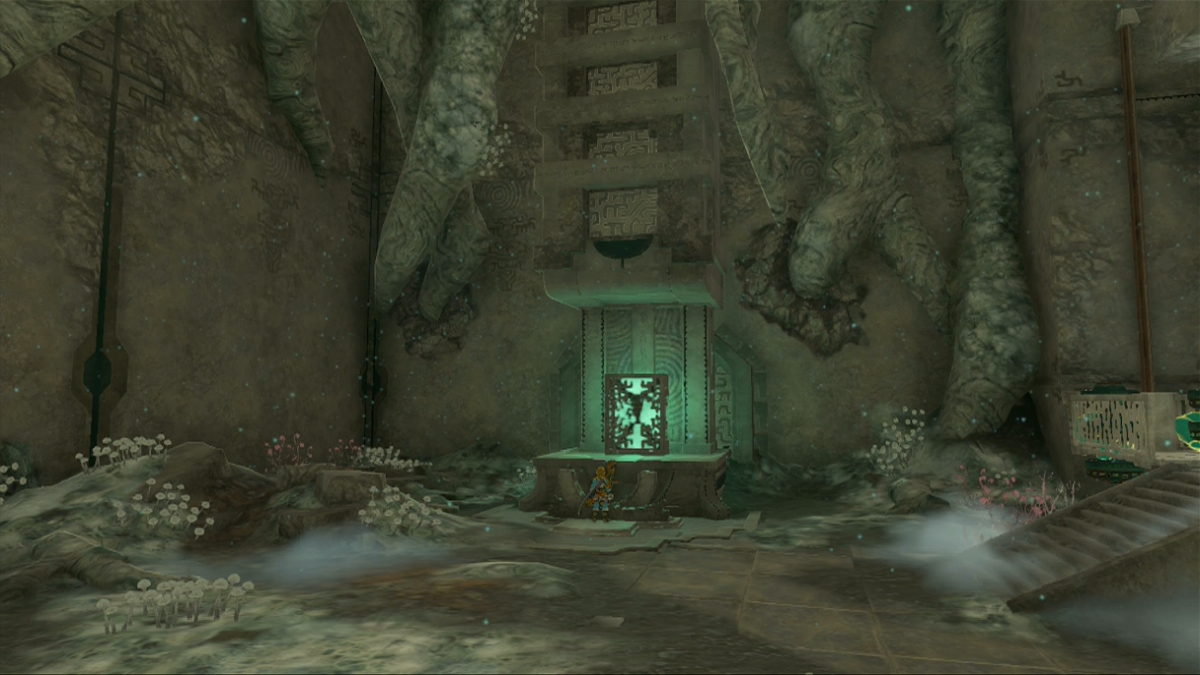
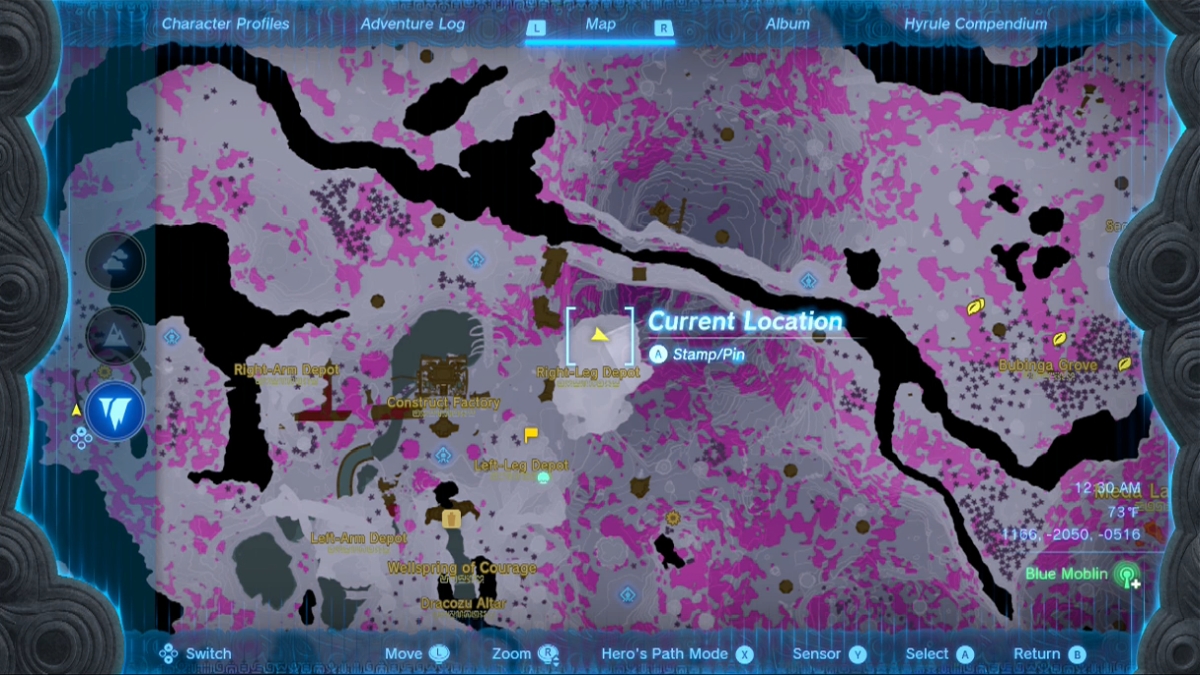
The Right-Leg Depot’s location is indicated in the above map screenshot. From your starting point, ascend to the high ground and glide between broken platforms in the northeast. A few enemy mobs attack along the way. You approach from the northwest, ultimately. Once you arrive at your destination, interact with the pedestal. The entrance gate closes and the arm drops from above, enclosed in a protective case.
Take the case to the right, where there are a couple of platforms with several Fan parts attached. Set the case on one of those platforms. Activate the Fans to ride to the high ground. Then use your Ultrahand ability to set the case safely on the wide platform.
You have options about how to proceed in this area. They require you to use Fans. Grab a couple from the platform you rode to the high level. You may need to drop down and ride it again, then quickly use the Ultrahand ability. You want at least a couple of Fans.
A high, oval-shaped track hangs in the air. Your first option is to attach the case to some nearby U-shaped brick pieces. Next, attach some Fans to your contraption. The Fans propel the case along the stone ring. I did not like this approach, however. It’s clearly the one the developers had in mind, but it felt too fiddly. So I found a different approach.
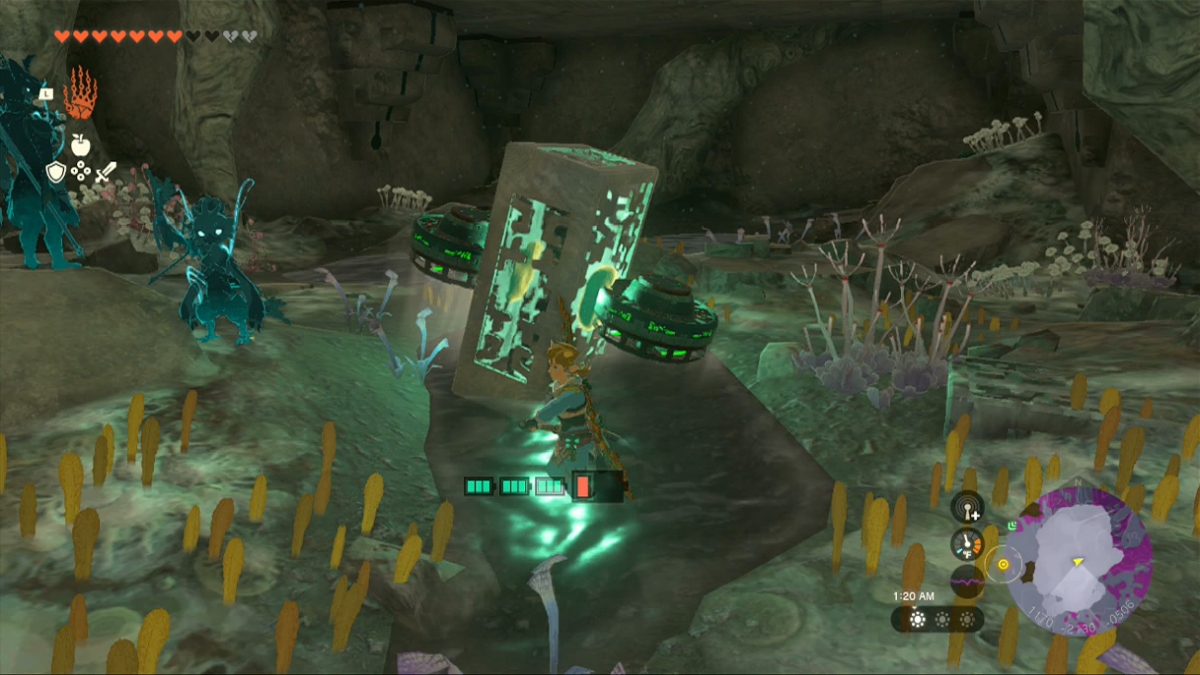
The alternate method is to attach Fans directly to the case. Stand it upright and attach a fan on each side. See the above screenshot. Then take the case to the far end of the area and activate the Fans. Quickly use the Ultrahand ability to lift it into the air. Place it flush against the brick wall’s middle portion. As the case scales the wall, step into the space below that wall. Use the Arise ability to ascend to the top. Then use the Ultrahand ability to grab the floating case. Pull it safely to your vantage point.
Once you bring the case to the high ledge, disable and remove any attached Fans. Bring the case around to another elevator, further along the platform. There are two elevators, right near each other. With the case resting on the elevator you choose, activate the elevator’s Fans and ride to the overhead ledge.
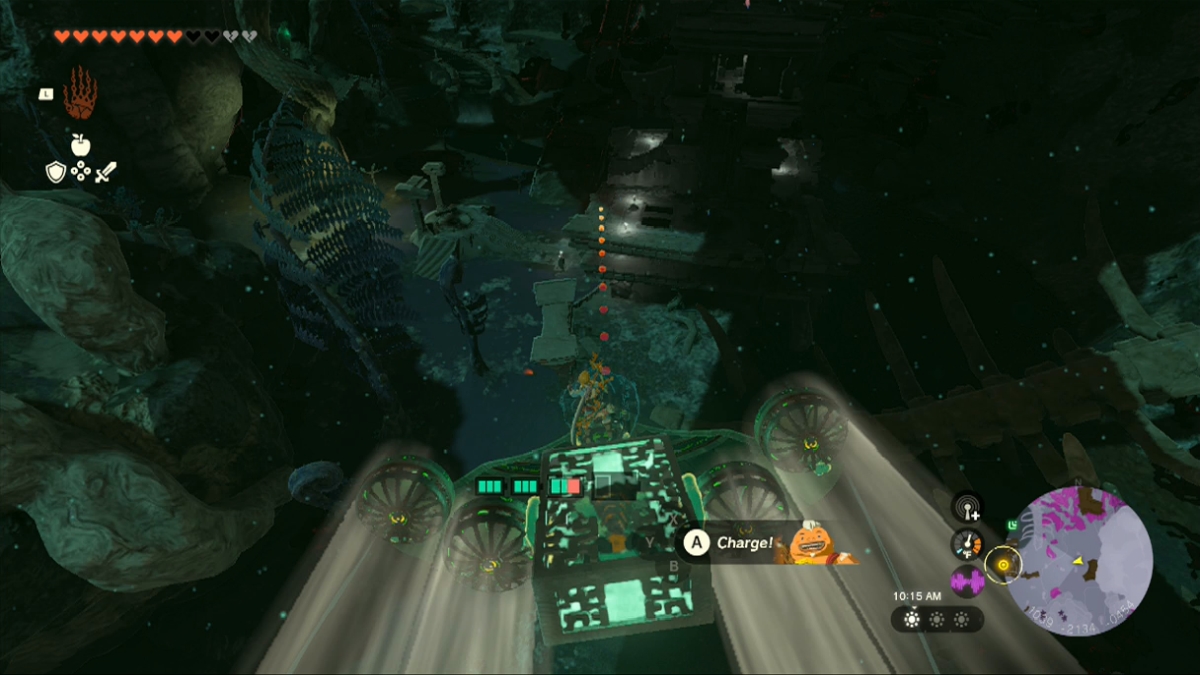
Now, carry the case around to a new platform. A long runway overlooks Mineru in the distance. On a higher ledge to the right, find some Wing pieces. Use the Ultrahand ability to bring one down to the runway. Then attach the case to it. Also place Fan pieces along the back of the Wing, and a Steering Stick. You’ll find the Steering Stick in the upper area with the Wing pieces. It’s near a treasure chest that contains Zonaite (3).
You might assemble the craft a few ways. See the design I used in the above screenshot. The general idea is that your craft needs to fly you back to the statue. Upon arrival, it breaks apart. Place the piece it contained within the pedestal so it clicks in place. Check our guide telling you how to complete Left-Leg Depot, in case you would like assistance with another piece.
The Legend of Zelda: Tears of the Kingdom is available for purchase from the Nintendo Store.


Published: Jun 6, 2023 03:44 pm