Some things are not too pleasant in video games, and then there is the necessity of building a sewage system to get rid of human waste. Here is how to build and connect a sewage outlet in Cities: Skylines II.
Cities: Skylines II: How to build and connect a sewage outlet

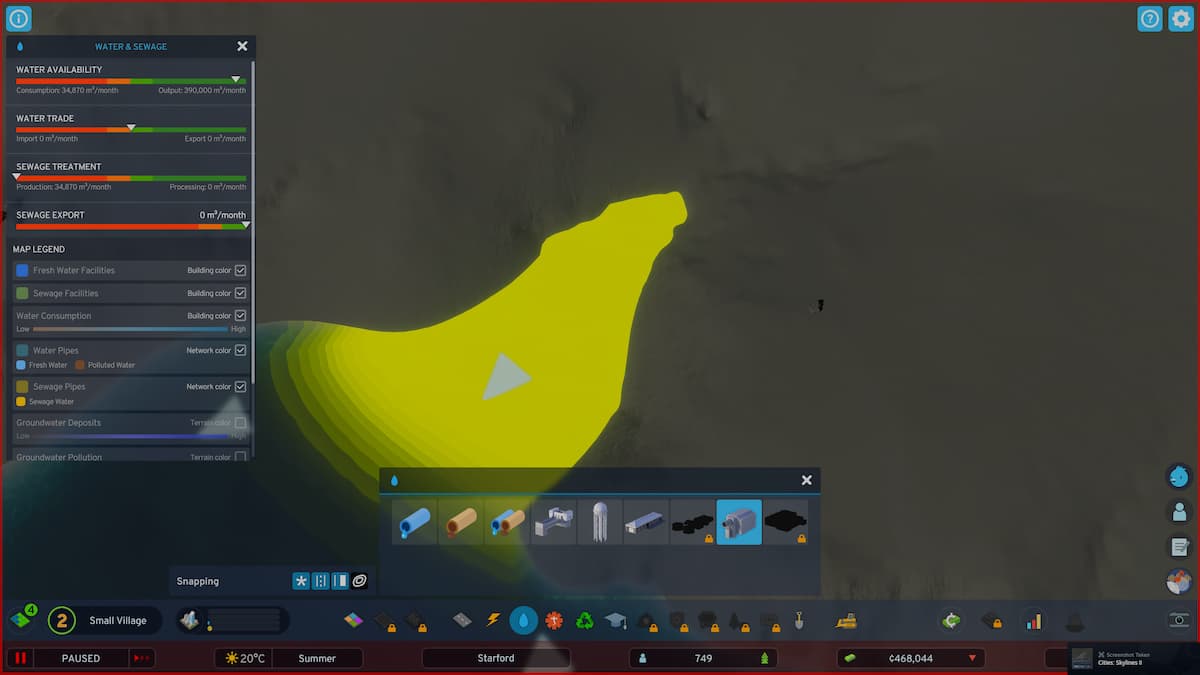
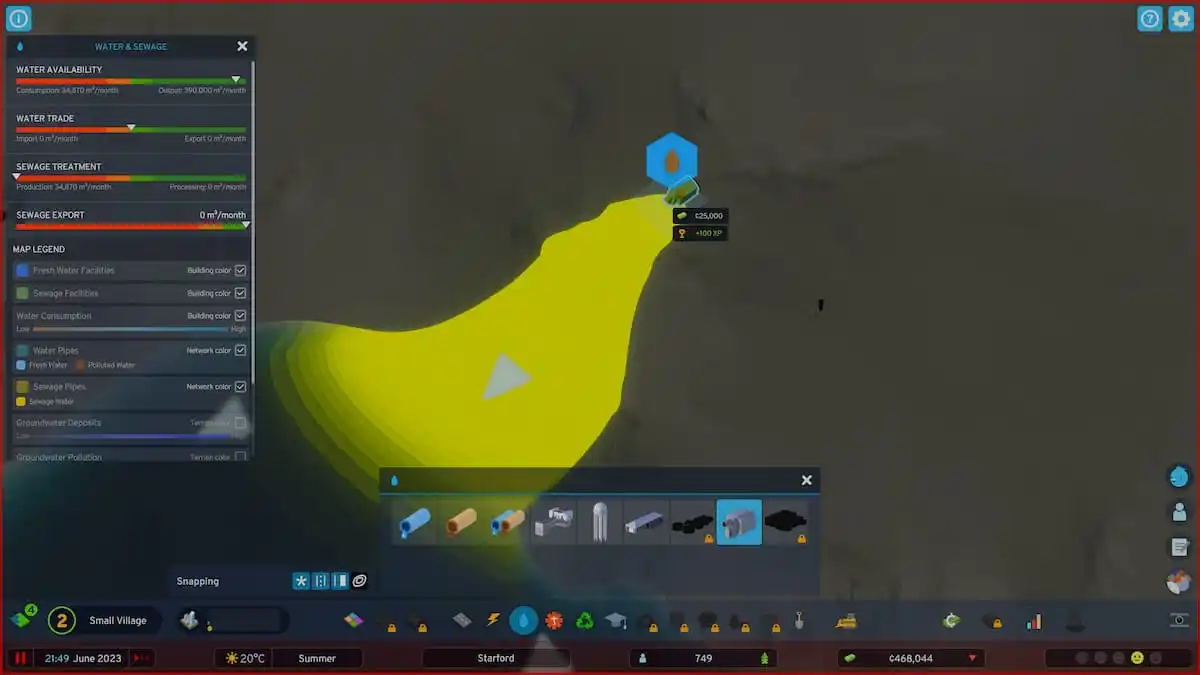
To build a sewage outlet, you will have to access the Water tab in the lower part of your screen. Then, visit a body of water and, after selecting the sewage outlet, click on the coast adjacent to the body of water. This will be the unfortunate water that will receive all the sewage waste that your lovely citizens will help create. Positioning is crucial though, since you don’t want to collect any contaminated water and redistribute it to your city. As a rule of thumb, have your water plants on the other side of the map while you also take into account the natural direction of the water.

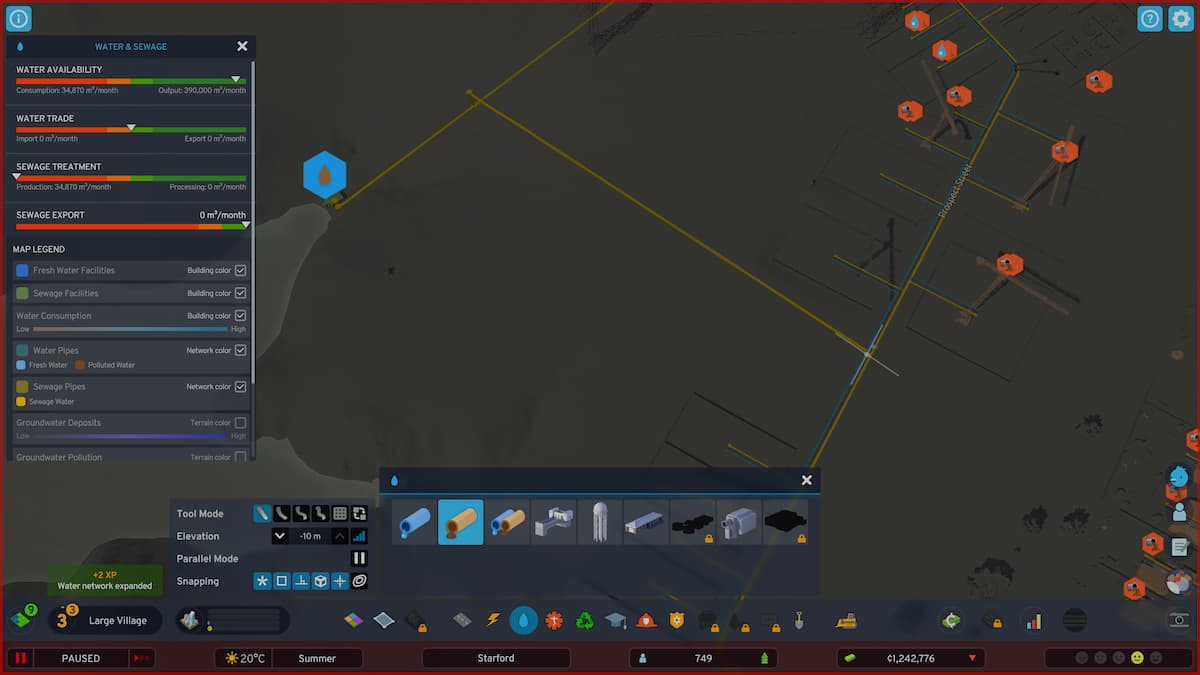
The second step is to connect the sewage outlet to your city since waste from the multiple toilets in your town needs somewhere to go. They don’t magically disappear, shocking! You will need some sewage lines to connect the sewage wastes to the sewage outlet. Yes, a lot of sewage in this piece, sorry about that. If you have multiple neighborhoods that are not connected through a connected sewage system, then you will have to connect them to the sewage outlet line. Don’t worry, each of the neighborhood’s sewage lines is connected automatically once you create streets. You won’t find yourself micromanaging the sewage grid, so you have to thank the developer for that.

Related: Cities: Skylines II review – Too close to the sun
Go ahead and connect the sewage as soon as possible to prevent any impact on your citizen’s health and happiness. Be sure to upgrade it as well to optimize its flow and capabilities. Good luck with those murky waters!


Published: Oct 24, 2023 09:15 am