The Whisper is full of brutal jumping puzzles that are far more challenging than any battle in the mission. If you’re lost or just plain stuck, here’s how to beat every Jump Puzzle in The Whisper Exotic Quest in Destiny 2.
Destiny 2: The Whisper Exotic Quest full puzzle walkthrough
In this guide, I’ll explain every area you will likely get stuck in during The Whisper Exotic Quest. If jump puzzles aren’t your strong suit, I recommend equipping the Strand Subclass and Grapple Grenades, as they are superb mobility tools. I also highly recommend tackling the quest on the Normal difficulty first, as it gives you a 40-minute timer instead of 20.
First Puzzle
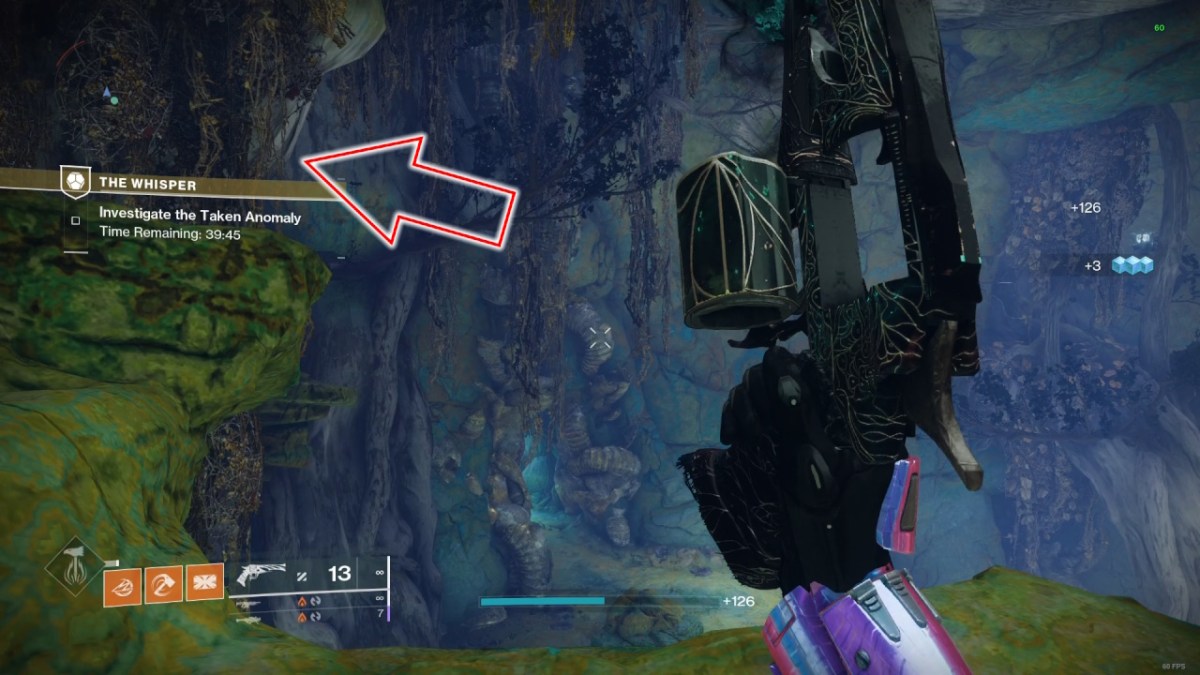
The Whisper throws a curveball right at the start of the mission. After you’ve defeated the first group of enemies, you’ll be on a landing above a vast room. You can ignore the room entirely and head to where the arrow points in the picture above. There’s a Taken Centurion up there who provides a handy marker for the ledge. Destroy the Taken Blight behind the Centurion and fall down the hole to continue the quest.
You Are Alone
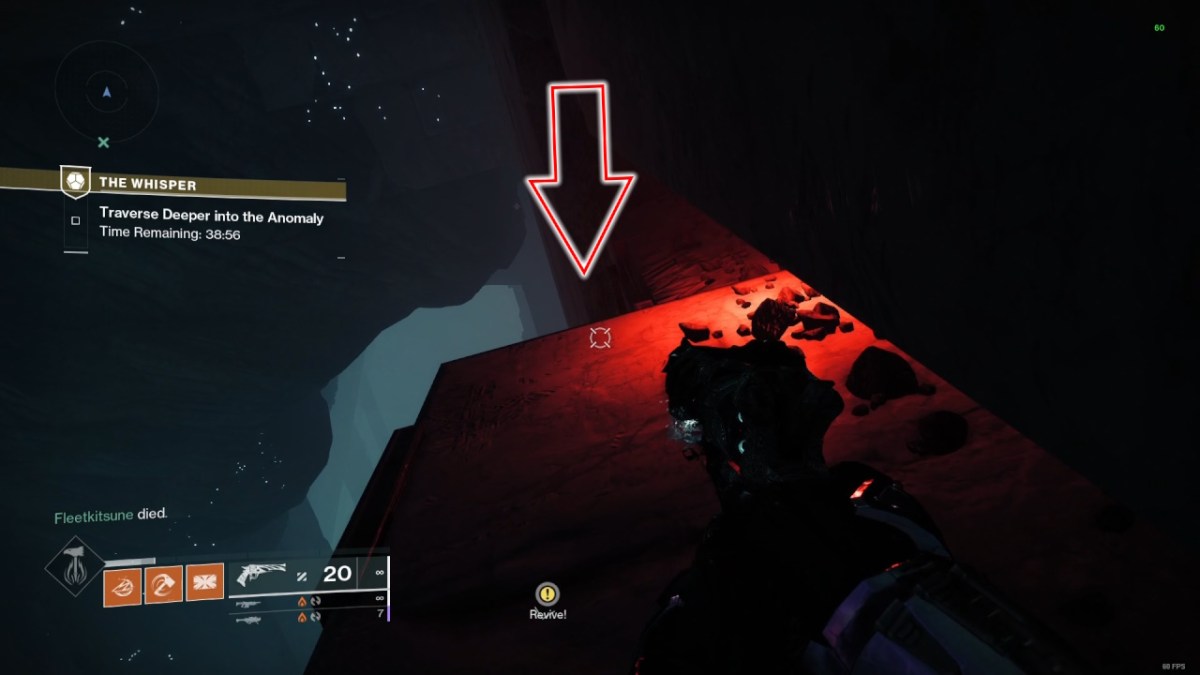
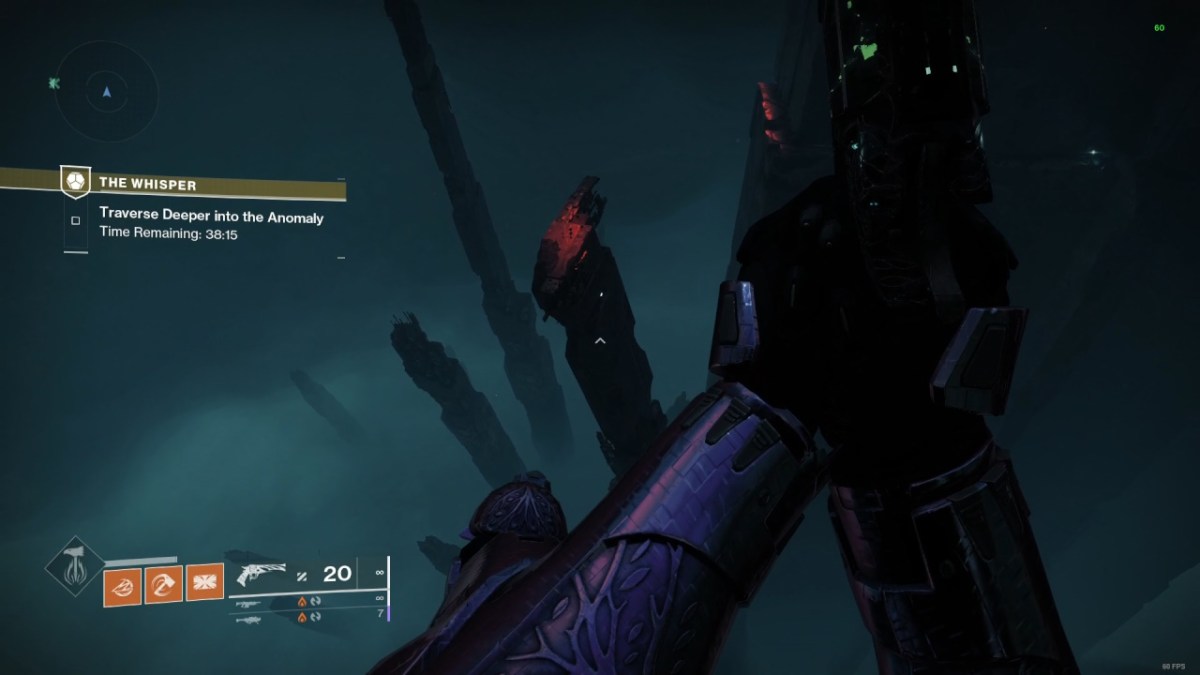
There are several nasty jumps after the voice says, “You Are Alone.” Drop down when you reach the ledge (pictured above) and land on the narrow path below.
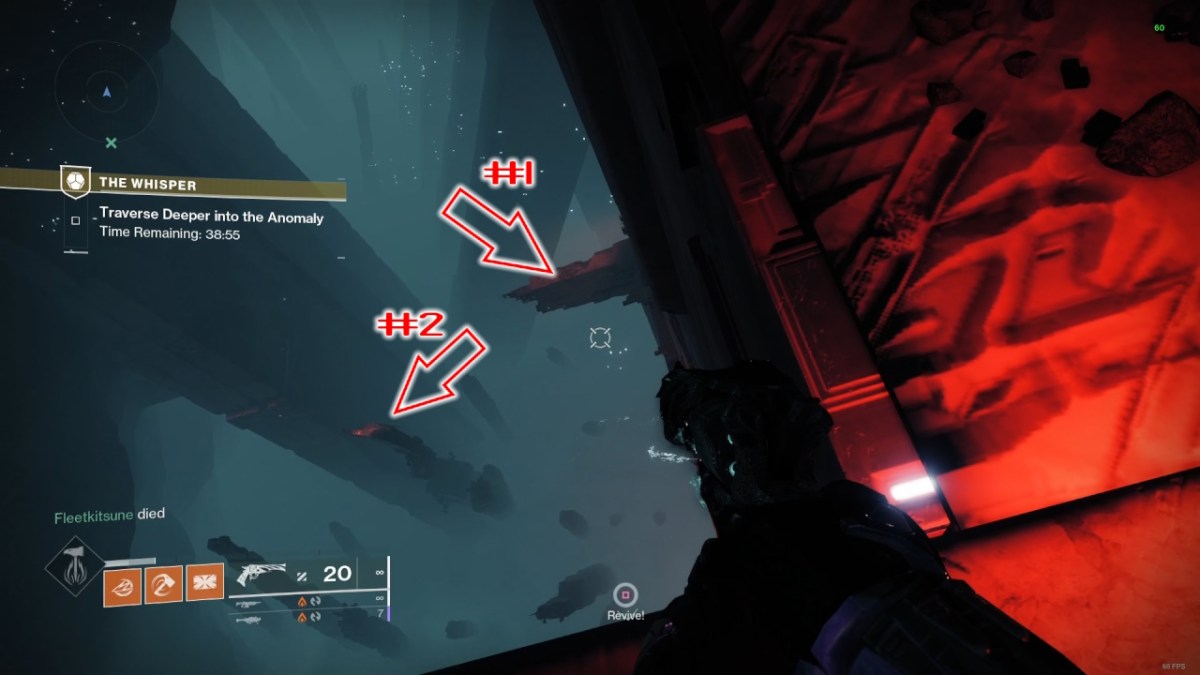
Carefully walk along the path, avoiding the hazards. You want to jump to the platforms I’ve labeled in the image above.
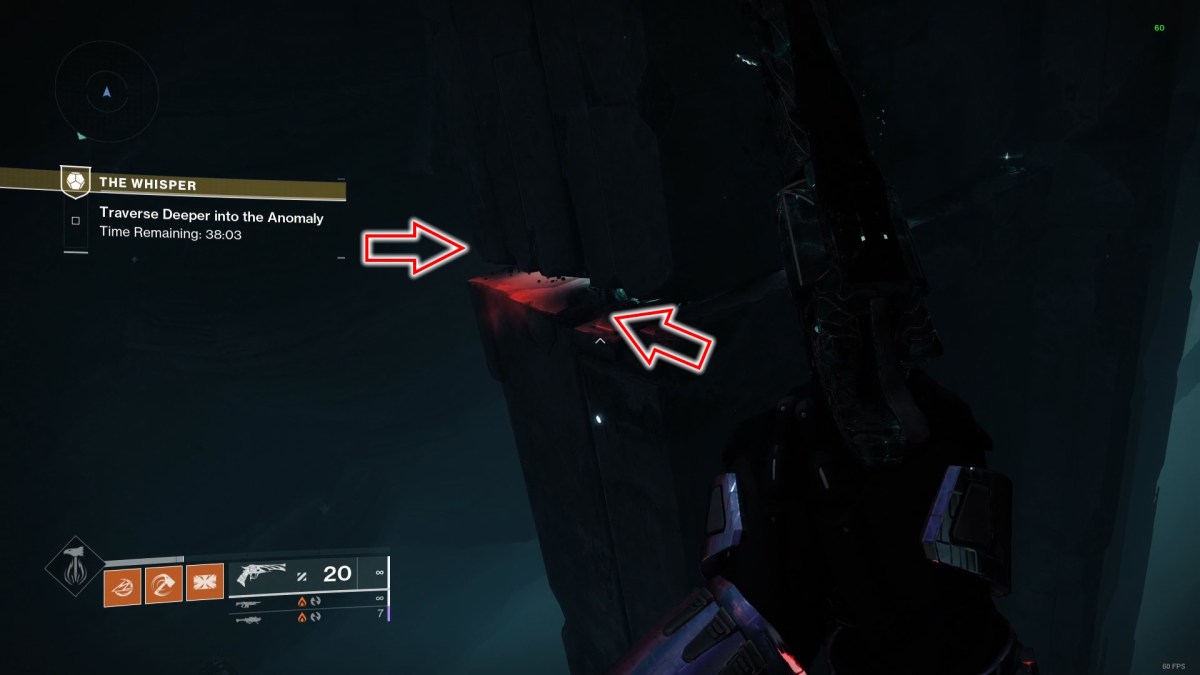
It’s very easy to get lost here. Jump to the edge in front, then go left instead of right. Oddly enough, you can travel pretty far to the right before hitting an invisible barrier, which wastes a lot of time.
When you go left as far as you can, you must perform a blind jump around the corner. Don’t worry if this takes a couple of tries, as the respawns are generous in this area. Mind the hazards and jump across the chasm to your left when you reach the end of the path.
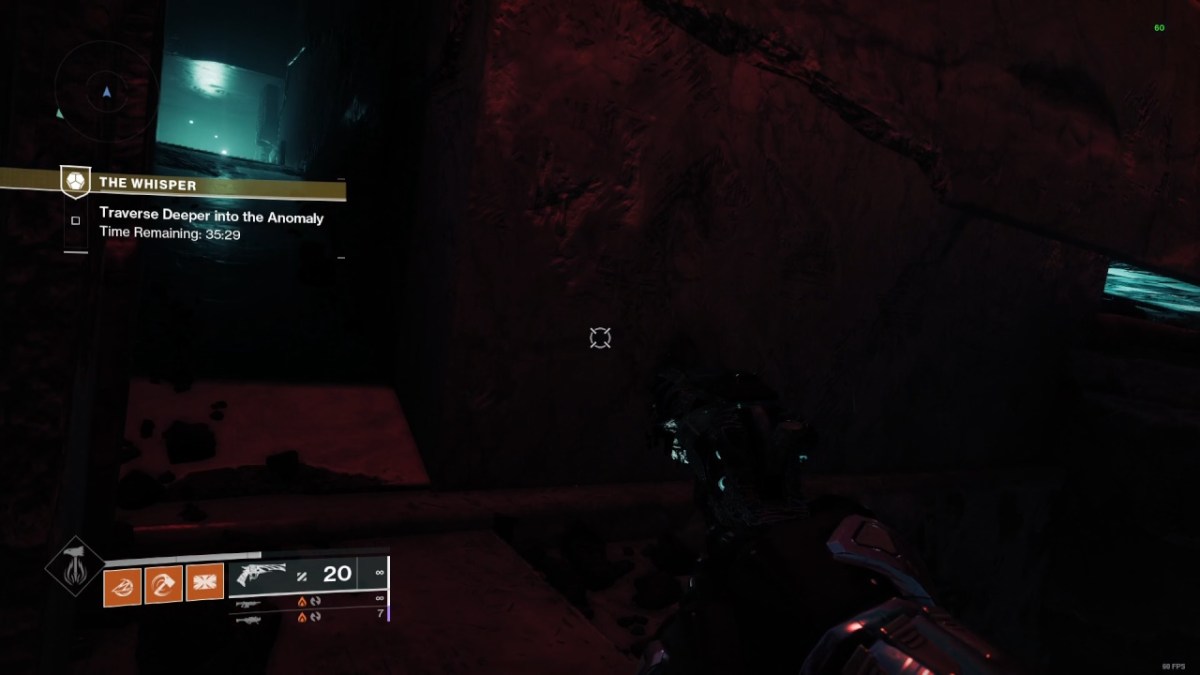
Follow the route and take the moving platform up. You want to enter the doorway in the picture above. It’s tucked away into the wall, and I missed it on my first go as I was looking straight ahead.
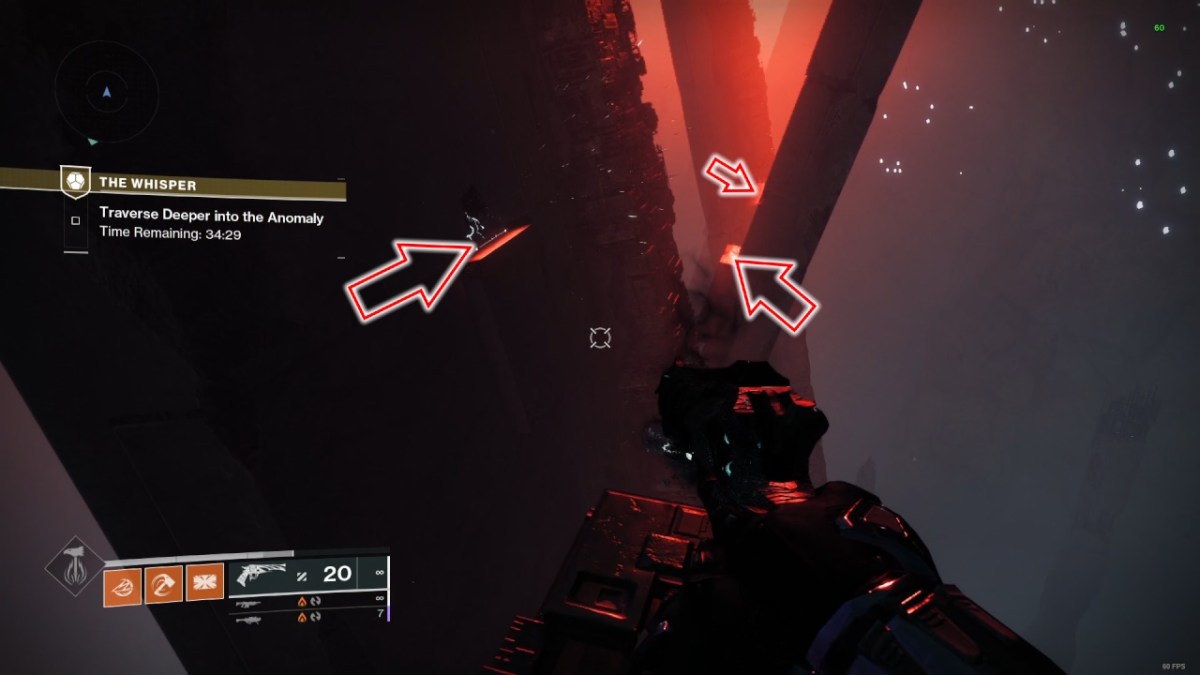
There’s a tricky section of jumps up ahead, although they are easy to spot. If you mess up the timing, you’ll be launched off the platforms, but the route is straightforward.
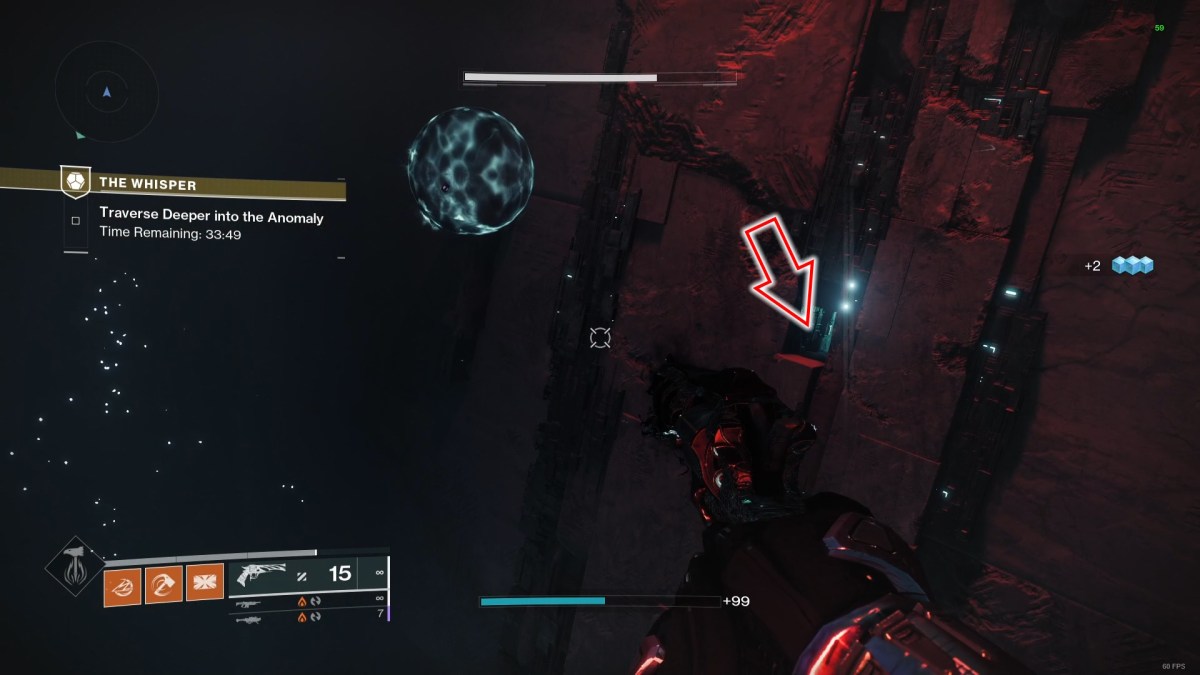
When you reach the dead end, you can escape the area through the small doorway in the picture above. This entrance automatically opens and closes, so you must time your jump to get inside.
You Shall Drift
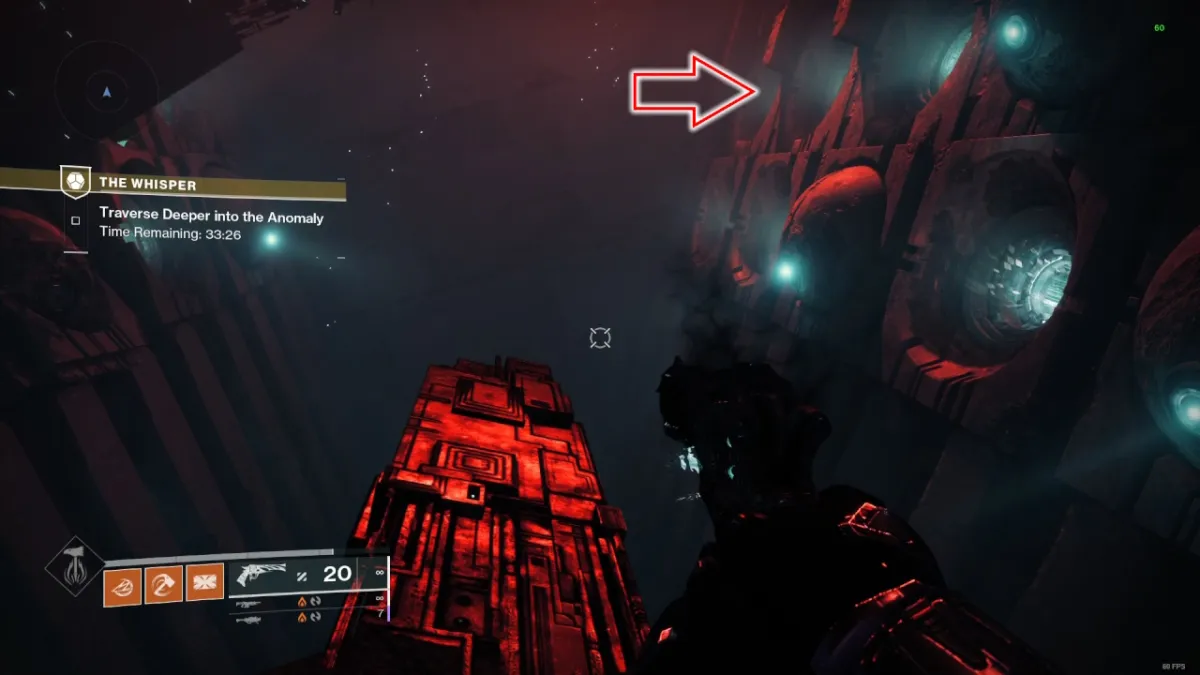
I ran the timer out on my first visit here, as there was a hole in the wall to the left I was convinced I could reach. Fortunately, the solution is much easier. There are multiple portals on each side of the room. To escape, enter the top portal at the back of the room on the right.
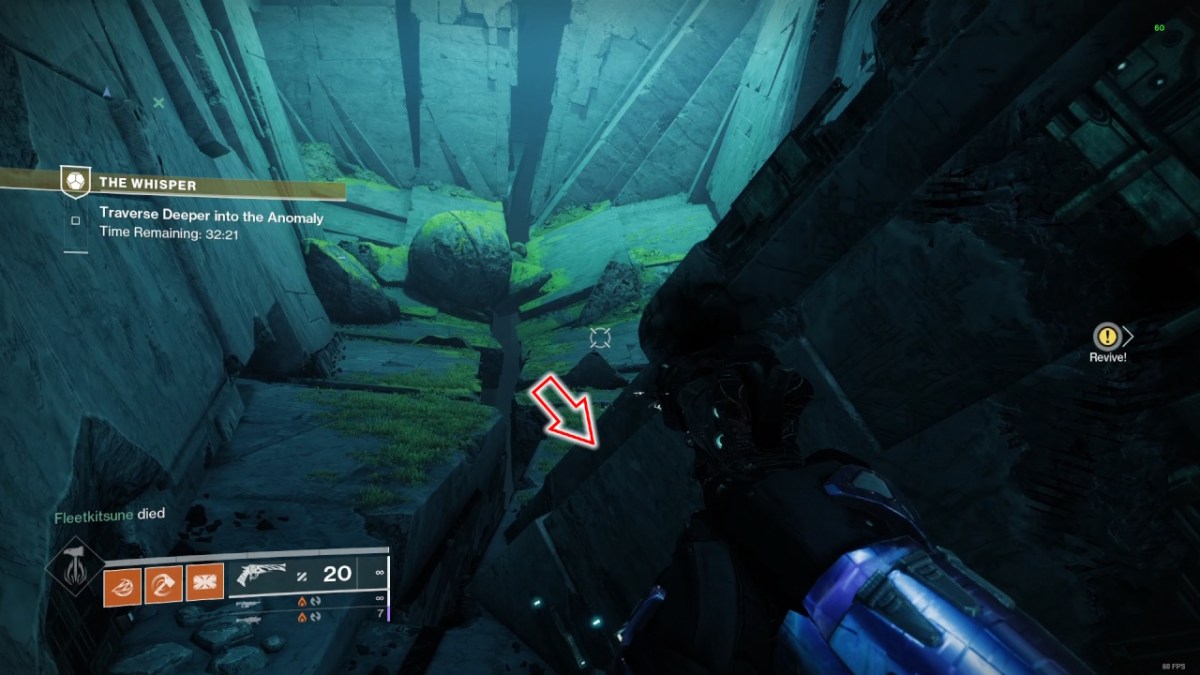
This isn’t a jump puzzle, but getting lost here is very easy. Once you’ve gone through the portal, you’ll reach an expansive room (pictured above). The exit is through a small opening around the corner to your right at ground level.
You shall drown in the deep
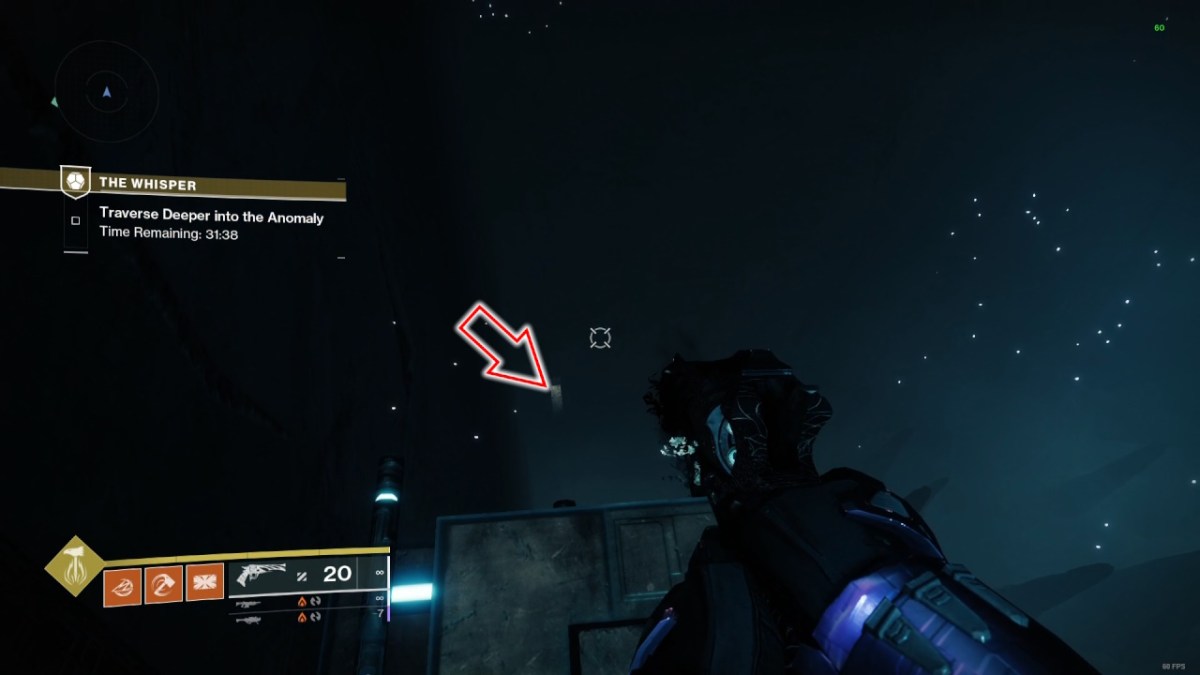
Follow the thin ledge to the left until you reach the edge pictured above. Then, you have to make a very precise jump to the entrance below, which is easier said than done. There’s also a small lip just above the doorway, so you can’t skate down the wall above.
Don’t worry if this jump takes a few attempts, as you’ll respawn nearby. If you’re a Titan, remember to use your thrusters a few seconds before you land, as it will take a brief moment to slow down. Also, the platform is quite narrow, and it’s possible to push your teammates off if you land on them, so go single-file if you’re in a Fireteam.
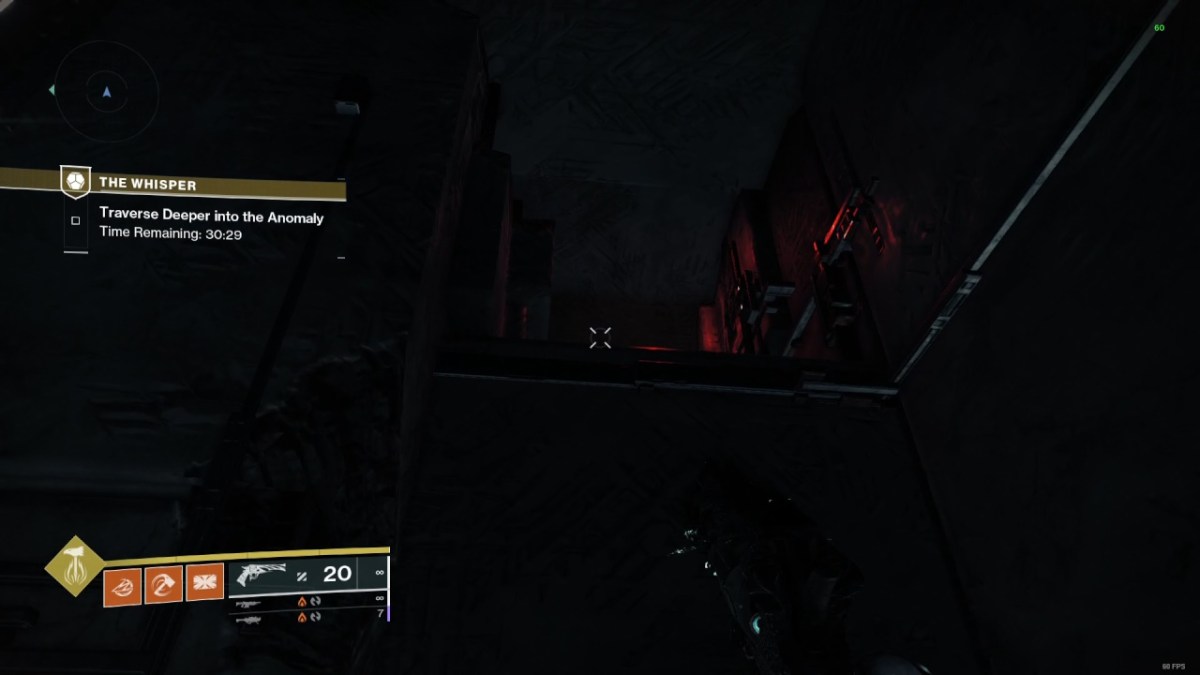
The following section contains some claustrophobic jumps, but follow the narrow ledge on the left and look upwards to the right. You’ll see a small red entrance (pictured above). Carefully jump inside and head toward the first combat-centric part of the mission.
How to beat the Taken in the Whisper Exotic Quest
If you’ve made it this far, you’ve already beaten the most demanding part of the quest. There are several rooms full of Taken enemies, and you must defeat them all to progress. The door to the following room is blocked until every enemy is defeated. Remember that you must shoot the blight on each doorway to open it, but it’s invincible if you even leave a single enemy standing.
I used a Polaris Lance Scout Rifle for this part, as there are many ranged enemies, but you can use whatever you like. Feel free to spend your Super to speed up clearing enemies, as it will refill by the time you reach the bosses.
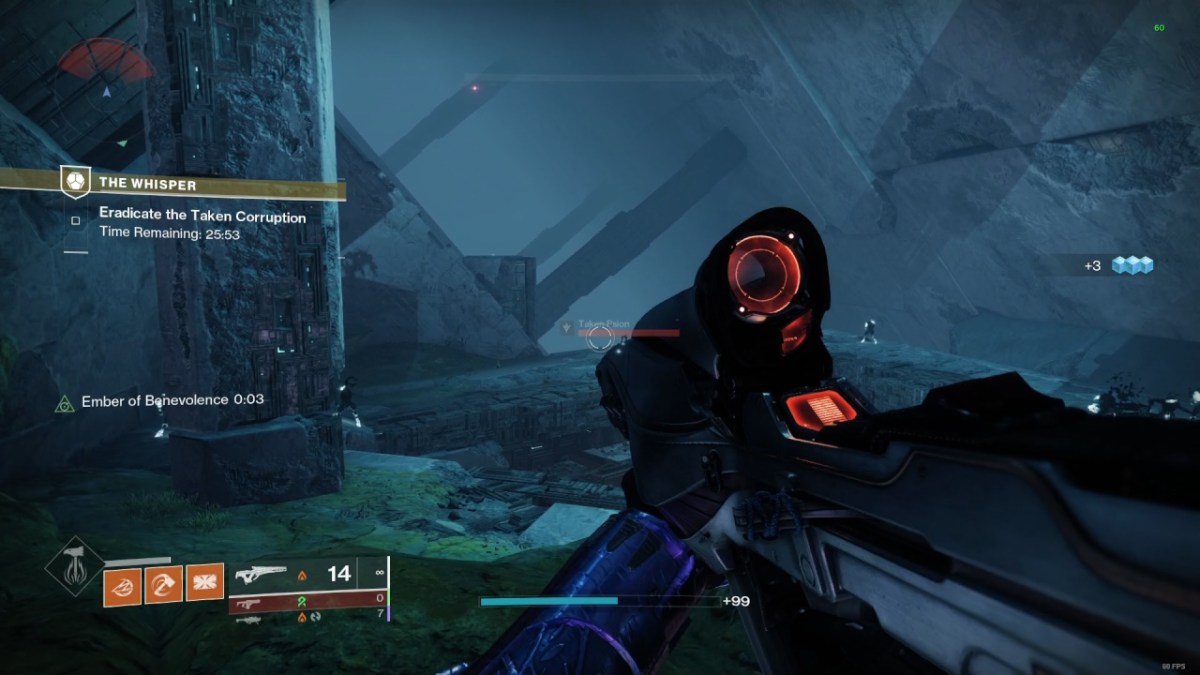
When you open the third door, two Taken Centurions will spawn behind you. Defeat them, then kill every Taken enemy in the wide-open arena (pictured above). There’s a large triangular hole in the middle of the room with a taken blight covering it. Like the doors from earlier, you can destroy this with gunfire after beating every enemy. Just beware of the snipers on the ledges above, as they are easy to miss.
Jump down the hole, and you’ll reach the final arena of The Whisper exotic quest. You’ll have to fight through two encounters: one against a trio of Taken commanders and the other against Tulgohr, Aspect of Agony.
Time is always a factor in this quest, but I beat both bosses as a duo in just under 8 minutes. If you only have a few minutes to spare before the encounter, it may be worth restarting the mission, as you’ll get here much faster on your second attempt.
The Whisper Exotic quest is a fantastic addition to Destiny 2, but make sure to check out the Onslaught mode for a ton of unique rewards.



Published: Apr 10, 2024 11:53 AM UTC