
The Arcadion features some of the best fights in all of Final Fantasy XIV, and the first Savage tier of the Dawntrail expansion is no joke. AAC Light-heavyweight M3 pits players against Brute Bomber in a fairly straightforward fight, but a single mistake can be deadly for an entire party.
Table of contents
- How to unlock AAC Light-heavyweight M3 Savage in FFXIV
- All AAC Light-heavyweight M3 Savage mechanics explained
- Opening Phase
- Barbarous Barrage Phase 1
- Chain Deathmatch Phase 1
- Final Fusedown
- Fusefield
- Chain Deathmatch Phase 2
- Fuse or Foe
- Barbarous Barrage Phase 2
- AAC Light-heavyweight M3 Savage rewards in FFXIV
How to unlock AAC Light-heavyweight M3 Savage in FFXIV
You’ll unlock AAC Light-heavyweight M3 Savage in Final Fantasy XIV as soon as you unlock the AAC Light-heavyweight Savage tier of the Arcadion raid series. All four Savage AAC Light-heavyweight raids unlock at the same time. After finishing the normal difficulty questline for the AAC Light-heavyweight tier (culminating with The Neoteric Witch quest), you can speak to Gabbro (X: 22.3, Y: 17.1) in Solution Nine to unlock the Savage versions of these four fights.
All AAC Light-heavyweight M3 Savage mechanics explained
The Savage version of AAC Light-heavyweight M3 reuses a lot of mechanics from its normal counterpart, but the intensity is ramped up to 11. Brute Bomber’s attacks pack a mighty punch and can easily kill you in one or two hits, so you’ll have to play perfectly unless you want your healers to hate you.
Recommended M3S Markers

We recommend placing markers at clock spots for this fight to make things easier. You can refer to the waymarks to dodge certain attacks more easily. See the image above for the best placements.
Opening Phase
The fight begins like most do: with a raid-wide. Brute Bomber casts Brutal Impact, which is a physical raid-wide attack (pop Feint to give your healers some breathing room) that hits a total of four times. Immediately after, he’ll use Knuckle Sandwich. This is another four-hit attack, but it’s a tank buster that must be shared by both tanks.
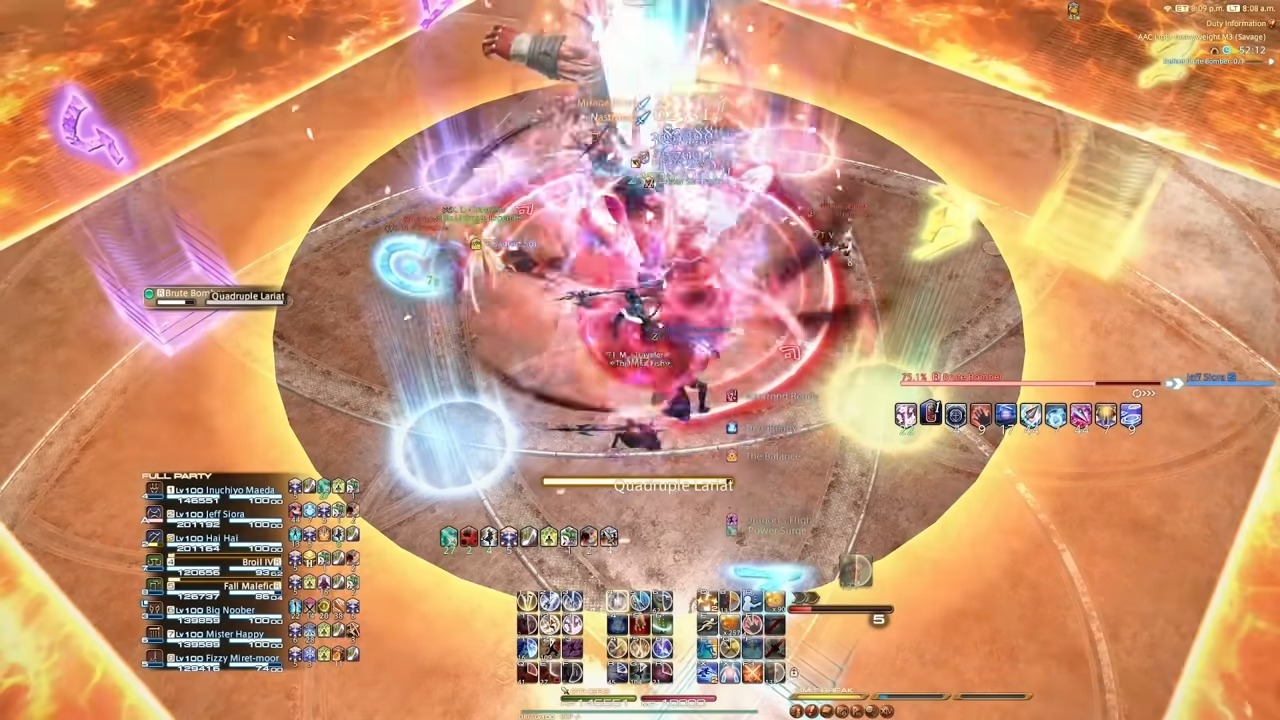
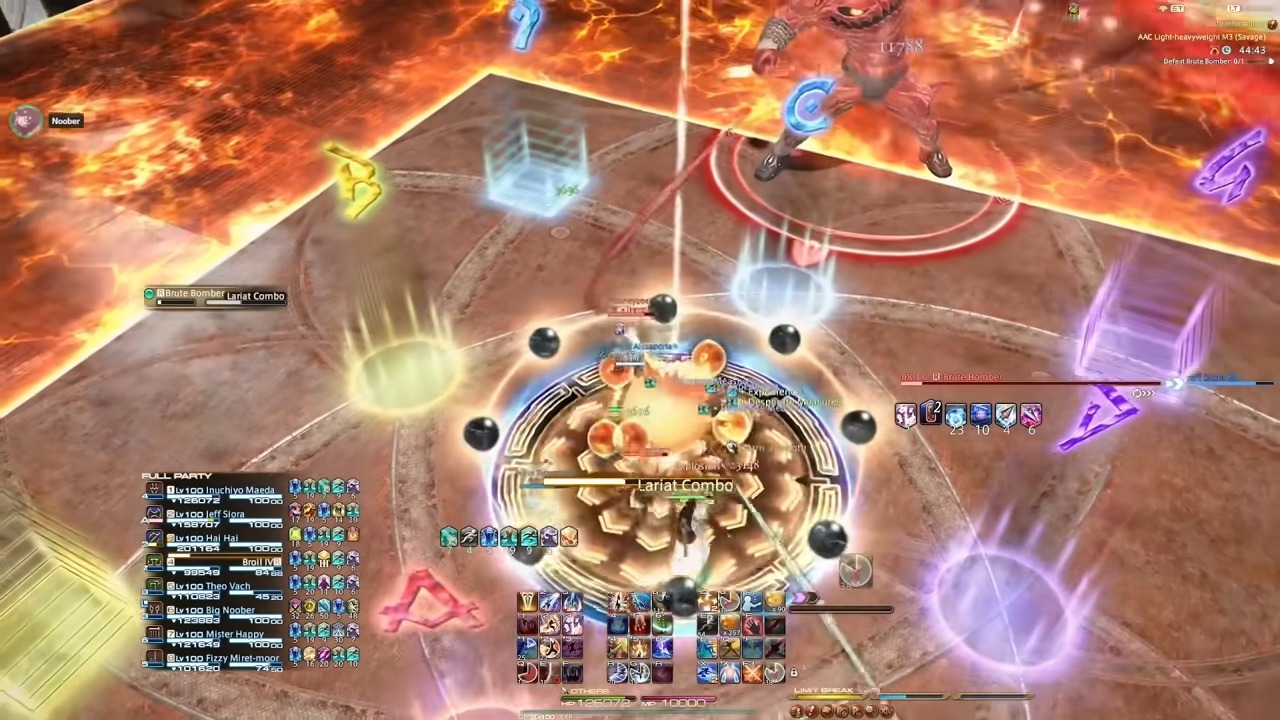
Lariat
Lariat is the first basic mechanic of this fight. Brute Bomber will use either Quadruple or Octuple Lariat and perform a circular AOE directly underneath him before launching conal AOEs at the party.

These AOEs must be soaked by pairs of players if Brute Bomber used Quadruple Lariat or the party must spread out evenly if he used Octuple Lariat. If it’s Quadruple and you need to pair up, just head to markers A/B/C/D. If it’s Octuple and you need to spread, have one party member stand on each marker. If you mess this mechanic up, you’ll suffer from a Physical Vulnerability Up debuff in addition to taking heavy damage.
Dive
Brute Bomber will perform either Octoboom Dive or Quadroboom Dive immediately after the Lariat. He’ll leap to the edge of the arena and deal proximity damage to the entire party, so move away from him.
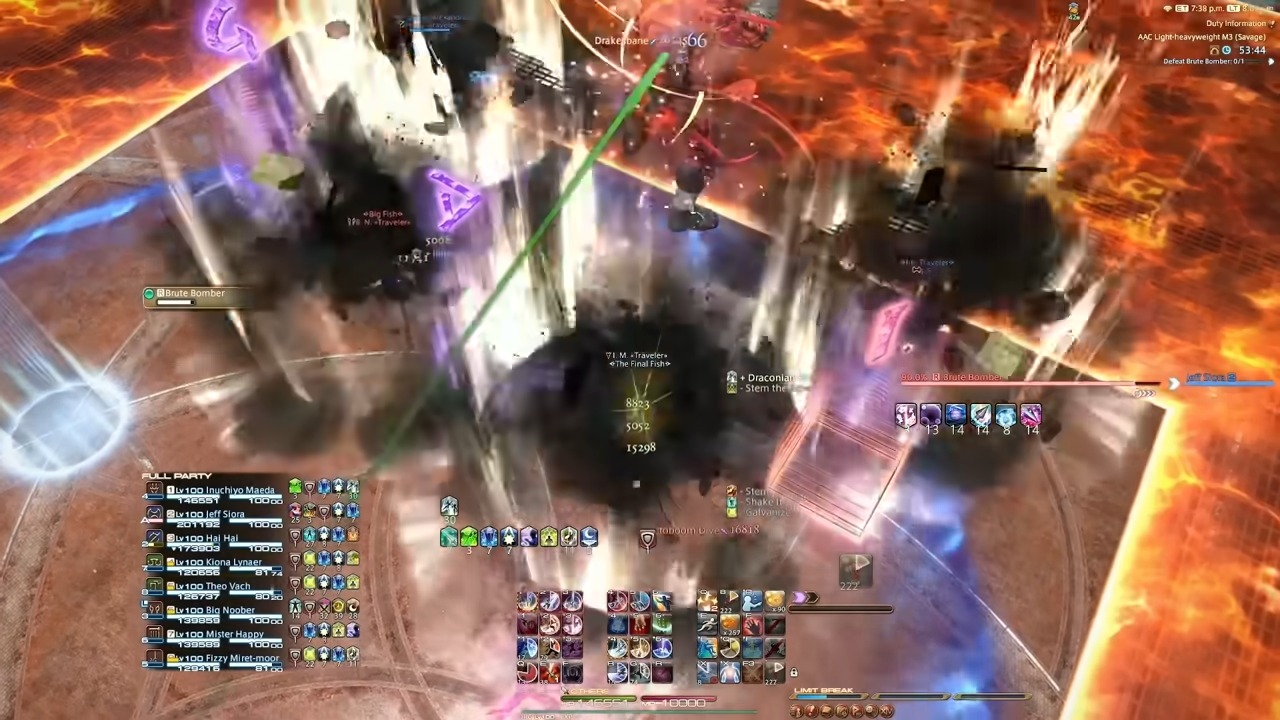
Depending on the attack, you’ll need to either spread or pair up. Octoboom means spread, Quadroboom means pairs. After this, Brute Bomber will cast the raid-wide Brutal Impact once more to transition to the next phase of the fight.
Barbarous Barrage Phase 1
Barbarous Barrage is the first real mechanic of this fight. Just like in the normal version of M3, knockback towers will spawn throughout the arena. This time, however, each knockback must be soaked by a certain number of players and you’ll have to angle the knockbacks so you can hit every tower in succession.
Split your group into light parties of four. Two sets of three knockback towers will spawn on either the north/south or east/west sides of the arena. Each of them has a set of black orbs circling them that denote how many players need to stand in each tower.
To resolve this mechanic, send four players to the middle towers since they need four people each. Then, angle the knockbacks so that a pair of players from each group is knocked back into each of the four remaining towers in the corners of the arena. The corner towers will detonate shortly after the center ones, so you have to use the knockback from the center blast to move the pairs to the corners. There’s no time to run if you mess up the angle.

While everyone is getting knocked around, a final tower will spawn in the center of the arena that must be soaked by all eight party members. Use the knockback blast from the corner towers to get everyone back into the middle. As you all soak the middle tower, Brute Bomber will begin to cast Murderous Mist. Move directly behind him to dodge it just like in normal mode.
Doping Draught
For the next part of the fight, Brute Bomber will return to the center of the arena and cast Doping Draught. After drinking the banned energy drink, his Lariat and Dive attacks will be modified.
If Brute Bomber glows with orange flames, the following Lariat attack will be a donut-shaped AOE. Otherwise, it’ll be the standard Lariat with a circular AOE directly underneath the boss. Regardless of whether you dodge by going in or out, though, the party still needs to either soak or spread for the conal AOEs that follow.
Dive is up next. Brute Bomber will leap to the edge of the arena like normal, but if he’s glowing with orange flames, the impact will knock the party back as well. The usual spread mechanic occurs regardless of the glow, though, so make sure the party either spreads out or pairs up depending on the name of the attack.
To close out this phase, Brute Bomber will perform a six-hit Brutal Impact raid-wide followed by a six-hit Knuckle Sandwich duo tank buster. He’ll then cast Tag Team to create clones of himself to transition to the next phase of the raid.
Chain Deathmatch Phase 1
Once both clones have been created, Brute Bomber will cast Chain Deathmatch. This tethers one clone to you with a purple chain. To survive this mechanic, you must get hit once by the clone that you are tethered to while dodging the attack from the second clone.
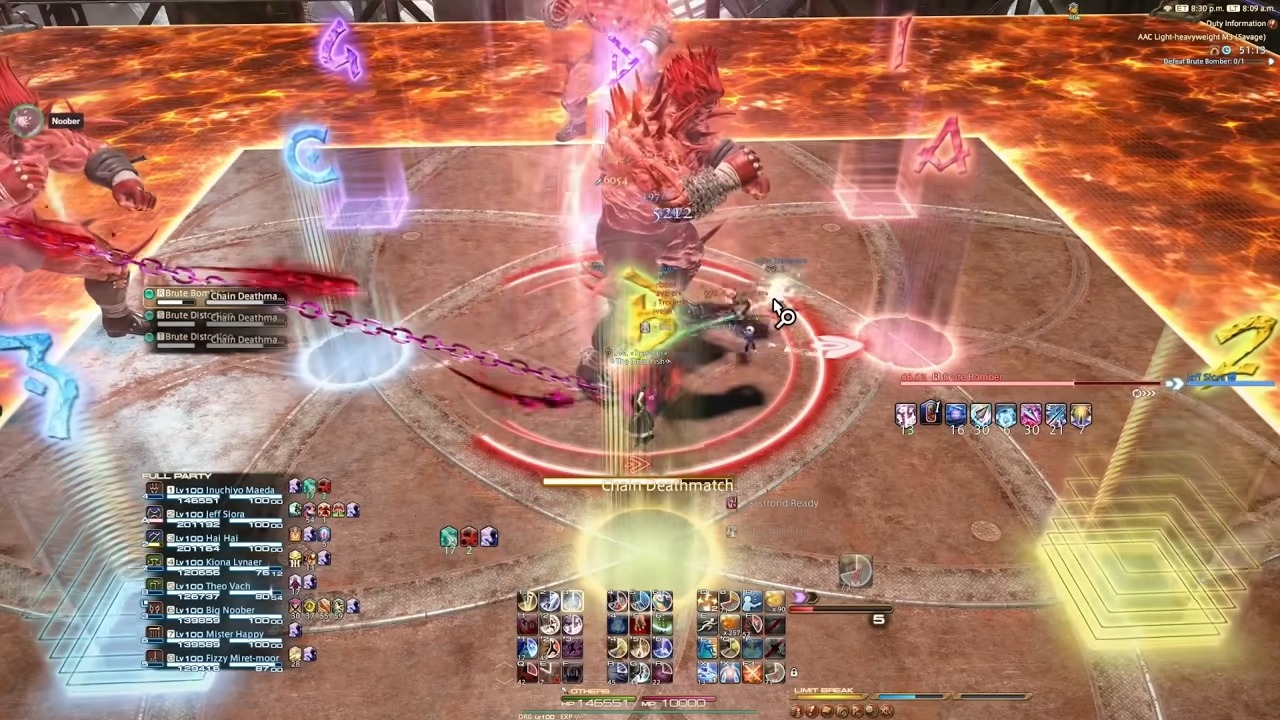
The clones will perform Lariat Combos that cover half of the arena. After getting hit once by the clone that you were tethered to, the Chain Deathmatch debuff will be removed. Lariat Combo is a two-hit attack, though, so watch out for the clones as they come back around the second time.
After Chain Deathmatch, Lariat will be cast yet again. Remember, if Brute Bomber glows, then the AOE will be a donut that you dodge by going in. If he doesn’t glow, then it’s a circular AOE that you dodge by going out. Either way, you still need to pair up.
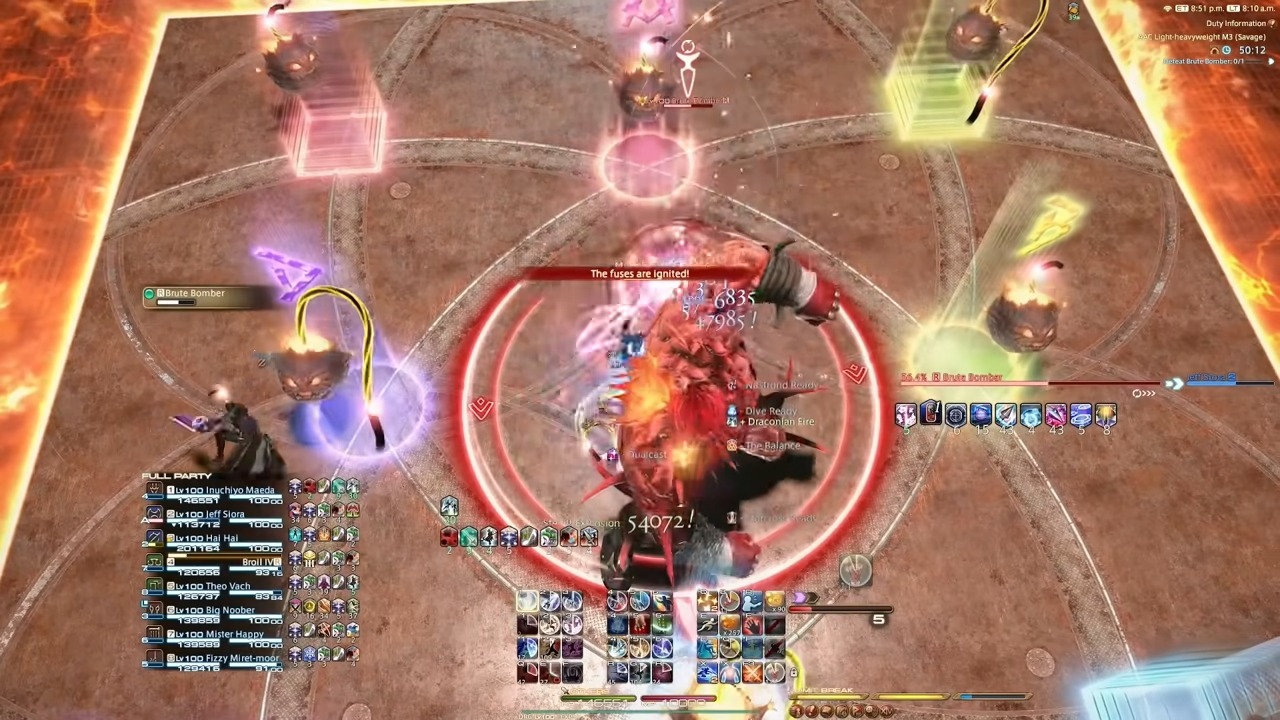
Final Fusedown
A six-hit Brutal Impact raid-wide transitions the fight to its next phase where Brute Bomber will cast Final Fusedown. During this attack, two sets of bombs will spawn throughout the arena with either long fuses or short fuses. Each player will also have a long or short fuse attached to them depending on their role (either support or DPS) as well.
When this mechanic begins, look for the corner of the arena with three long-fuse bombs. There will also be a single long-fuse bomb directly across from that corner on the opposite side of the arena. These bombs will blow up last, so those corners are safe for now.
Three of the players will short fuses should head to the big safe corner and position themselves underneath the long-fuse bombs, while the fourth player should head to the opposite corner of the arena to take shelter near the other long-fuse bomb.
Players with long fuses should wait in the center of the arena to avoid the explosions from the short-fuse players and bombs. After the short-fuse bombs detonate, the long-fuse bombs are up next. The long-fuse players should move to the now-empty spaces where the other bombs once were so they can safely explode, while the rest of the party should go to the center of the arena to dodge the remaining explosions.

It’s a lot easier to understand in practice, I promise. After surviving Final Fusedown, Brute Bomber will perform a Dive to transition to the next phase. Remember, if he glows, there’s a knockback added to the attack. Remember that Quadroboom Dive means to pair up and Octoboom Dive means to spread
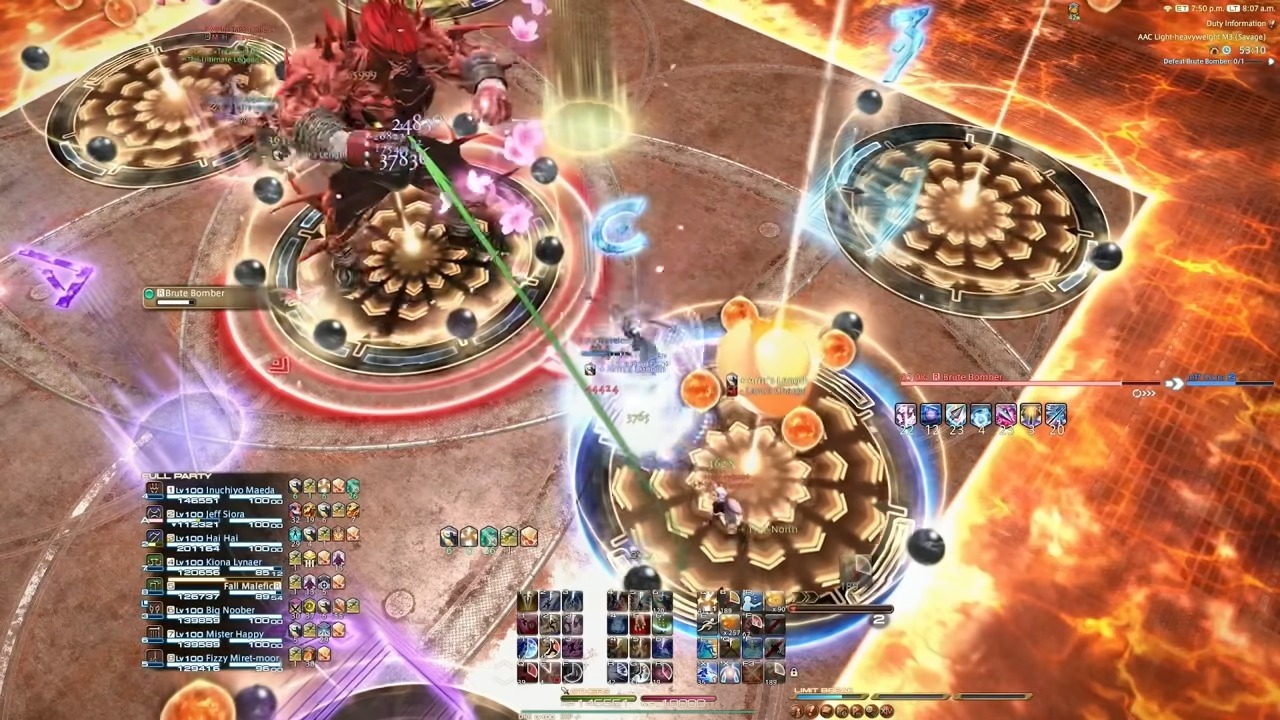
Fusefield
Fusefield is the big new mechanic for the Savage version of this fight, and it’ll take some coordination with your party members to survive. During this phase, fuse lines will appear in clock spots surrounding Brute Bomber. Each player will receive a debuff timer with either 45 seconds or 23 seconds counting down.

The players with the shorter 23-second debuff should place themselves along the shorter fuses, while the players with the longer 45-second debuffs should stand on the longer fuses. The goal of this phase is to extinguish each of the fuses before the flames reach Brute Bomber. You can defuse the lines by stepping onto the encroaching spark, but doing so will do huge raid-wide damage and inflict the entire party with a temporary vulnerability debuff.
Have all the short-fuse players extinguish their sparks first, then let the long-fuse players defuse theirs. Wait in between each defuse for healers to refill everyone’s HP and for the Magic Vulnerability Up debuff to expire. It’s up to your party to determine the optimal order, but we recommend just going clockwise so nobody accidentally defuses at the same time and wipes the party.

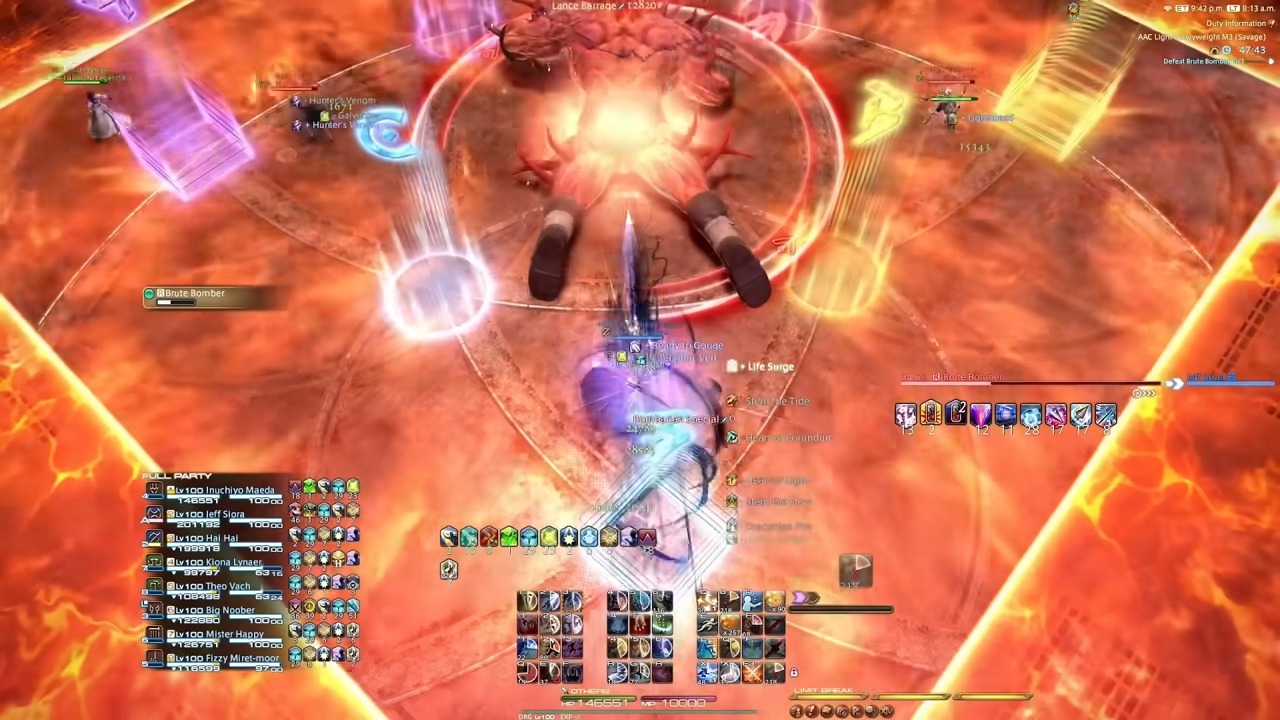
After all fuses have been successfully extinguished, Brute Bomber will unleash yet another six-hit Knuckle Sandwich duo tank buster followed by Doping Draught, which leads into the next mechanic.
Bombarian Special
After drinking the banned energy drink once again and making himself bigger, Brute Bomber will cast Octoboom or Quadroboom Bombarian Special. Both begin with a four-hit raid-wide combo. Then, there will be a circular AOE and a donut AOE that you dodge by going out and in respectively.
After the donut AOE, Brute Bomber will jump out of the arena and then leap back down into the center with a knockback slam. After getting knocked back, the party needs to either spread or pair up depending on whether Brute Bomber used the Quadroboom or Octoboom version of this attack. If it’s Quadroboom, then it’s pairs. If it’s Octoboom, then it’s a full spread.
Fuses of Fury
Before the next phase of the fight, Brute Bomber will cast Fuses of Fury. This summons bombs throughout the arena, but you won’t have a fuse attached to you for this one. Just position yourself near the long-fuse bombs to prepare for the next mechanic.
Chain Deathmatch Phase 2
While the bombs are on the field, Brute Bomber will cast Chain Deathmatch once more. This time, you’ll be tethered to a clone and the boss at the same time. The same principle applies, however. Just get hit by each of them one time to remove the Chain Deathmatch debuff.

Both clones will perform the usual Lariat cleave, but Brute Bomber will enter the fray with Murderous Mist in the center of the arena. Murderous Mist will only be cast once but the Lariats hit twice. Get hit by the first Lariat of your chained clone while also standing in the poisonous AOE from Murderous Mist to resolve this mechanic. Don’t forget to dodge the Lariats when they come back around, too.
After the clones are gone, Brute Bomber will cast Dive. This deals proximity damage and requires the party to spread or pair up just like normal. Since everyone got hit by Murderous Mist just before this, make sure your heals and mitigation are on point since the DOT from that will still be ticking away. The standard Brutal Impact and Knuckle Sandwich combo marks the end of this phase, but with eight hits each this time around.
Fuse or Foe
The fuse mechanic is back once again with Fuse or Foe, which places fuses on each player in the party. There aren’t any bombs to match, but Brute Bomber will cast Infernal Spin and begin a hazardous sequence of AOEs.
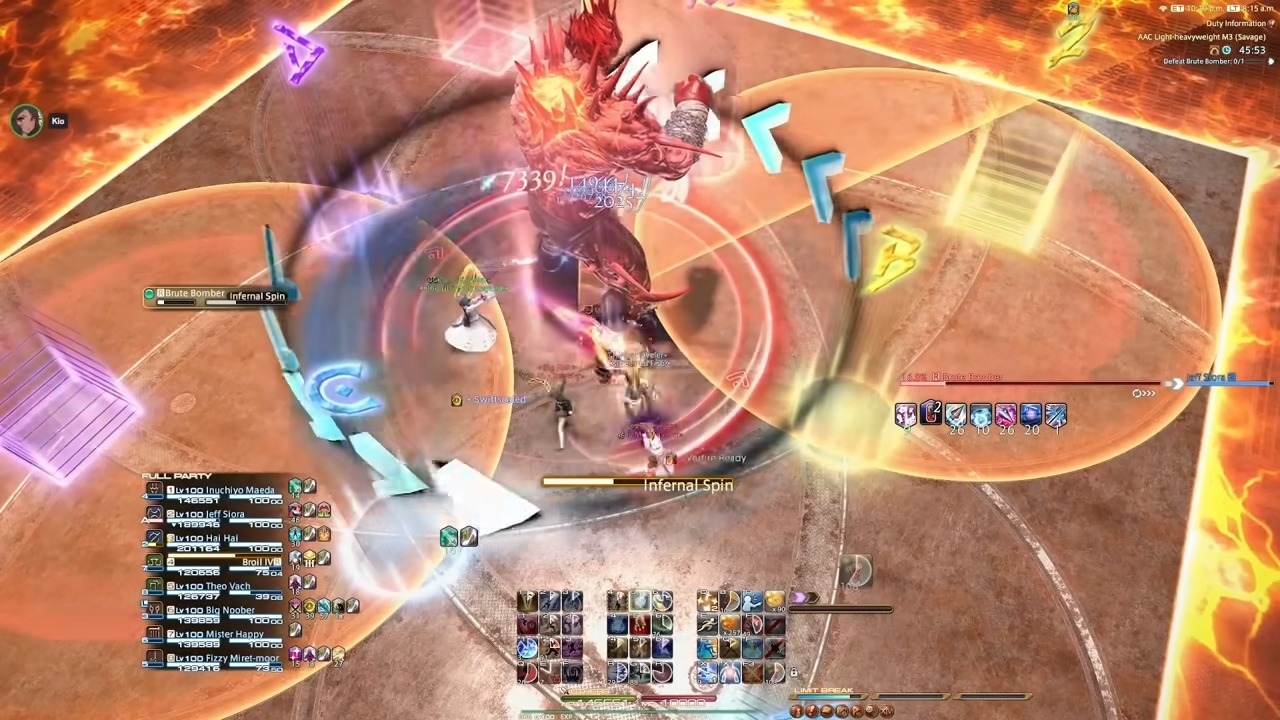
To start, stand behind Brute Bomber’s initial conal AOE. After the circular AOEs go off to each of his sides, a pair of donut AOEs will follow suit. Move to the safe spot in the center of the left one to avoid Brute Bomber’s spinning cones. After the donut AOEs go off, quickly run back to the center of the arena and get behind Brute Bomber to narrowly dodge the rotating cones.
At this point, the donut AOEs will come back and the players will short fuses should spread out and prepare for detonation. The safe space in the center of the donut AOEs can each fit three players safely as long as each of them stands on the A/B/2 or C/D/4 markers placed within. The remaining two players should head to the corners on the edge of the arena near 1 and 3.
After the short fuses detonate and the donut AOEs go off, a pair of elliptical AOEs in the shape of an eye will appear. Whoever was standing on markers 2 and 4 should back up to the corners of the arena to dodge these AOEs. Everyone else should move inward and stand on A/B/C/D/1/3 to avoid damage.

After the fuses go off, Brute Bomber will cast Octuple Lariat. If he’s glowing during this attack, it’ll become a donut AOE. The party also needs to spread during this attack. Finally, an eight-hit Brutal Impact raid-wide transitions the fight to the final phase.
Barbarous Barrage Phase 2
Barbarous Barrage is back once more to mark the end of this fight. It’s basically identical to its first appearance. Split the team into light parties of four and have them soak the middle towers. Have a pair from each light party get knocked back into each corner so the remaining four towers can get soaked. Finally, every pair should use the knockback from the corners to return to the center of the arena so the entire eight-person team can soak the final central tower.
The only mixup this time is Brute Bomber’s Lariat, which he’ll launch immediately after the final tower is soaked in the middle of the arena. Turn your camera to keep an eye on him and move to the safe side of the arena to dodge the cleave. He’ll come back around with a second Lariat after the first, so don’t forget that. Enrage is shortly after, so that’s the end of AAC Light-heavyweight M3 Savage!
AAC Light-heavyweight M3 Savage rewards in FFXIV
Once you clear AAC Light-heavyweight M3 Savage in Final Fantasy XIV, chests will appear with the following rewards depending on how many of your party members have cleared for the week.
- Dark Horse Champion’s Chest Gear Coffer (IL 730)
- Dark Horse Champion’s Leg Gear Coffer (IL 730)
- Surgelight Solvent
- Surgelight Twine
There’s one last raid left in the AAC Light-heavyweight tier of the Arcadion, but there’s still plenty of stuff to take care of in Dawntrail outside of Savage raids. Make sure you’re doing your daily Dawntrail hunts to stock up on Sacks of Nuts, and don’t forget to keep an eye out for rare FATEs like The Serpentlord Seethes to earn rewards like mounts.


Published: Aug 5, 2024 04:00 pm