
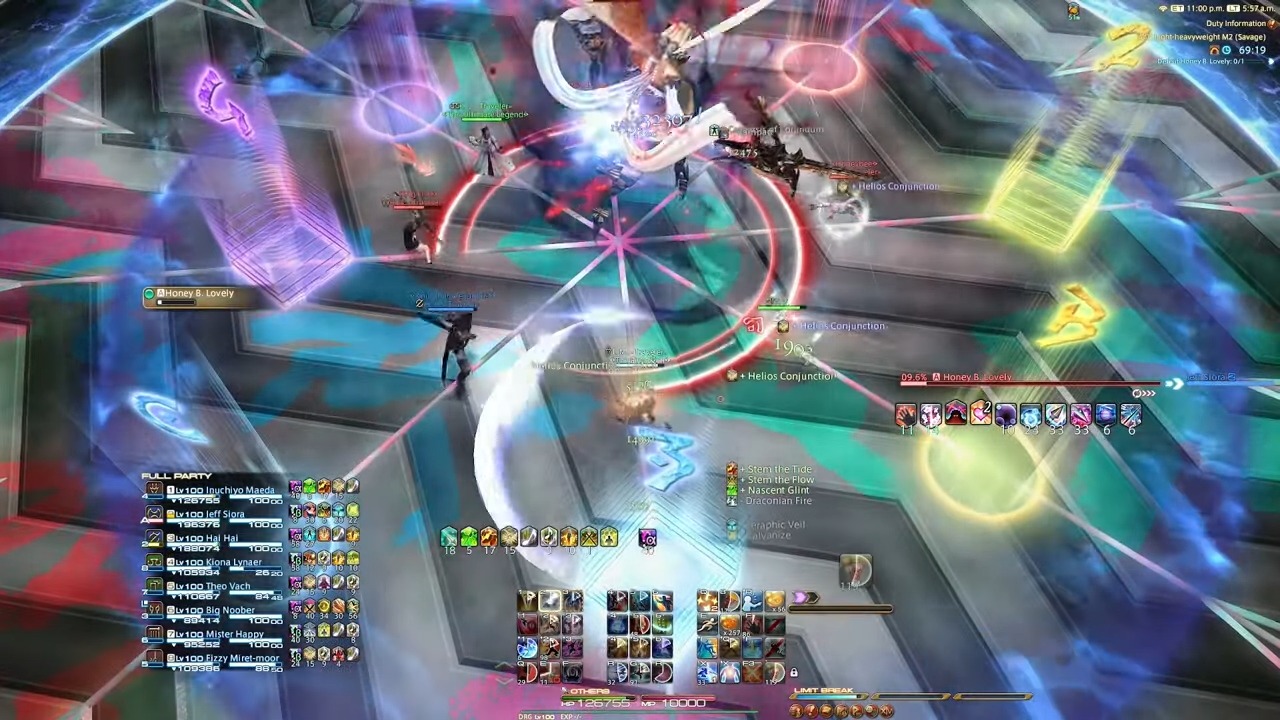
The Arcadion raid series in Final Fantasy XIV Dawntrail has some tough fights in its normal encounters, but the Savage difficulty versions take things to a whole other level. AAC Light-heavyweight M2 Savage pits players against the charming Honey B. Lovely, and I hope you like her theme music because you’re going to be listening to it for quite some time.
Table of contents
How to unlock AAC Light-heavyweight M2 Savage in FFXIV
To unlock AAC Light-heavyweight M2 Savage in Final Fantasy XIV Dawntrail, you need to complete the normal mode of the AAC Light-heavyweight tier of the Arcadion raid series. After you defeat Wicked Thunder in Light-heavyweight M4 and complete The Neoteric Witch quest, you can speak to Gabbro (X: 22.3, Y: 17.1) in Solution Nine to unlock the Savage tier. There’s a minimum item level requirement of 705 for M2S, so you’ll need some decent gear before you can even enter the encounter.
All AAC Light-heavyweight M2 Savage mechanics explained
The Savage version of the Honey B. Lovely fight features most of the mechanics from its normal counterpart, but there’s much less room for error. Your party needs to coordinate to avoid getting charmed, and just like in the normal version, there are a ton of rapid-fire AOEs during this Savage raid.
Opening Phase
Honey B. Lovely kicks off the encounter with a raid-wide Call Me Honey attack. It’s pretty standard stuff, so use heals, mitigations, and shields to keep everyone’s HP bars topped off.
Spash of Venom
After that, she’ll use Splash of Venom to mark the first real mechanic of the raid. This enhances Honey B. Lovely’s attack with poison damage just like in the normal version of the raid, only there’s no pop-up to warn you.
Tempting Twist
After imbuing her weapon with poison, Honey B. Lovely will then cast Tempting Twist. This is a ring-shaped AOE that you can dodge by moving underneath Honey B. Lovely just like in the normal version of the raid. The difference this time is that she’ll spread poisonous globs around the arena after she strikes. These are the same ones from the normal version of the raid, they just show up sooner in Savage.
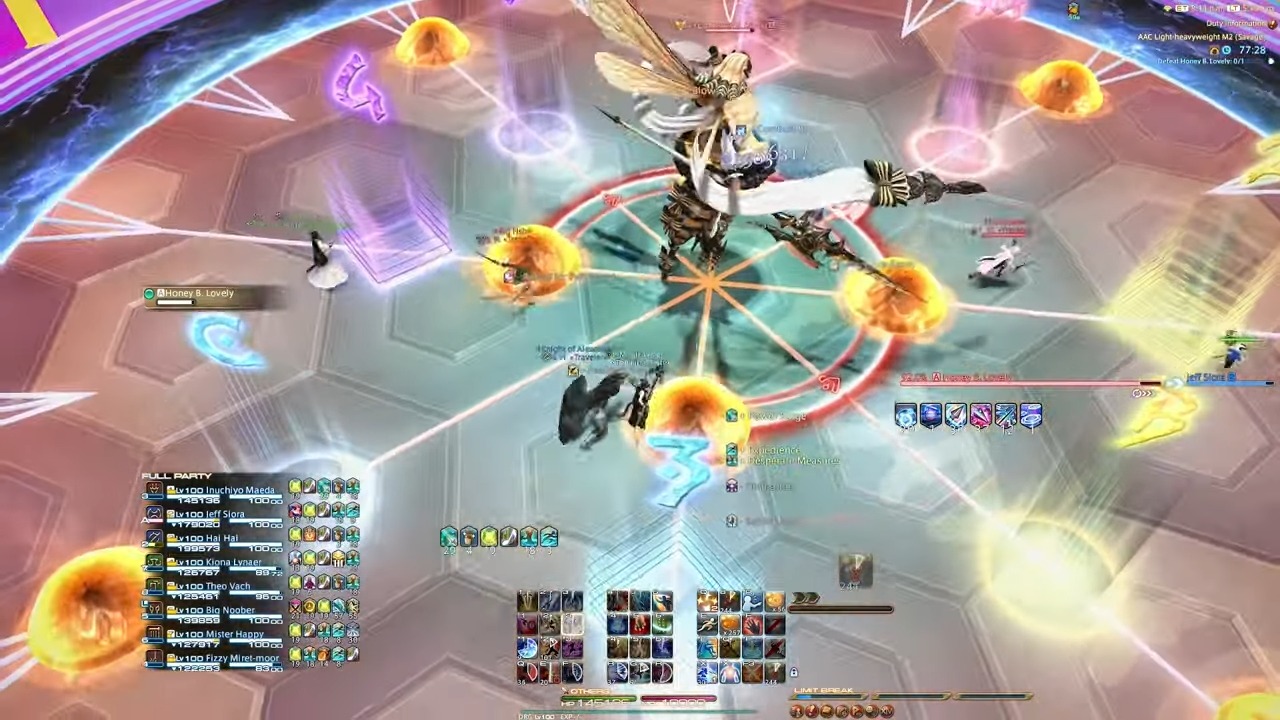
The poison globs afflict you with Poison Resistance Down, so you definitely don’t want to get hit by them. During this phase, Honey B. Lovely also drops a glob of poison onto every player, so you’re getting the debuff regardless. If you stand in the blast radius of one of the poison globs, though, the stacking of both debuffs will cause you to take lethal damage.
Drop of Venom
Drop of Venom is the next attack on the list. You’ll hear the announcer warn you about Honey B. Lovely’s “fearsome venom strike” when it’s about to hit. She’ll then cast Honey Beeline, which is a linear AOE that you’ve seen from the normal version of the raid. This one is augmented with poisonous globs too, though, and they’ll be launched to the outskirts of the arena.
Head to the edge of the arena to dodge Honey Beeline and then return to the center to avoid the poison. Again, Honey B. Lovely will drop poison onto everyone’s heads regardless, so you can’t risk taking the AOE blast from one of the globs.
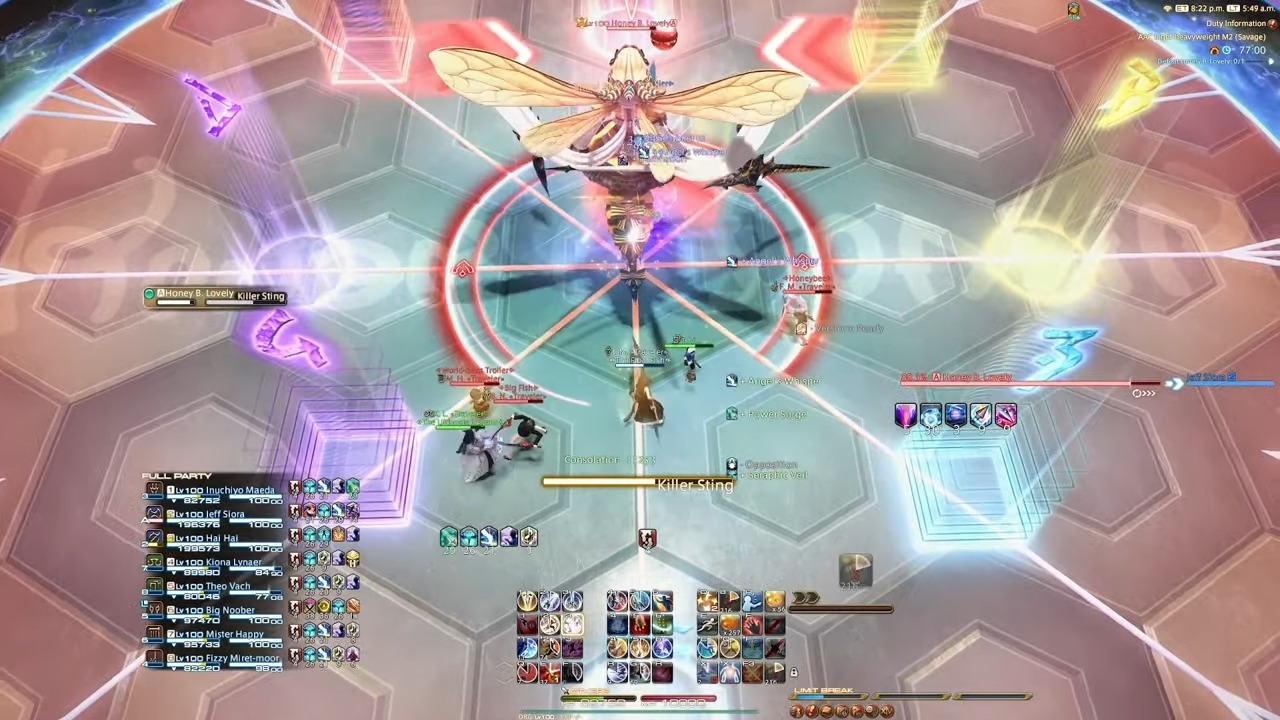
Killer Sting
The battle continues with Killer Sting, a two-person stack marked colored in red. Both tanks should team up to take this one. Make sure you’re healed up and prepared at this point, because the next phase of the fight is about to begin.
Honey B. Live: 1st Beat (Phase 1)
The second phase of the fight begins when Honey B. Lovely casts Honey B. Live: 1st Beat and tries to steal your heart with a raid-wide attack. This marks the beginning of the heart charm mechanic that you’ve seen in the normal version of this raid, but everyone has four hearts in their gauge this time. Two players will begin this phase with two filled hearts and two other players will have completely empty heart gauges. Everyone else begins with the standard single heart.

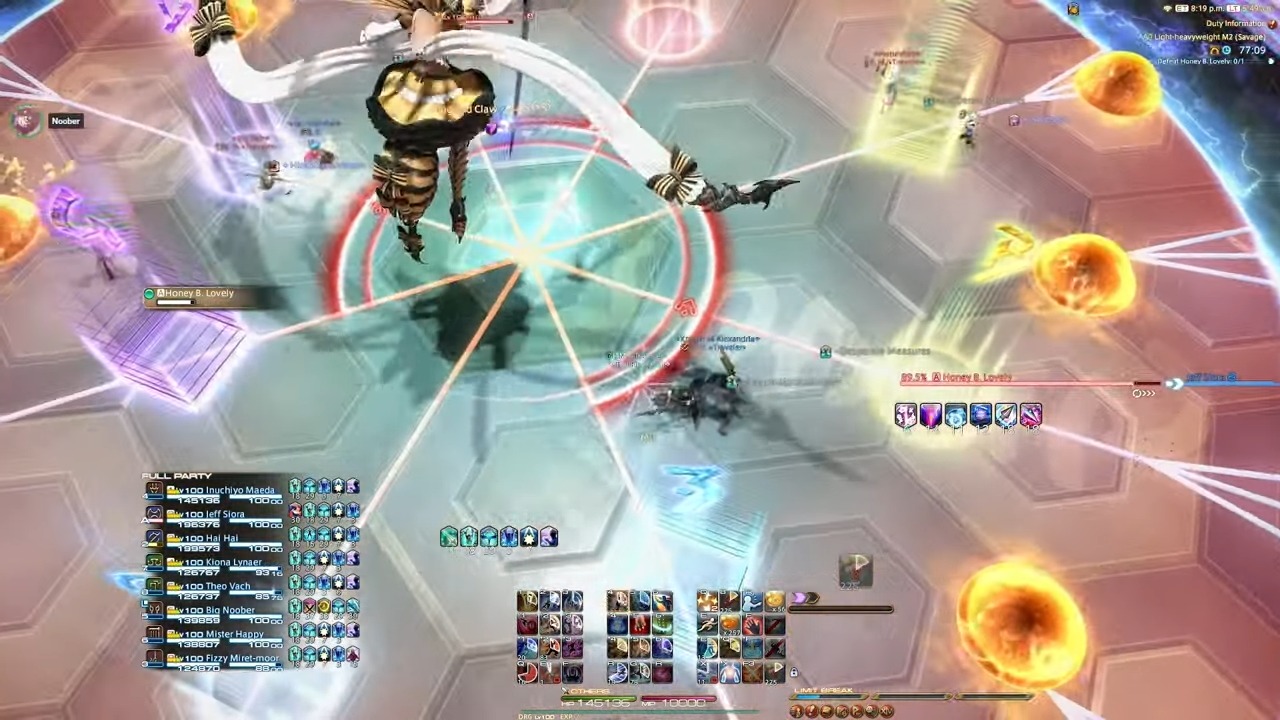
Centerstage Combo
This phase kicks off with Centerstage Combo, a new attack introduced in the Savage version of this raid. This is similar to Black Cat’s cardinal and diagonal AOEs from M1S. The attack begins with a cross shape underneath Honey B. Lovely. She’ll launch conal AOEs along these lines and also perform a spin attack that creates a ring-shaped AOE around the edge of the arena. Move close to her and stand in the spaces between the pink lines.
She’ll immediately follow up with another set of cross-shaped AOEs, only this time in the spaces between the lines. There are triangular safe zones along the edge of the arena that begin a short distance past the end of the pink heart lines underneath Honey B. Lovely. Move out to dodge this attack.
Finally, Centerstage Combo concludes with a repeat of the conal AOEs along the pink lines plus a circular AOE directly underneath Honey B. Lovely. You should only need to perform a small sidestep to avoid this attack. Do not move closer to Honey B. Lovely or else you’ll get caught by the circular AOE.
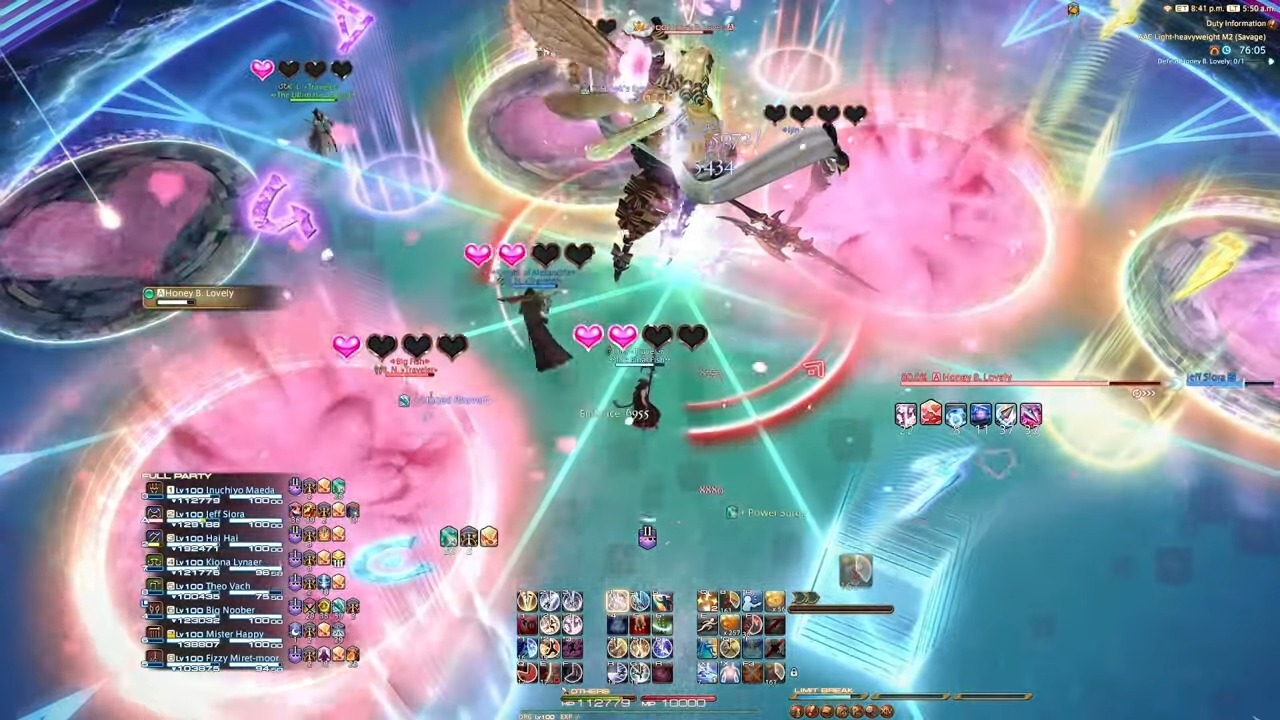
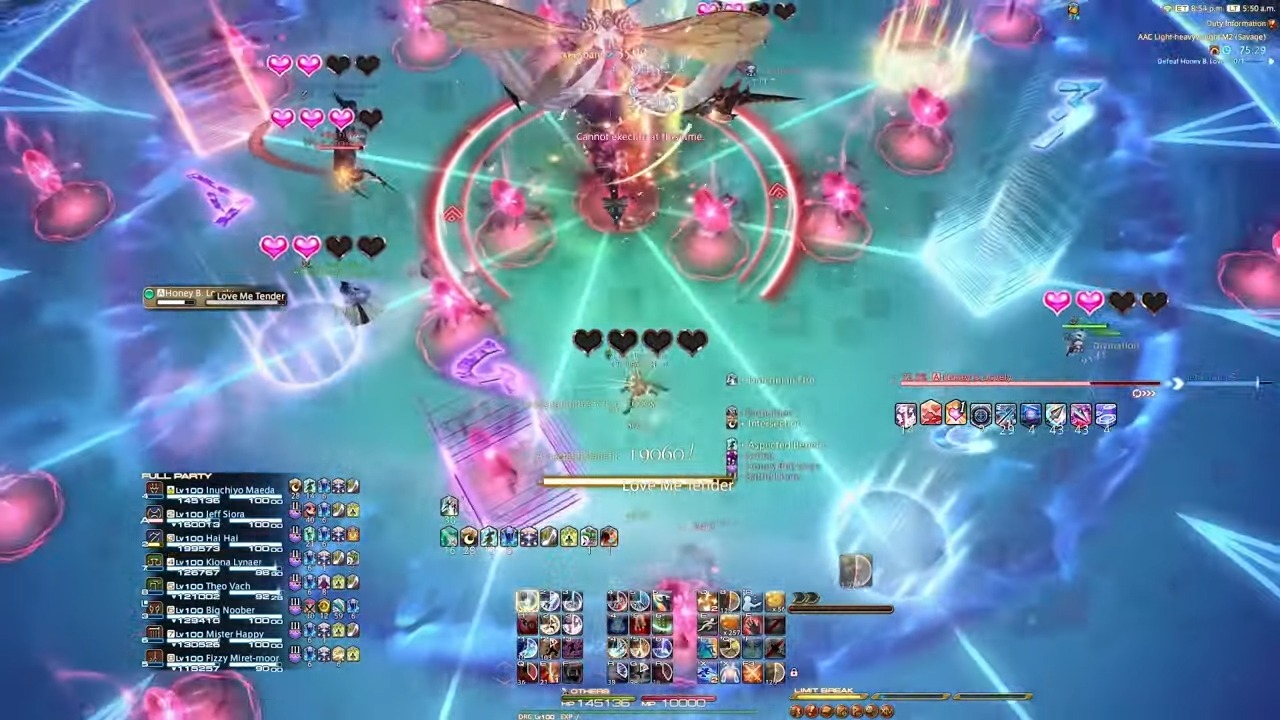
Love Me Tender
Now it’s time for Love Me Tender, the charm mechanic that everyone loves so much. Just like in normal, giant heart icons will appear throughout the arena that must be soaked. These soaks add one heart to your gauge, so coordinate with your party to avoid anyone becoming charmed.
Loveseeker
Honey B. Lovely caps off the soaking phase with Loveseeker, a large pink circular AOE underneath her. Just don’t stand in it. During this phase, heart projectiles will spawn beneath Honey B. Lovely and slowly coast to the outskirts of the arena while more hearts will appear at the edge of the arena and coast toward the center. Getting hit by one will add one heart to your gauge.
Try to stay in between Honey B. Lovely and the edge of the arena so you can avoid hearts going both ways. For melee players, go as far out as you can while remaining in melee range. Casters should have oGCD abilities ready to go so they can remain mobile (Pictomancer‘s Holy in White, for example) Ranged DPS should have the easiest time during this phase since they can stay on the move.
During the Loveseeker phase, a four-heart stack marker will be placed on a tank. These hearts will be divided between every player in the stack, so you should have exactly four people in it. After the heart stack, Honey B. Lovely will cast Outerstage Combo.

Outerstage Combo
This is just like Centerstage Combo, only in reverse. It begins with conal AOEs along the pink lines and a circular AOE directly underneath Honey B. Lovely. Then, extra thick linear AOEs will appear along the pink lines. Finally, conal AOEs will appear along the pink lines once again with a ring-shaped AOE hitting the edge of the arena. You can dodge these exactly like the AOEs from Centerstage Combo, just remember that the order is reversed for the circle and ring-shaped attacks.
Stinging Slash
Honey B. Finale caps off the heart phase with a basic raid-wide. Once the arena goes back to normal, Honey B. Lovely will cast a tank buster called Stinging Slash on both tanks. This launches huge conal AOEs, so both tanks should go in front of the boss while the party hides behind her.

Alarm Pheromones
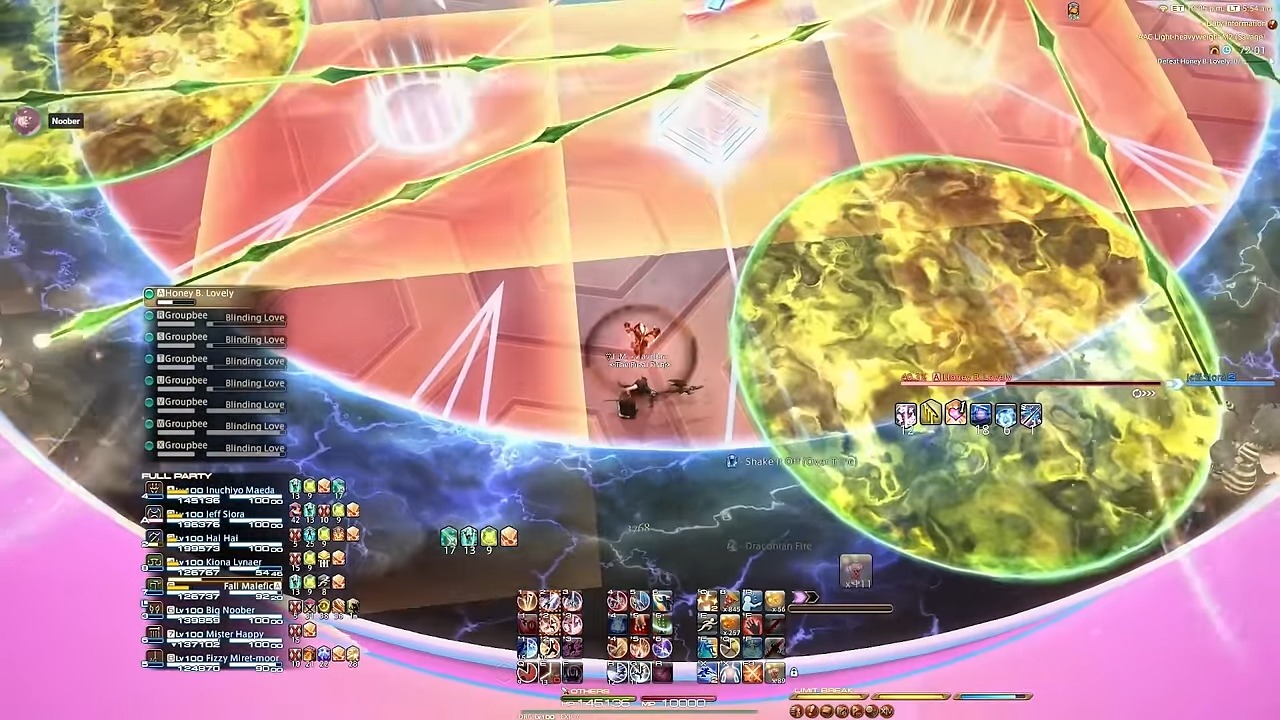
To transition to the next phase, Honey B. Lovely will cast Alarm Pheromones and summon her army of Groupbees. Just like in the normal version of this raid, they will dash across the entirety of the arena with wide linear AOEs telegraphed by green lines.
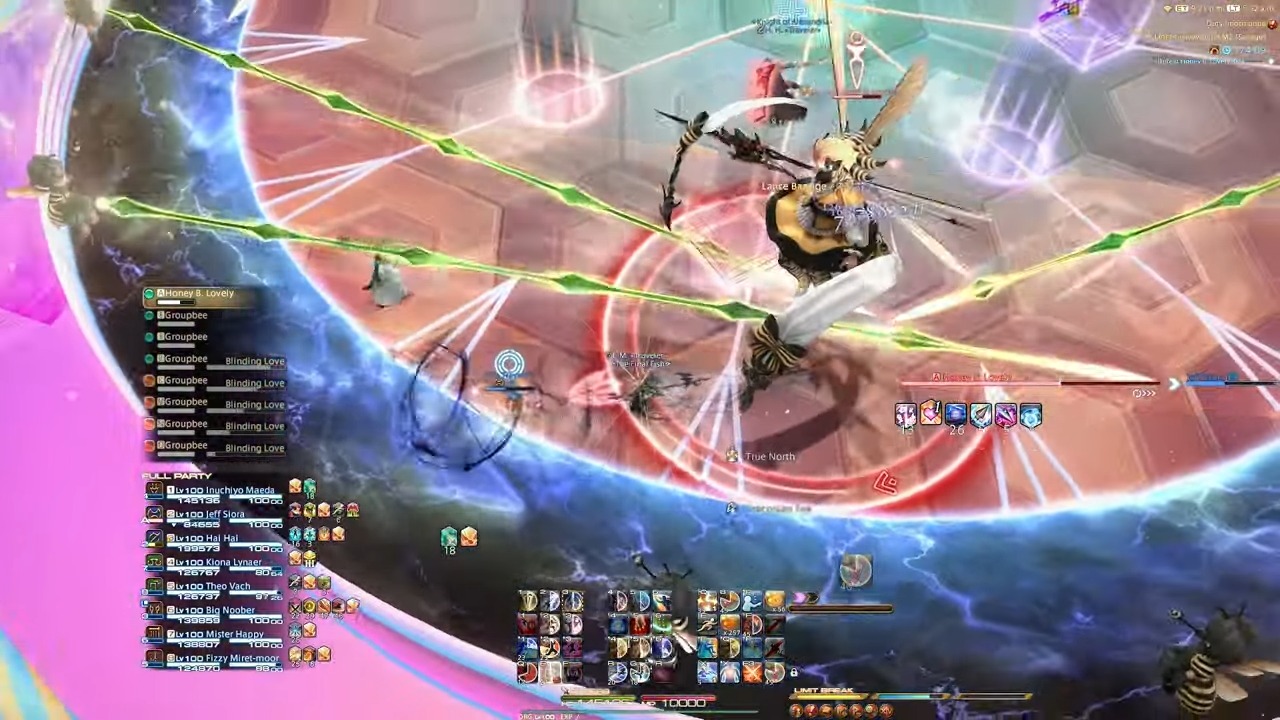
This first set of Groupbees goes one at a time, so move with your party to avoid them. Take care to avoid getting trapped at the arena’s edge.
Honey B. Live: 2nd Beat (Phase 2)
Honey B. Live: 2nd Beat marks the beginning of the next phase with yet another raid-wide that gives four players one heart to start with. Love Me Tender will then spawn several circular AOEs throughout the arena that drop hearts onto players.

Heart Stack Markers
They’re easy enough to avoid, but the pair of four-heart stack markers activated during this phase complicates things. The best strategy here is to have the players with zero hearts team up and take the stack markers in pairs so they end up with two hearts each.
Heart Soaks and Spread
After the stack attacks go off, two heart soaks will appear. Two players will also be marked with a heart spread icon above their heads. The people with the spread marker should find a private corner of the arena while the remaining party members with a single heart should soak the circles. Ideally, everyone in your party should have two hearts each after this section.
Honey Beeline Pairs
After dealing with that stressful section, Honey B. Lovely will cast Honey Beeline yet again. Remember, this is a wide linear AOE that you can dodge by moving to the sides of the arena. Hearts will spawn in the safe areas and detonate into circular AOEs afterward. In addition, hearts will drop on the heads of each player so your party needs to pair up in groups of two when moving back to the middle of the arena. At this stage, everyone in the party should have three hearts.

Groupbees Poison
Honey B. Finale marks the end of this phase and the arena will transition back to normal. Splash of Venom will imbue Honey B. Lovely’s weapon with poison yet again, and Group Pheromones will summon another set of Groupbees. The Groupbees will repeatedly attack in a #-shaped pattern and two players will be targeted with markers above their heads.
The marked players will have a circular poison AOE dropped at their location, so it’s very important that they do not leave it in the center with the rest of the party. The marked players should move to the edge of the arena in the safe spaces between the Groupbees’ AOEs to drop the poison. The poison markers will target every player once, so there are four pairs in total.
After the poison AOEs have been dropped, Honey B. Lovely will cast Bee Sting. This places two four-person stack markers for the party to deal with while the Groupbees continue to attack, so you’ll all have to get uncomfortably close to the boss and each other to safely resolve this mechanic. Once the Groupbees disappear, Honey B. Lovely will use Killer Sting and place a two-person red stack on a tank to end the phase.
Honey B. Live: 3rd Beat (Phase 3)
After Honey Beeline and some more poison globs, the next phase of the fight will begin with Honey B. Live: 3rd Beat. For this phase, all players start with a clean slate and no hearts.
Honey B. Lovely kicks things off with Outerstage Combo. This one starts with a circular AOE underneath Honey B. Lovely’s feet and conal AOEs along the pink lines, followed by thick linear AOEs along the pink lines, and finally conal AOEs along the pink lines and a ring-shaped AOE at the edge of the arena.
Four-Person Heart Soak
Next, four heart soaks will appear and a heart will be dropped onto the heads of both healers and both tanks. The four DPS players should remain in the center of the arena to grab the soaks while the tanks and healers should spread out to different corners of the arena to avoid giving other players any hearts.

Centerstage Combo is up next, and you should be fairly comfortable with dodging that by now. After Centerstage Combo, the soaks are back but the roles are reversed. The tanks and healers should soak the hearts while the DPS need to spread out away from the party while they get hit with one heart each.
After the second set of soaks, Honey Beeline is the next attack. Remember, dodge the linear AOE by moving to the side of the arena, then move back into the center to avoid the exploding hearts. Make sure your party divides into pairs to take the hearts that drop onto everyone’s heads after the fact. After this last set of hearts, Honey B. Finale will transition everything back to normal.
Stinging Slash is up next, a pair of tank busters that launch conal AOEs at each tank. Just like last time, the party should go behind Honey B. Lovely while the tanks deal with the tank busters in front of the boss. After this, it’s time for something completely new to Honey B. Lovely’s Savage version.
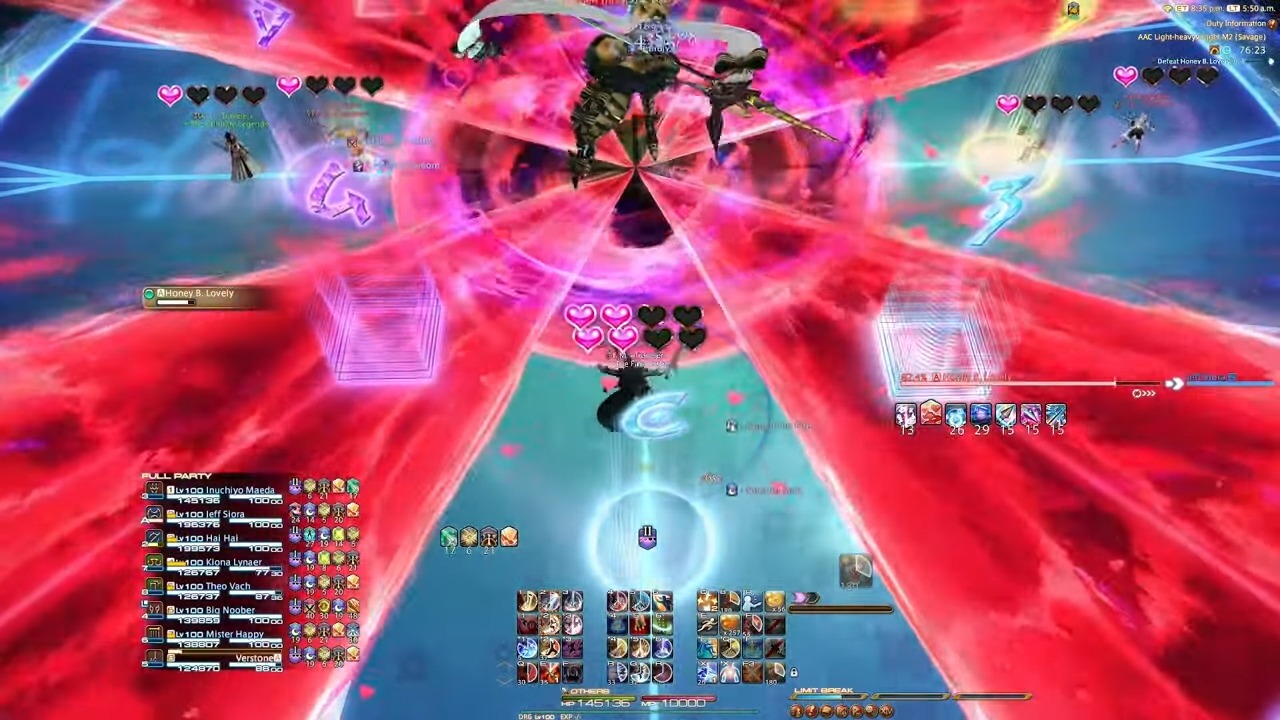
Rotten Heart (Phase 4)
Fed up with your party’s success, Honey B. Lovely will cast Rotten Heart to transform the arena into a new form. The raid is nearly over at this point, so lock in and finish strong.
Clock Spots Debuff
At this point, the party should assume clock spots around Honey B. Lovely’s red targeting ring. If you’re unfamiliar with that strategy, just put one player on each of the lines near the red ring surrounding the boss.
Each player will have a ticking debuff placed on them with different timers. For example, some players will only have 12 seconds while others will have over a minute. You have to get rid of these debuffs or else you’ll die.
Big Burst
During this phase, Honey B. Lovely will repeatedly cast a raid-wide called Big Burst. The party needs to pair up and have two players soak the raid-wide at a time directly underneath Honey B. Lovely. Soaking the raid-wide underneath her will remove your debuff. Thankfully, the debuff timers applied to the party have done the pairing for you. The players with the shortest debuff timers should soak Big Burst first, followed by the next shortest, and so on.
In between every Big Burst, the boss will repeatedly cast another raid-wide called Call Me Honey. This is a big healing check, so use whatever mitigations you can do to help your healers and stop them from hating you. Enrage begins shortly after this phase, so that’s all there is to AAC Light-heavyweight M2 Savage!
FFXIV AAC Light-heavyweight M2 Savage rewards
Upon clearing AAC Light-heavyweight M2 Savage and defeating Honey B. Lovely, you’ll receive the following rewards.
- 30 Allagan Tomestones of Heliometry
- 1 AAC Illustrated: LHW Edition II
There will also be a treasure coffer with the following rewards if your party has not cleared the raid this week.
- Dark Horse Champion’s Head Gear Coffer (IL 730)
- Dark Horse Champion’s Hand Gear Coffer (IL 730)
- Dark Horse Champion’s Foot Gear Coffer (IL 730)
- Universal Tomestone
- Surgelight Glaze
That’s all you need to know about AAC Light-heavyweight M2 Savage in Final Fantasy XIV! There are still many more tough fights awaiting you in the Arcadion, however. If you need a break from Savage raiding and hit a wall with your progression, don’t forget to take a break and explore some of Dawntrail’s other optional content like Hunts.


Published: Jul 30, 2024 06:41 pm