Lake of Rot is another secret area in Elden Ring. It’s going to test your mettle due to an abundance of status effects that can afflict your character. But, if you persevere, you might be able to battle another major boss. Here’s our Elden Ring Lake of Rot secret area guide to help you explore this zone and make it all the way to the next boss.
Note: For more information, check out our Elden Ring guides and features hub.
Elden Ring guide – Lake of Rot secret area guide
If you’ve managed to make it all the way to the end of Nokstella Eternal City, then you’ll come across a building with an elevator that takes you down to another sector. Proceed further past the Tadholes (tadpoles that are a-holes because they’ll kill you with blight). Now, in case you’re doing Witch Ranni’s quest (and this is important), you’re going to encounter a Baleful Shadows as soon as you step foot in the area that’s gleaming with red lights. This is a quick bout where you’ll obtain a key item that opens Rennala’s treasure chest.
Still, whether you’re doing the quest or not, you can still enter the structure behind the Baleful Shadows’ area. There’s another lift here that brings you to the Lake of Rot secret are in Elden Ring.
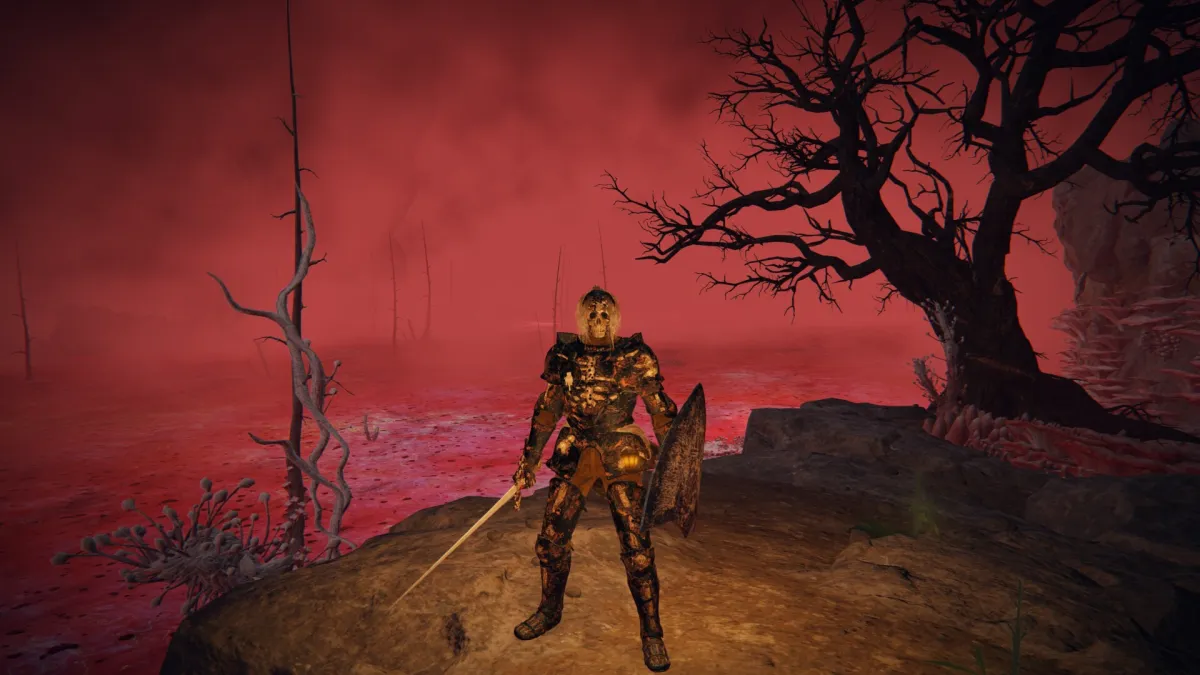
What makes this sub-zone dangerous is that it’s a massive pool of Scarlet Rot. If you’ve visited Caelid before, then you’ll know how the status effect builds up, then quickly drains your health (it’s deadlier than regular poison).
To mitigate this effect, you’ll want to buy/craft/pick up items like Preserving Boluses. For instance, the nomad merchant near Caelid Highway North sells some of these. Likewise, the Flame Cleanse Me spell can also clear this, and it only costs 14 FP.
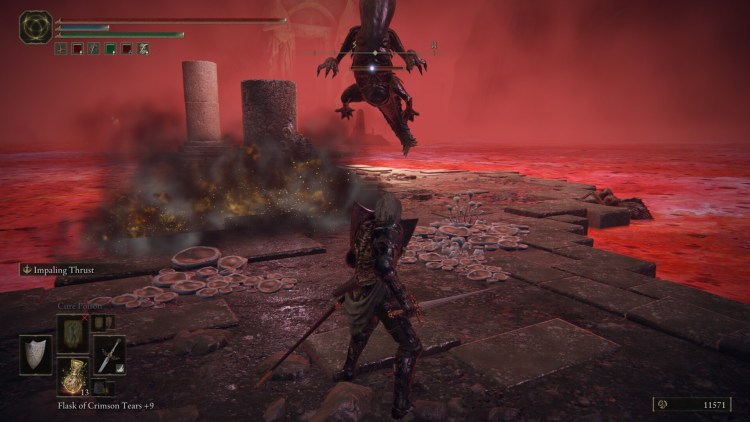
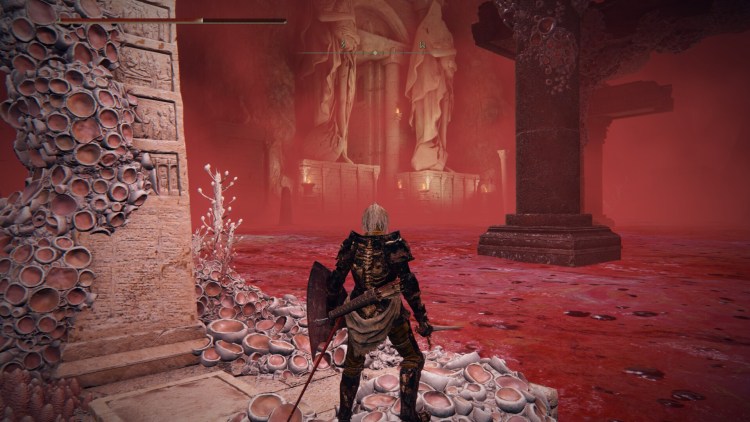
The goal in the Lake of Rot secret area in Elden Ring is to reach the fort at the back. But, because the body of water is plain Scarlet Rot, you’ll need to sprint to reach landmasses. Thankfully, you can navigate using the stele as landmarks. These have pressure plates that cause new platforms to spring up, so you’re not always wading in rot.
Be forewarned, though, that you’re not alone here, as more Tadholes will spawn as you advance. My suggestion would be to do one run where you’re just stepping on the plates until you get further.
The platforms that you’ve raised will remain active even after deaths or in subsequent visits. As such, these runs where you’re just trying to activate the plates while ignoring mobs could help you navigate the zone when you’re truly ready.
Moreover, don’t use up all your Preserving Boluses yet for these trial runs (you don’t want to run out of consumables and crafting materials). Instead, just spam your health flasks when necessary (switch out all your FP flasks to HP as well). Also, try to spend most of your runes on important stuff beforehand in case of deaths.
Note: When you reach the plate that brings you up to the higher walkways, you’ll fight a Druchii. If you kill it, you’ll get an Alabaster Lord’s Sword. Unfortunately, I’m not sure if there’s a way back down. I fell and lost a few runes due to carelessness.
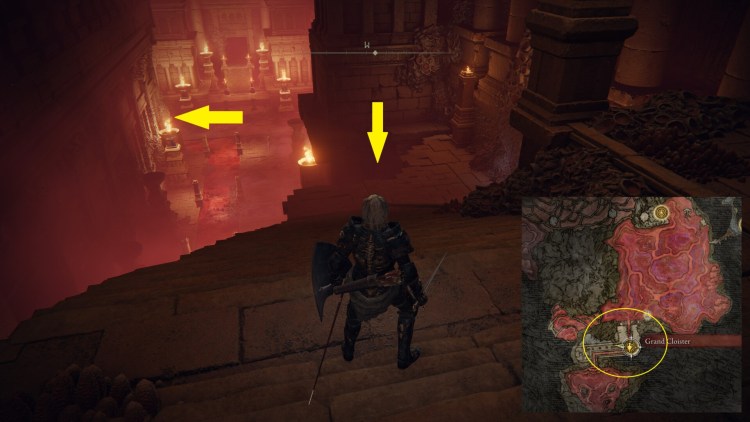
In any case, you should be able to activate all the mini-landmasses, bringing you closer to the fort at the back. Once you get there, you’ll see a Site of Grace called the Grand Cloister:
- You can drop down using the ledges next to the walls.
- The temple in the distance has a chest with the Scorpion Stinger.
- Try to avoid going to the waterfalls at the back when you initially drop down. There’s an Ulcerated Tree Spirit that will spawn and chase you around.
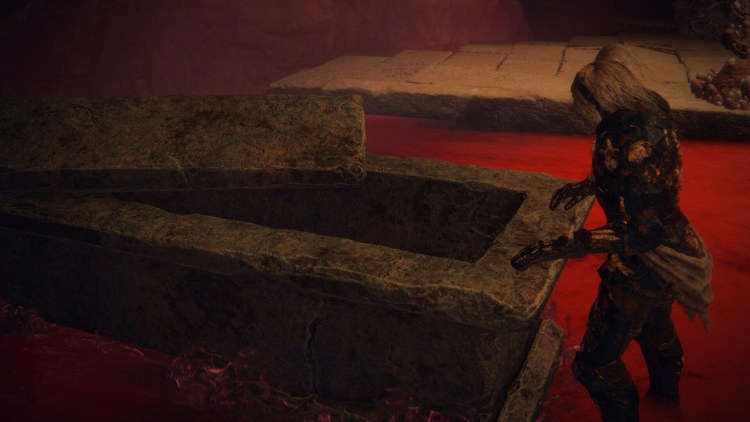
Your goal now is to follow the rot river going to the temple, then make a left turn to spot a coffin next to a waterfall. Once you interact with the coffin, a cinematic will play.
You’ll end up in a separate area where you can battle a secret boss, Astel Naturalborn of the Void.
Elden Ring is available via Steam. For more information, check out our guides and features hub.





Published: Feb 27, 2022 09:05 am