The Arrival is the introductory mission when you start the campaign in Destiny 2: The Witch Queen. It involves a run-in with the Cabal, followed by an investigation of Savathun’s lair. Here’s our Destiny 2: The Witch Queen guide to help you with The Arrival mission.
Note: We’ll have a Destiny 2: The Witch Queen guides and features hub soon, so stay tuned.
Destiny 2: The Witch Queen – The Arrival mission guide
We’ve stepped into a war with the Cabal on Mars
The first thing you’ll notice once you boot up Destiny 2: The Witch Queen is that The Arrival mission shows two difficulty modes. You can breeze through normal mode without issues, but legendary difficulty would include modifiers (i.e., no radar/chaff and Acolytes that spawn fire pools when they die). To top it off, legendary difficulty will also keep you at a fixed power level below your enemies, though you do obtain more loot.
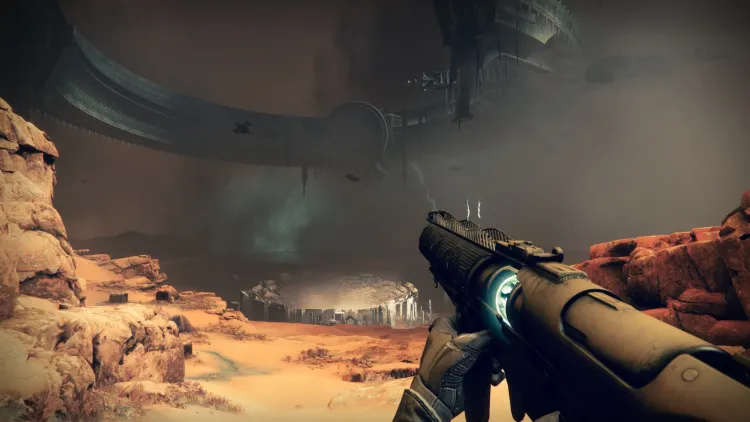
As for The Arrival mission in Destiny 2: The Witch Queen, you’ll spawn in Mars, now with Golden Age tech from a causal loop created by Savathun’s machinations.
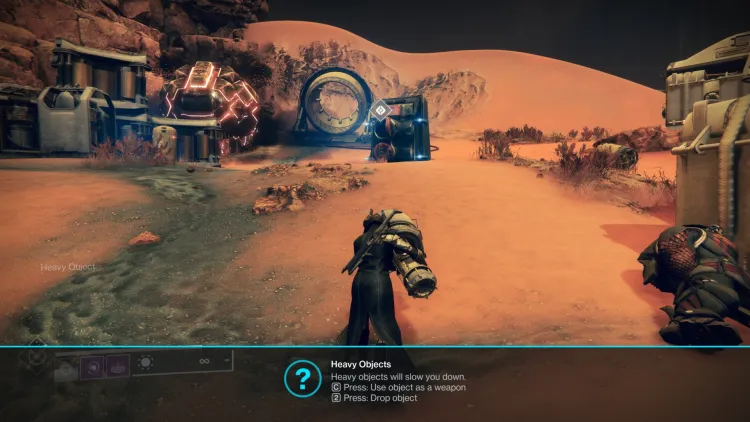
As you head to the horizon, you’ll find several Cabal waiting. Eliminate them and pick up the turbine. Slot that in the machinery and get a boost to the opposite side of the cliff.
This next area looks a bit like Firebase Delphi. Just follow the marker inside the building and take out the enemies there. Then, let Ghost scan the terminal. You’ll have to stand in the circular area to fill up the progress bar. After this, you’ll go to two additional sections.
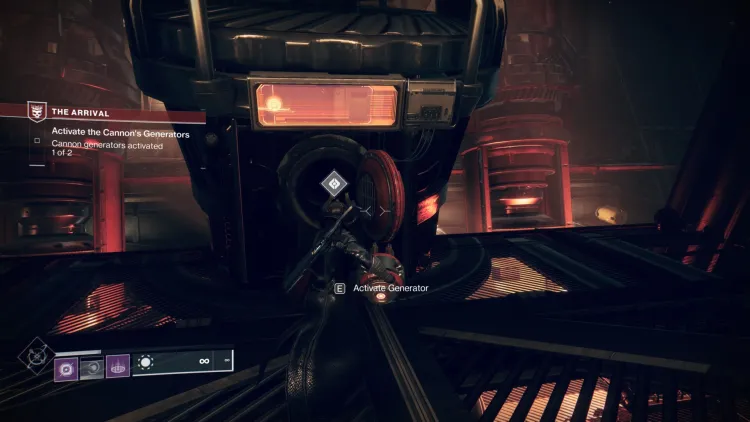
In the next section, you’ll blast more Cabal and bring in more machinery. Past that point, you’ll go inside a chamber to slot in the generators.
After the generators have been taken care of, a doorway in the section would open up. There are some moving pistons here, and the gaps here would cause you to fall to your doom.
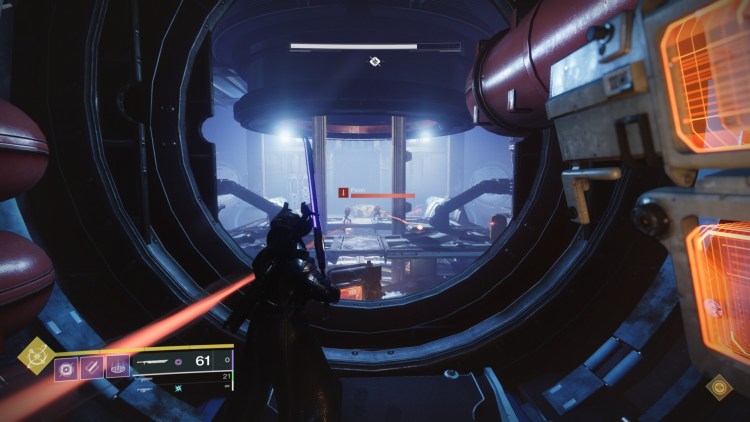
Find a ledge to your left to get to the next area. This is a larger room filled with dozens of Cabal. Your objective is to kill the engineers (i.e., Colossi) to claim their codes.
Savathun’s ship
Once that’s done, you should be able to ride the lift in the center of the chamber. This takes you to the control room where the turret can be operated. From there, just drop down the small gap and follow the walkway until you’re inside the cannon. You’ll be blasted through the air to reach Savathun’s ship.
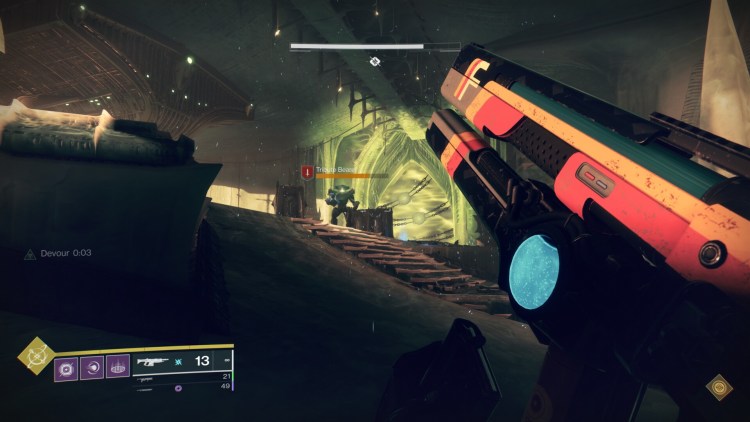
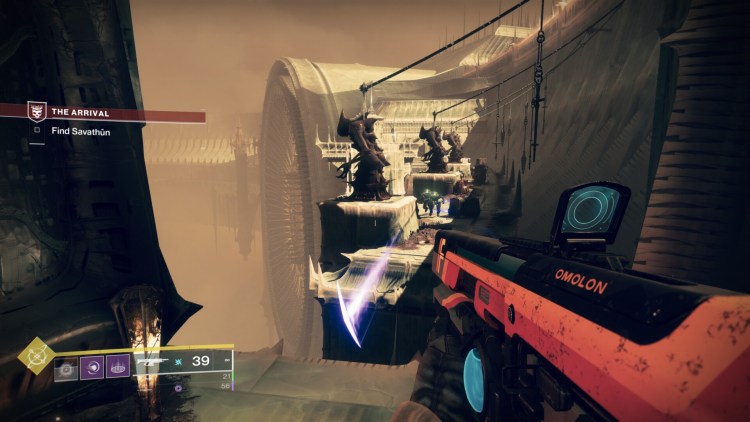
Just go through the corridors and check the chasms to see if there are ledges. You should reach a large area with Hive mobs and Tribute Knights.
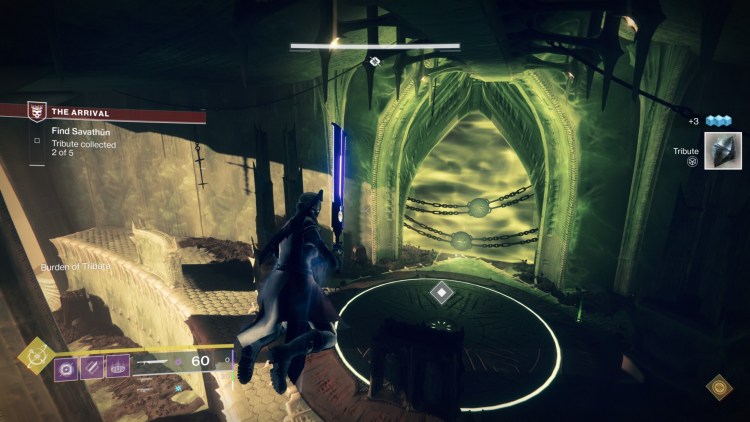
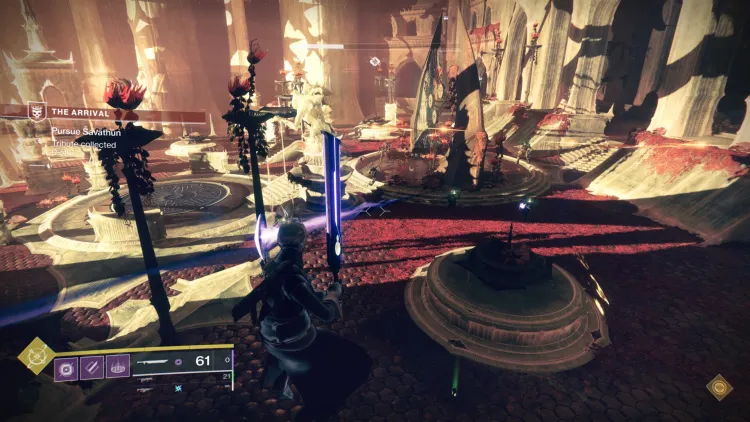
When you kill a Tribute type of mob, they’ll drop a Tribute prism on the ground. Pick these up, and run to the circular plate on the opposite end. Place five Tributes to complete this part, and beware of additional enemy waves that spawn in as well.
Note: At this point, you’ll notice that there’s something strange going on with the Hive, as certain mobs have an overshield already. You’ll find out why soon enough.
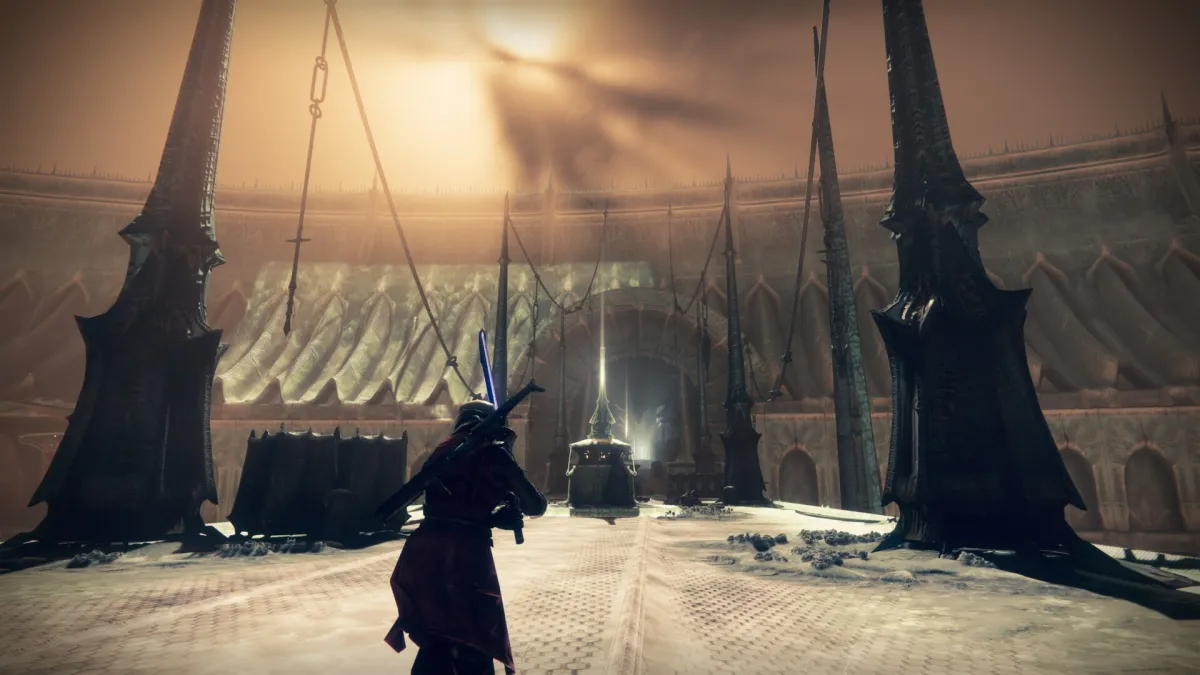
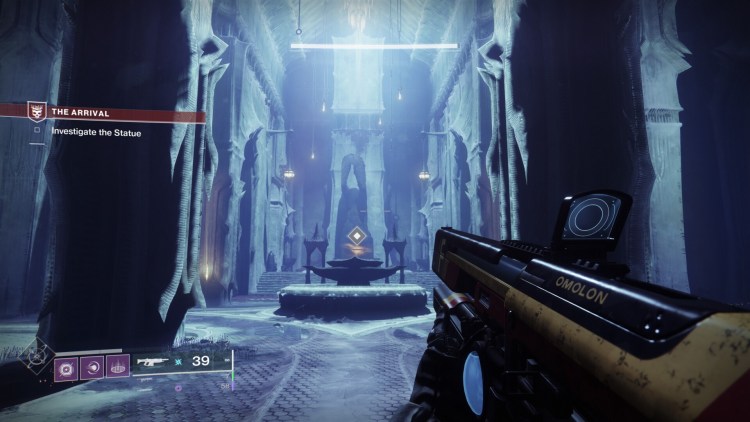
After you clear the area and open the Hive locks, listen to Ghost’s instructions on the ledge that you need to climb. In a short while, you’ll stumble upon a well-lit room with a glowing item on an altar.
This is the Artifact of the Black Fleet, which we’ll use later on as part of Relic crafting to obtain the Glaive weapon.
For now, though, just clear the hostiles and make your way outside.
Cross the ramparts until you reach a place that looks like a rotting garden.
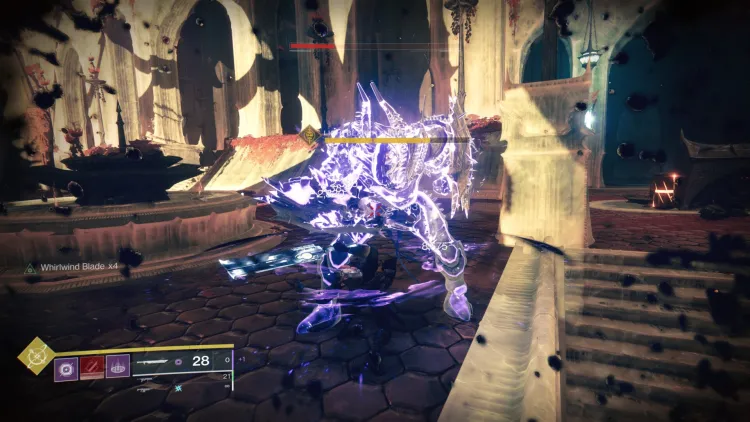
This is where you’ll fight your first Lightbearer Knight, also known as a type of Lucent Hive. These are monsters that wield the power of the Light. In this particular Knight’s case, it has Void abilities. Watch out for its Suppressor Grenade since it can one-shot you.
After defeating it, it will get revived by its creepy Ghost. Kill it again and hold the “G” key to smash the Ghost in your hands.
When you’re finished with that, you can plop down a banner to refill your ammo and super. Once you step on the central plate, additional Hive enemies will spawn. Your objective now is to kill the three Lucent Hive (i.e., Knight, Wizard, and Ogre) in sequence. Pick up their Tribute prisms and “offer” them on the central plate (i.e., as usual, just run through the plate).
With the three defeated, you can pick up your loot. The portal will also activate. It’s time to conclude The Arrival mission in Destiny 2: The Witch Queen by facing Savathun. You can learn more in the next part of our guide.
Destiny 2: The Witch Queen is available via Steam.



Published: Feb 23, 2022 12:20 am