Hefnd’s Vengence is the name of the last boss in Destiny 2 Warlord’s Ruin. This boss has some repeat mechanics mixed with a few new ones that make it challenging.
How to beat Hefnd’s Vengence in Destiny 2 Warlord’s Ruin
The hardest mechanic me and my Fireteam faced in the Hefnd’s Vengence encounter was the Hex of Corruption debuff. Like Biting Cold with the Locus of Wailing Grief boss, Hex of Corruption will immediately wipe your entire team if you don’t know how to take it off. I’ll help you with that as well as give advice and coaching through the rest of the encounter.
Related: How to get Buried Bloodline Exotic Sidearm in Destiny 2
First, let’s discuss the Hefnd’s Vengence loop: defeat the six Blighted Eyes, defeat a yellow bar enemy, destroy a Taken Totem while dealing with Hex of Corruption, wait for Imminent Wish to reach zero and deal damage to or beyond the first health box, and repeat this two more times. At the top, the true DPS phase begins and lasts as long as you keep all the Blighted Eyes from spawning around the boss. You get three chances, and then you repeat the whole process. Once you reach the last part of the health bar, you’ll enter the final stand which is where you use everything you have to defeat Hefnd’s Vengence.
How to get rid of Hex of Corruption debuff
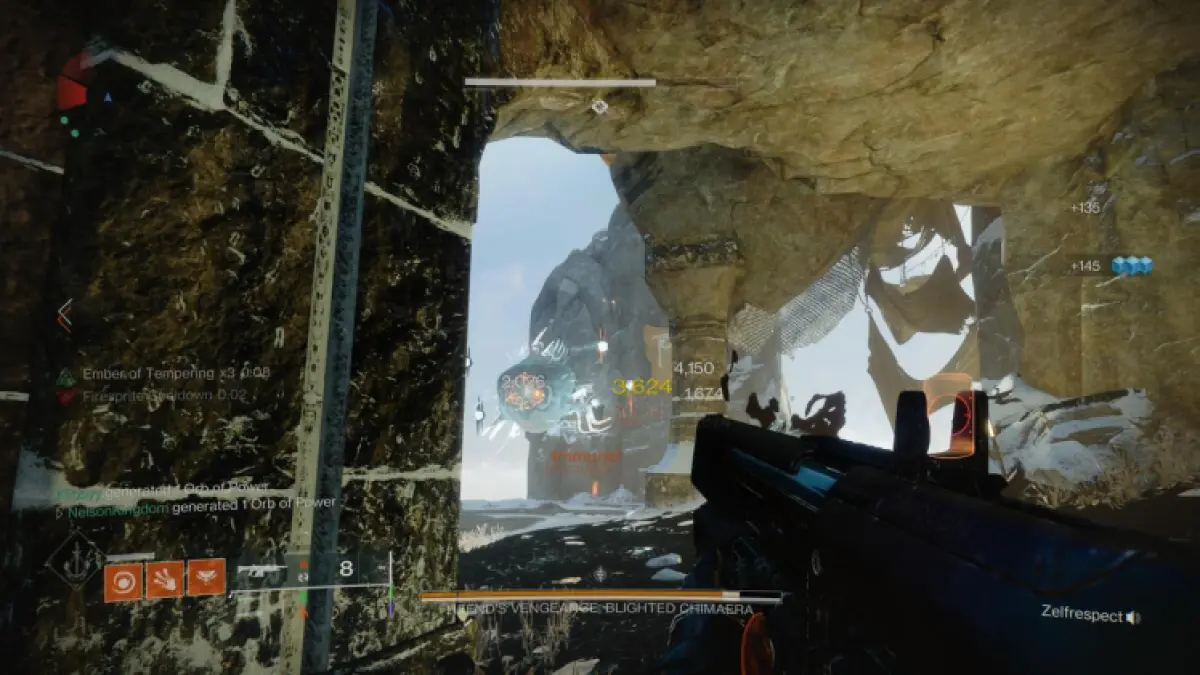
The core loop of the Hefnd’s Vengence boss battle should be familiar to you by now since it’s the same for Rathil and Locus of Wailing Grief. Destroy the six Blighted Eyes surrounding Hefnd’s Vengence, defeat one yellow bar enemy, and destroy the black orb in the Taken Totem. You have around 30 seconds to do this and it’s marked by Imminent Wish’s timer on the left side of the screen.
Once one Taken Totem is defeated, I recommend running away and finding cover. Wait for Imminent Wish to count down and then you’ll get five seconds of DPS on Hefnd’s Vengence in which you need to destroy the first health bar (and you can go over it, too). If you want to make quick work of these health bars, I highly recommend using this amazing Solar Warlock PvE build.

The only new trick during this section is the Hex of Corruption which you’ll automatically get when the yellow bar enemies come out. The only way to get rid of this is to physically melee any enemy. Note that you’ll regain Hex of Corruption if you get hit by a Corrupted Hex enemy, so watch out from them.
Destroy the Taken Totem together as a Fireteam as fast as possible, melee an enemy to get rid of your Hex of Corruption, and wait for your five seconds of DPS. You do this three times, each time going to a new stage in a counter-clockwise motion, until you reach the main DPS phase at the top.
How to deal damage to Hefnd’s Vengence
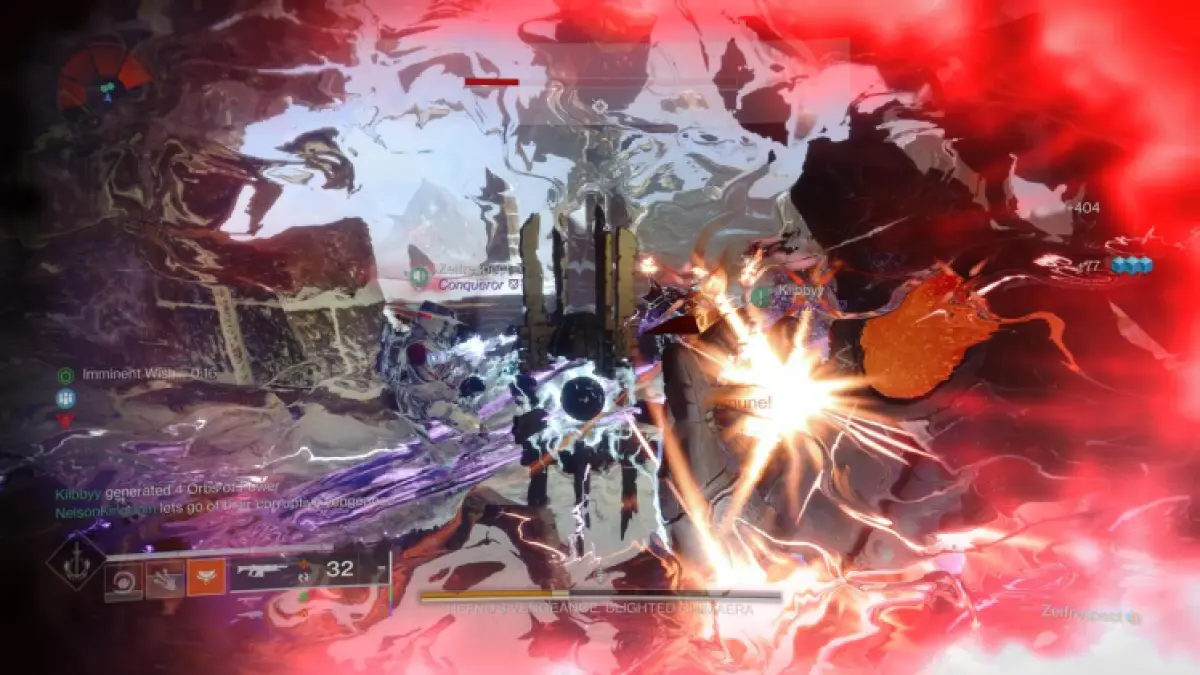
After the baby DPS phases you get on Refnd’s Vengence, you’ll get a big DPS phase at the top of the arena. Here, I recommend using all your Heavy Ammo and Supers to drain as much health as you can. You get three chances of DPS as you’re forced to rotate counter-clockwise when all the Blighted Eyes form around Hefnd’s Vengence, so to prolong your DPS, you can shoot the Blighted Eyes, but they respawn rapidly after a while.
When we were learning this, one of my teammates stayed on a stage that got covered in black after all the Blighted Eyes formed and he died. You’ll definitely want to avoid that by hoping to the next counter-clockwise stage after all the Blighted Eyes form. You get three stages and then it’s back to square one where you rinse and repeat.
How to beat Hefnd’s Vengence final stand

The last chunk of health bar that Hefnd’s Vengence has is its final stand. At this point, you’re entire team will get teleported to a stage with Hefnd’s Vengence in the middle and Blighted Eyes everywhere.
At this point, it’s my opinion that shooting the Blighted Eyes is pointless. Find cover behind one of the pillars and dump your Heavy Ammo — I suggest Dragon’s Breath — and use your DPS Super to kill Hefnd’s Vengence as fast as possible.
This section is chaotic and I died to Blighted Eyes a few times, but if your team is prepared with Heavy Ammo and Supers and focuses up, you’ll finish Hefnd’s Vengence and complete the Destiny 2 Warlord’s Ruin Dungeon. Nice work!



Published: Dec 1, 2023 05:24 pm