In Destiny 2: Joker’s Wild, you’ll be playing a lot of Gambit Prime to obtain your synths and complete some bounties. However, the other half of that gameplay loop will take you to The Reckoning. This new world space is within the giant “ball” carried by the Drifter’s ship.
Note that we’ve got our main page for Season of the Drifter guides. We’ll keep updating it as more activities and content drop, apart from The Reckoning’s updates, of course.
Getting Started
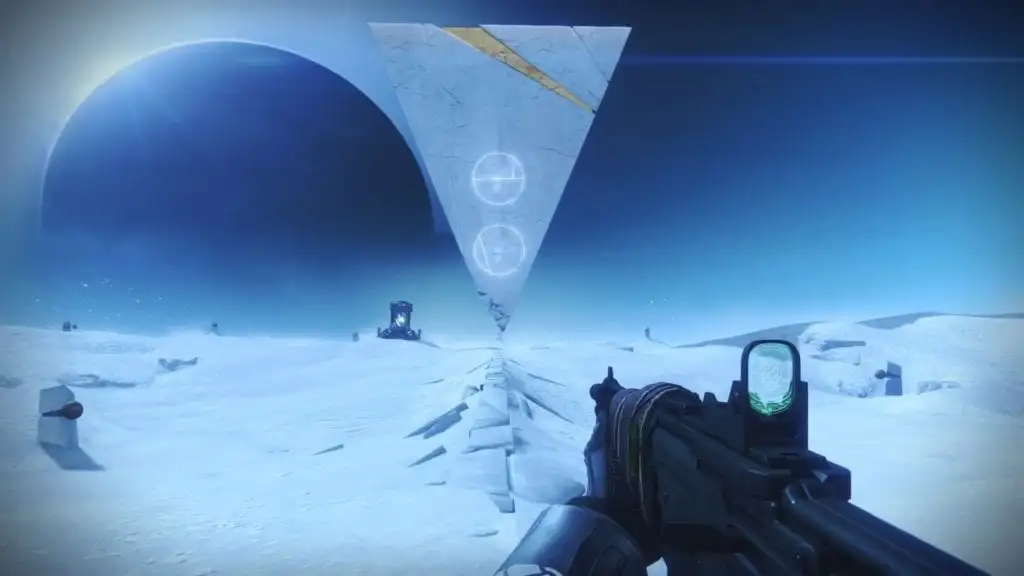
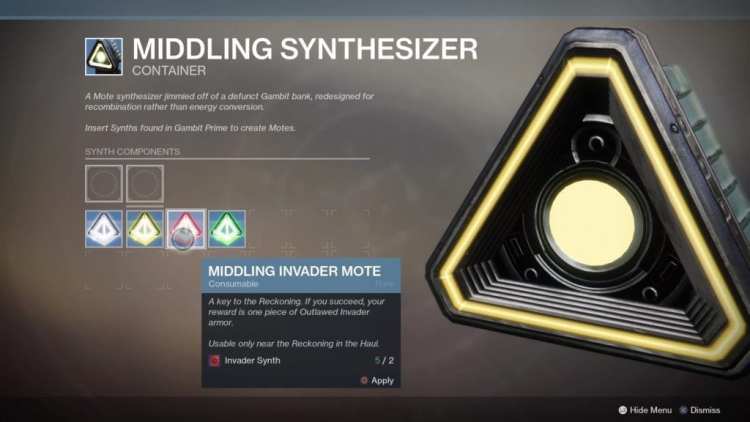
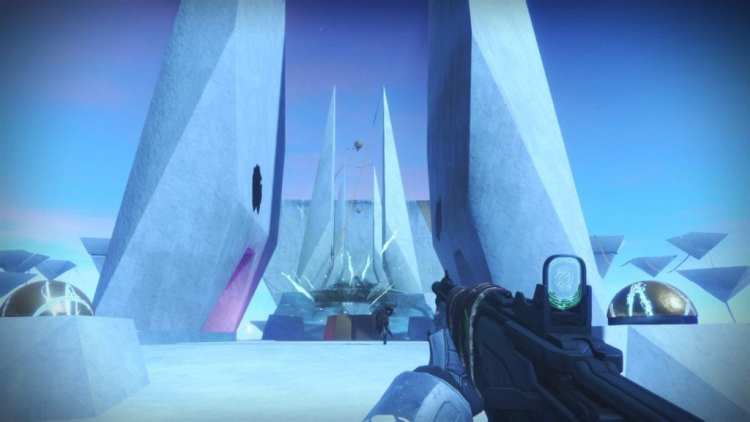
This playground is immense, with a lot of mystery and foreboding. Once you pass through the stargate, you’ll come across an inverted pyramid with the Gambit “bank.” First, open up your menu and inspect your synthesizer to create new motes. These motes are placed inside specific sides of the bank as your “wager.” If you do complete the Reckoning tier successfully, you can collect an armor piece after the activity is done.
You’ll start out at tier 1 and, eventually, higher tiers will be unlocked along with higher level synthesizers. Oh, and don’t forget, you can also plant a rally flag nearby to help you before starting each encounter.
Remember, communication and coordination go a long way in having successful clears. It’s best to find a good group and stick with one for farming runs. Destiny 2’s matchmaking is atrocious for competitive modes, and the bane of many solo players. The Reckoning is no exception since the game might throw you into activities that are already in progress with randoms (also known as “blueberries”) leaving the game or not knowing what to do.
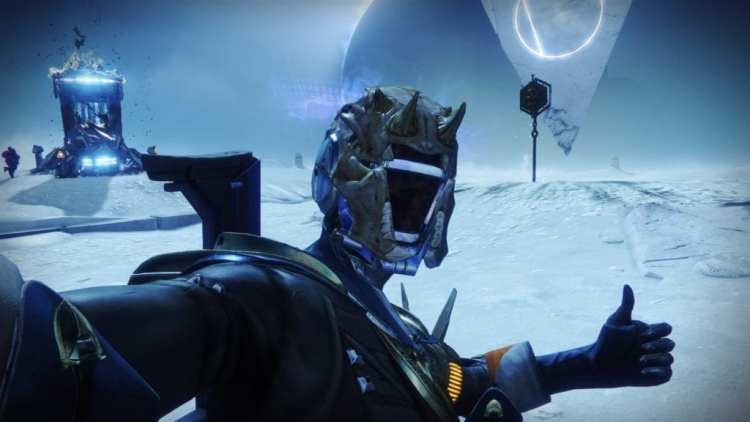
Plant that flag and pray that your teammates notice it, because, you know, 90 percent of blueberries probably won’t.
Reckoning Tier 1
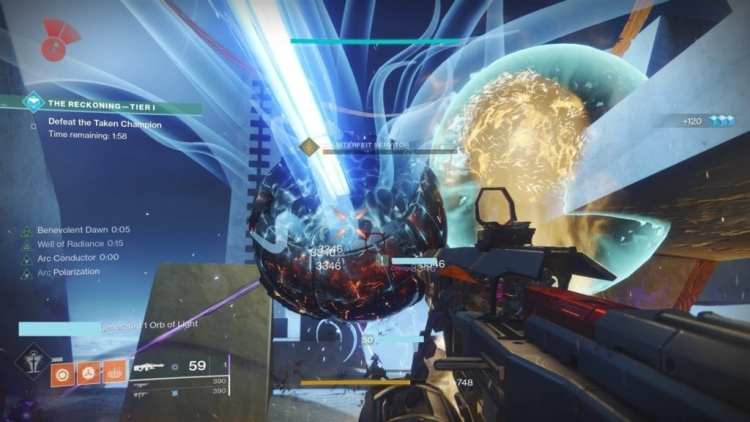
The Reckoning’s first tier has a six-minute timer and mobs are 650 power level. You’ll need to reach 100 percent “dominance” to summon and kill a Taken boss. In order to reach 100 percent, you’ll need to keep killing loads of Taken mobs (think of it like Blind Well or Escalation Protocol). It seems that super kills grant more towards your progression bar as well so don’t forget to rally the flag at the beginning.
The only modifiers that we’ve seen so far seem to involve Prism (increases elemental damage which rotates from solar -> void -> arc), and Blackout (no radar, enemy melee attacks deal more damage). Prism is fine. Blackout? Nobody wants Blackout anymore since Apex Legends launched… zing!
Weapon Loadouts And Class Choices
I digress. Point is that you’ll be dealing with loads of mobs. The ideal loadouts are:
- Breakneck (kinetic), Ikelos SG (energy), Thunderlord (power
- Threat Level (kinetic), Riskrunner (energy), Hammerhead (power)
Breakneck remains one of the best kinetic weapons around and, even with the full-auto shotgun nerfs, the Ikelos and Threat Level shotties are still viable. Riskrunner shreds mobs easily as well, and since you’re facing Taken, you’re guaranteed to get hit by arc attacks often (which will proc the conductor effect). The Hammerhead and Thunderlord machine guns also pack a punch. You can also use Wardcliff Coil as your power weapon although ammo can be a bit scarce at times.
For weapon mods, hopefully, you’ve got the Taken Spec mod which boosts your damage output against Taken enemies. For armor mods, the Taken Armaments one has a chance to grant heavy ammo on reserves whenever you get grenade kills.
Because you’re dealing with hundreds of mobs, you’ll need crowd-clearing supers. The ideal picks are:
- Titans – Sunbreaker with top tree
- Hunters – Nightstalker with top tree with Orpheus Rigs; a second Hunter can run Blade Barrage
- Warlocks – Voidwalker top tree with Skull of Dire Ahamkara; a second Warlock could use Well of Radiance, hopefully with a Phoenix Protocol equipped
Once you’ve reached 100 percent, a Taken boss would spawn. It could be a centurion, wizard, knight, the annoying hydra, or even the meatball. Take it out to complete The Reckoning’s tier 1. If you’ve only joined for a tier 1 run, then that’s it, you’re done. Collect your tier 1 Gambit Prime armor and play some more. If you joined for a tier 2 run, well, prepare for more action.
Reckoning Tier 2
To get rewards from The Reckoning’s tier 2, you’ll need to create a tier 2 (blue) mote from two synths. You’ll still get dropped in the same tier 1 zone, but additional steps will follow once the previous tier has ended and you’ve killed the Taken boss. A doorway opens which will lead you down a narrow corridor. Beyond is a pathway which every Destiny 2 player would call “the bridge” or “Thrallway 2.0.” Why? That’s because so many Taken shadow thralls will spawn to rip apart your team. These thralls and other mobs are 670 power level. If you need help getting to this point, feel free to read our leveling guide.
The Bridge
To complete the bridge encounter, the team needs to stand on circles until each part is completed. There are six of these in total. Wave after wave of adds will continue to spawn so make sure you have everything you need to survive (this part is brutal when Blackout is an active modifier). This is when supers and orb generation will come in handy.
Warlocks are a must and they’ll need to use Well of Radiance (Phoenix Protocol helps a lot). Hunters should go Nightstalker with Orpheus Rigs. Titans? You’re a poor man’s Warlock with your Sentinel bubble (top tree).
Once you’ve activated all six circles, a portal opens. Run through and you’ll have another encounter.
The Hermit And The Knights
This creepy zone will have more mobs spawning. The dark water off on the sides will also drain your energy so avoid wading into it. There will be two giant Hive sword knights chasing your team around. There will also be a glowing ultra known as a hermit (it’s marked on your screen).
The objective is to kill a hermit so that it drops a Well of Light — kind of like the same white glowing circle in Gambit Prime that boosts your damage. Stand in it, pop your Radiance, tethers, and everything you got to take down one knight.
Sword knights start going berserk when they reach below 25 percent health. Ideally, you’ll want to focus fire on just one knight at a time, hopefully killing it in one go. Cautiously preventing the other knight from taking massive damage prevents it from ‘zerking as well. You don’t really want two crazy knights smashing you around with their swords, right?
Regardless of whether you’ve killed at least one knight, or you now have two chasing you, another hermit will spawn somewhere in the area. Find it, kill it, stand in the glowing circle and keep shooting at the knights. Lastly, if more than two teammates die, try to stay outside the portal when you respawn. Jump in as a team so that you don’t trickle in only to have all the mobs focusing on you.
Once you’ve taken out both sword knights, you’re done with tier 2. Go ahead and collect your newfound Gambit Prime tier 2 armor piece. Tier 3 is currently unavailable and will be added on March 12. We’ll update this guide when it’s live.

The hermit/knights encounter is all about picking which knight to burst down first. Don’t attack both since you don’t want getting chased around this room by crazy sword-wielding monsters.
What’s The Point of Tier 1 And Tier 2?
There’s genuinely no point in doing either of these two lower tiers. That’s because the Gambit Prime armor pieces you want should be from tier 3. They’ll offer the +3 bonus perks per piece, and you’ll need all five armor pieces to get all the bonuses. It also bears mentioning that the drops you get from tier 2 aren’t powerful ones so they won’t boost your PL. As such, Reckoning tier 1 and tier 2 are just a waste of your synths.
Then again, if you do have a lot of synths to spare, re-running these tiers can have benefits:
- You can obtain some Gambit Prime/Reckoning weaponry from drops. Some of these might even have curated rolls. Keep in mind that this is completely RNG.
- You can, at least, practice for some clean and efficient runs. At the very least, you can gain an understanding of what to expect once tier 3 is made available.
- Last but not least, you can collect the lore fragments/collectibles from tier 1 and tier 2. Check out the video below from YouTuber Ninja Pups to find out where they are:
Update: Reckoning Tier 3
Xur returns for the weekend with an exotic bounty in tow. Apart from that, The Reckoning’s Tier 3 is also available now. These are some requirements before you start it:
- be 680 PL – check out our leveling guide here if you still need to grind; also note that mobs are 690 PL
- a Powerful Synthesizer (from the Drifter)
- a purple synth (using three Gambit archetype motes) if you want to wager for a Notorious/tier 3 Gambit armor
Tier 3 follows the same pattern as your previous runs. Part one will have you dealing with lots of mobs and needing to hit 100 percent Domination.
Part two will have you building a bridge. Take care because you only have a scant few seconds on the clock that’s winding down. Each section you complete adds 30 seconds to the clock, and you’d need 20 seconds to fully form each section. That simply means you’ll need to keep moving and stay alive. A Warlock’s Well of Radiance and a Hunter’s Tether + Orpheus Rigs will help a lot.
When you finish part two, you’re not facing off against the two sword knights and the hermit, instead, the Shade of Oryx from Destiny 2: The Taken King will spawn. The poor guy doesn’t even have a sword. This boss fight is ridiculously easy as long as you’ve got a decent team composition. Your Warlocks should be running Well of Radiance, and Hunters will need their tether + Orpheus Rigs. Titans could just pop a Banner Shield or cheer everyone else because they’re of little use (sorry Hammerbros).
The Shade of Oryx will teleport around the room, leaving behind the Taken’s black goo which will slowly damage you. Pop that well, keep shooting and blasting the Shade. Tether those adds to make more orbs. Eventually, the Shade of Oryx will drain your light and cause a wipe. This is just a hard DPS check which, if you’ve been nuking it consistently, is almost negligible.
Today is a good day to complete this due to the Solar + Heavyweight modifiers. Also, if you manage to get through this part without dying (not your entire team, just you), you’ll end up with an additional triumph. Good luck!
That’s a quick and easy kill from Aussiehalo who attests that he and his mates were able to get a clear within a few minutes of the activity going live. I’m a little disappointed knowing his team probably got “world’s first,” but there won’t be any wrestling belts for them since The Reckoning isn’t necessarily a raid.
That does it for The Reckoning activity. Don’t forget to check out our Destiny 2: Joker’s Wild hub for all the guides and everything you need to know about the latest DLC.




Published: Mar 15, 2019 11:18 pm