Cyberpunk 2077 has finally arrived and with it comes one of the most impressive photo mode features in any game I’ve ever played. Boasting numerous options, including frames, poses, camera presets, and facial expressions, it’s bound to keep you entertained. I feel like I’ve genuinely spent more time on it than completing quests. Anyway, here’s our guide on how to make the most out of this feature.
Note: For more information, check out our Cyberpunk 2077 guides and features hub.
Cyberpunk 2077: Photo mode guide
Cyberpunk 2077‘s photo mode can be started by pressing “N” on your keyboard or both the left and right sticks on your Xbox gamepad. Once enabled, you’ll see various tabs.
The first one for the camera allows you to select either first-person or drone (free cam) mode. You can also choose different presets (camera angles) and tweak the FOV.
Next, the depth of field (DOF) tab lets you set the focus of the image. It’s useful when you want to focus on the background or distant objects/characters.
The pose panel, meanwhile, might be the highlight of Cyberpunk 2077‘s photo mode. You can choose from various poses (some are available as idle or action poses). Likewise, you can set your character’s facial expression, rotate them in place, move them around in the location, and more.
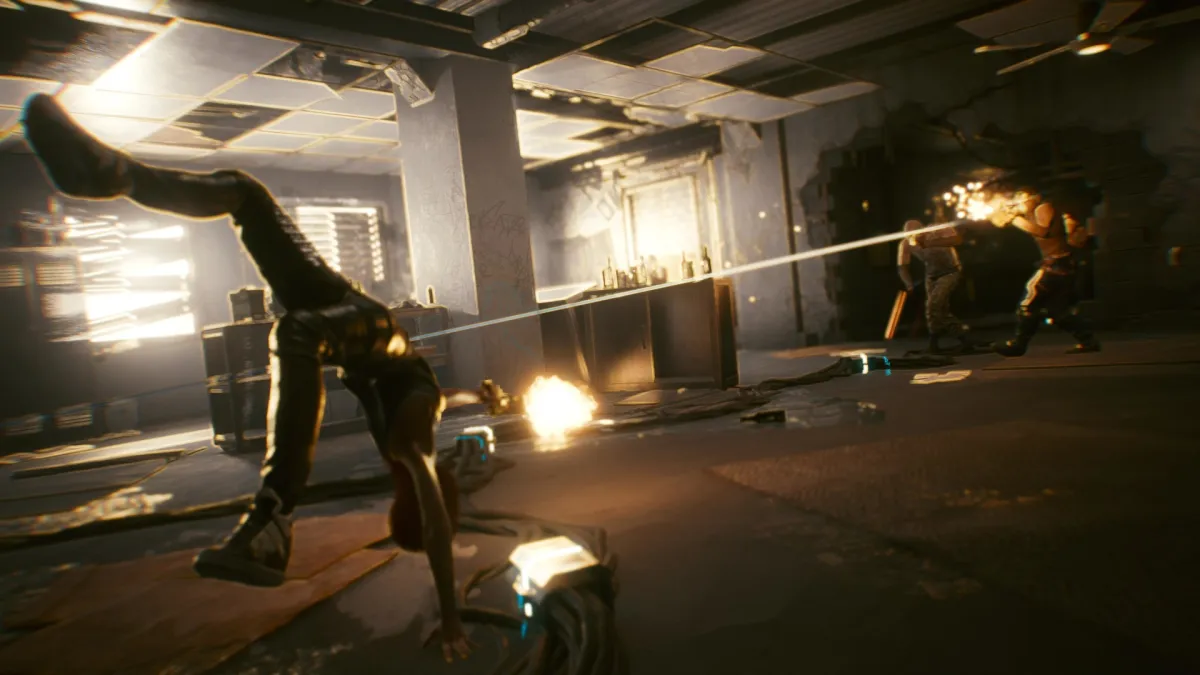
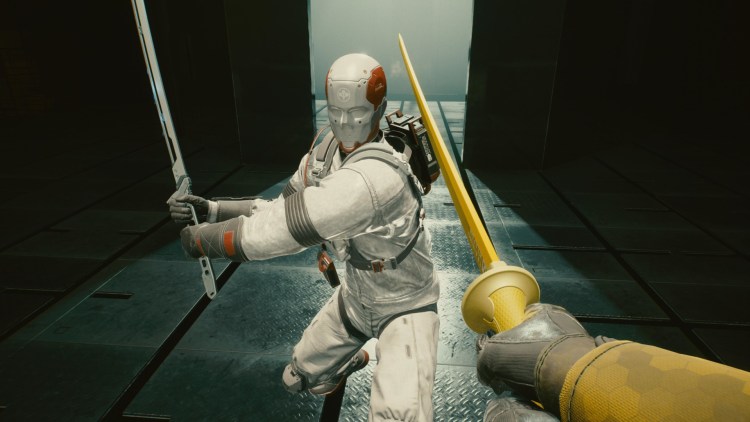
If you’re choosing an action-type pose, you might see options depending on V’s equipped weapons. For instance, there are poses when she’s got a katana, a shotgun, a heavy machine gun, and more.
Meanwhile, the effects tab has numerous settings related to contrast, vignette, palette/hue effects, and more.
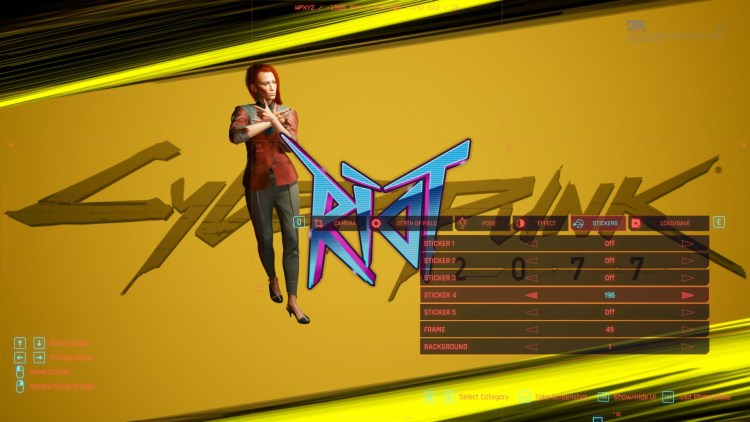
As for the stickers tab, it’s got five placements for different logos you’ll see while playing Cyberpunk 2077.
There are also frames and backgrounds that can be added if you want something that looks like a movie poster.
A few caveats
It’s possible to use Cyberpunk 2077‘s photo mode while roaming around or during a firefight. But, it does have a few limitations.
If your character is sitting down, actively interacting with a person or object, or in the middle of a cutscene/dialogue sequence, then only first-person view is available.
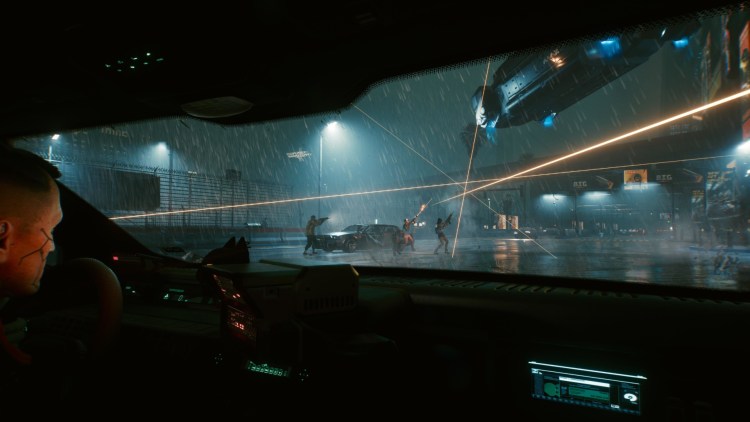
The first-person lock also applies when your character is a passenger in a vehicle. As such, the most you’d be able to do is move the camera around or add stickers, but most other options (like poses) would be unavailable.
Likewise, there might be moments when some options are unavailable, such as during the VR-style tutorial.
The same goes when using Cyberware implants for your arms (i.e., Mantis Blades). If you use the drone camera, the models won’t appear even if you’re in the middle of an attack sequence.
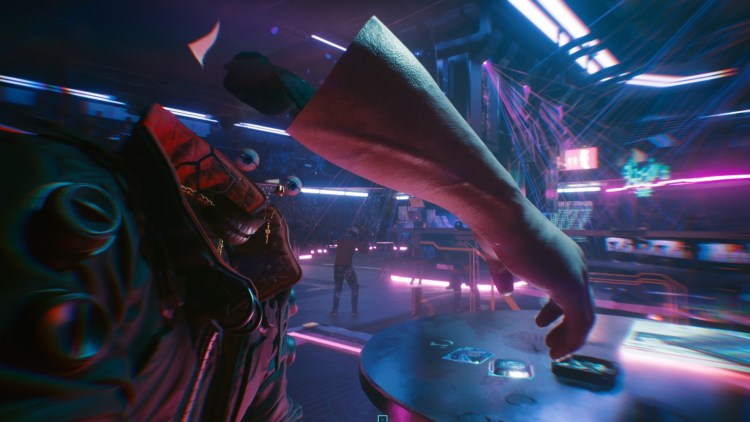
Lastly, because Cyberpunk 2077 relies on a “glitched/hacked screen” effect even for photo mode transitions, you could encounter rare instances when NPCs themselves become glitched.
As mentioned in our technical review, you could spot some disembodied heads, overlapping textures, floating limbs, and more. Although, to be fair, I’ve rarely experienced these issues.
Cyberpunk 2077‘s photo mode image location
Anyway, if you’re happy with everything, press the spacebar to save a PNG image. By default, you should find Cyberpunk 2077‘s photo mode captures under My Computer/This PC -> Pictures -> Cyberpunk 2077.
If you’re using Steam and you press F12, you could still get a decent JPEG screenshot (just remember to hide the UI). However, the cursor might end up appearing. As such, it’s better to just press the spacebar to obtain the PNG file.
Overall, there’s a lot to enjoy when it comes to Cyberpunk 2077‘s photo mode feature. It’s fully built-in, and you have the means to make these images look as dynamic and sassy as you want them to be. You don’t even need mods or script extenders.
Night City is visually breathtaking and photo mode manages to capture moments that will leave you in awe. So, samurai, wake the eff up and take a selfie.
Cyberpunk 2077 is available via multiple storefronts such as GOG and Steam. For more information, check out our guides and features hub.





Published: Dec 9, 2020 08:16 pm