
Mobs farms become more valuable as you progress through the game and require top-tier items to beat bosses. If you’re struggling with resources, here are the best mob farm layouts to fix that in Core Keeper and all the potions you can make with the materials.
Table of contents
Why do you need a mob farm in Core Keeper?
Mob farms aren’t strictly necessary, but they will make potion creation and Alchemy much easier. You can beat most of the early and mid-game bosses with decent equipment and some luck, but eventually, you need something more.
Potions are the absolute best items in the game for burst healing, as they immediately replenish a portion of your HP. You can also craft specialist concoctions, like Guardian’s Potion, which reduces incoming boss damage.
The issue is that every potion in Core Keeper requires Slime as a critical ingredient. While you can gather Slime manually, creating something to do it for you is far more effective.
I’ll explain a few setups in detail, but first, here’s a list of every potion you can make, what they do, and the ingredients.
You can also use milk to buff your armor stats if you have a livestock farm.
All Potion Recipes in Core Keeper
Healing Potions and Greater Healing Potions will be your go-to items most of the time, but you can create some potent brews if you know the recipe.
| Potion Name | Recipe | Effects |
|---|---|---|
| Healing Potion | Orange Slime x3 Heart Berry x3 | Instantly regain 30% Health. 5 Second Cooldown |
| Greater Healing Potion | Purple Slime x3 Heart Berry x5 | Instantly regain 40% Health. 5 Second Cooldown |
| Guardian’s Potion | Blue Slime x3 Ancient Gemstone x1 Puffungi x3 | 12% reduced damage from bosses for 1 minute. |
| Arcane Potion | Orange Slime x3 Glow Tulip x3 | +30% Magic Damage for 1 minute. |
| Stoneskin Potion | Orange Slime x3 Carrock x3 | +34 Armor for 1 minute |
| Keen Potion | Orange Slime x3 Mushroom x3 | +30% Physical Ranged (Bow) damage for 1 minute |
| Poison Aid Potion | Purple Slime x10 | Instantly removes Poison debuff. |
| Pact of Power Potion | Orange Slime x3 Larva Meat x1 | +30% Minion damage for 1 minute |
| Enrage Potion | Orange Slime x3 Bomb Pepper x | +30 Physical Melee damage for 1 minute |
How to make a Manual Slime Farm
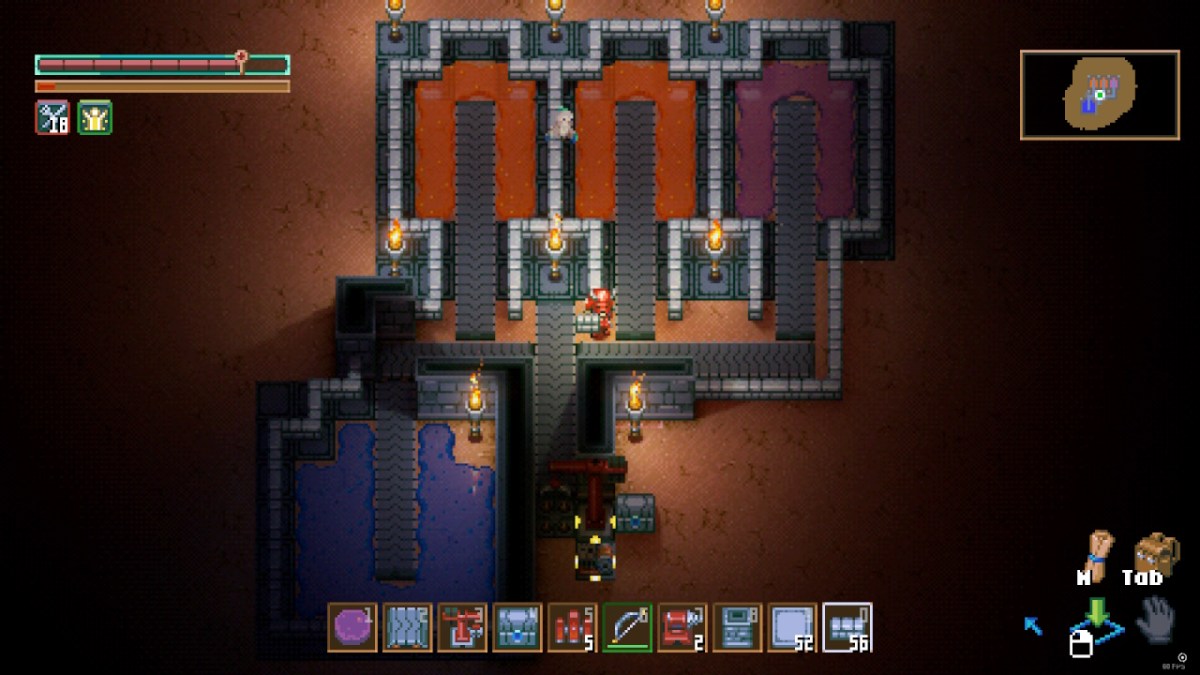
Slime Farms can be made on a budget without ever touching things like conveyor belts, robot arms, and generators. You can see what multiple of these look like in the image at the top of the guide, but let me show you how to make one chamber from scratch.

You don’t need a path around the Slime Farm, but it helps to plan multiple chambers. Any shape and size will do, but mine is 11×8 Tiles.

Place stone fences around the perimeter and add torches to the corners. For now, you can break and replace the fences to get in and out. We use fences instead of walls as they let external light in over the top. You can also shoot into the farm if you need to.

Place Spike Traps around the middle of the farm. I think the configuration above looks tidy, but a block in the middle is just as effective. Spike Traps don’t hurt you but will damage and eventually kill any Slime that wanders over them.
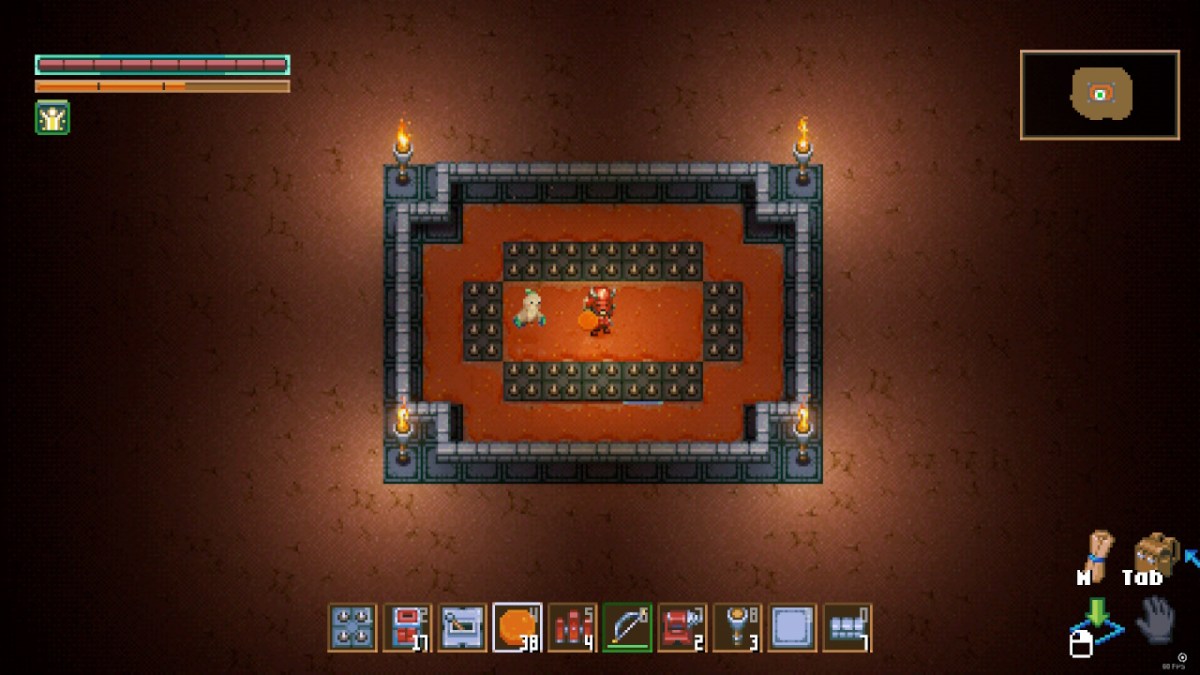
Finally, you must add Ground Slime to the remaining squares. You can scoop Ground Slime off the floor in any slime-infested area with a shovel. Slimes of the matching color will periodically spawn from Ground Slime tiles.
If all goes well, the Slimes will spawn and skew themselves on the spikes. When you’re ready to collect, you can shoot over the fence to defeat any stragglers, grab your slime, and seal the entrance behind you.
I love this layout as you can make as many chambers as you like, and they are space efficient. You can also add more whenever you want, as they work independently. I cover the paths in-between with Spike Traps to deal with escapees, but it’s unnecessary.
How to make an Automatic Slime Farm
If you want to add style to your base, here’s a simple setup using electronics and Conveyor belts. We still use Ground Slime Tiles and Spike Traps, but we set it up in a way that does the job for us.
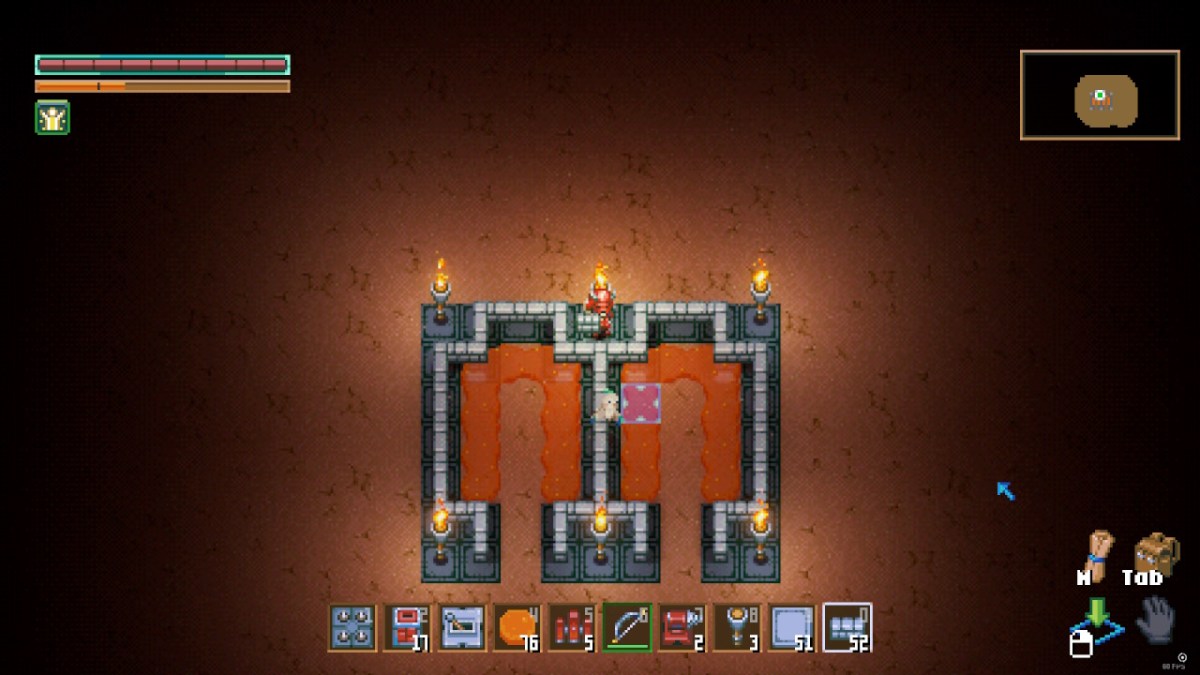
We use the same materials for these chambers as in the non-automated farm. Fences allow light in so we can see, and each chamber is lined with Ground Slime. I’m using Orange for the build, but you could have a chamber for each color of Slime.
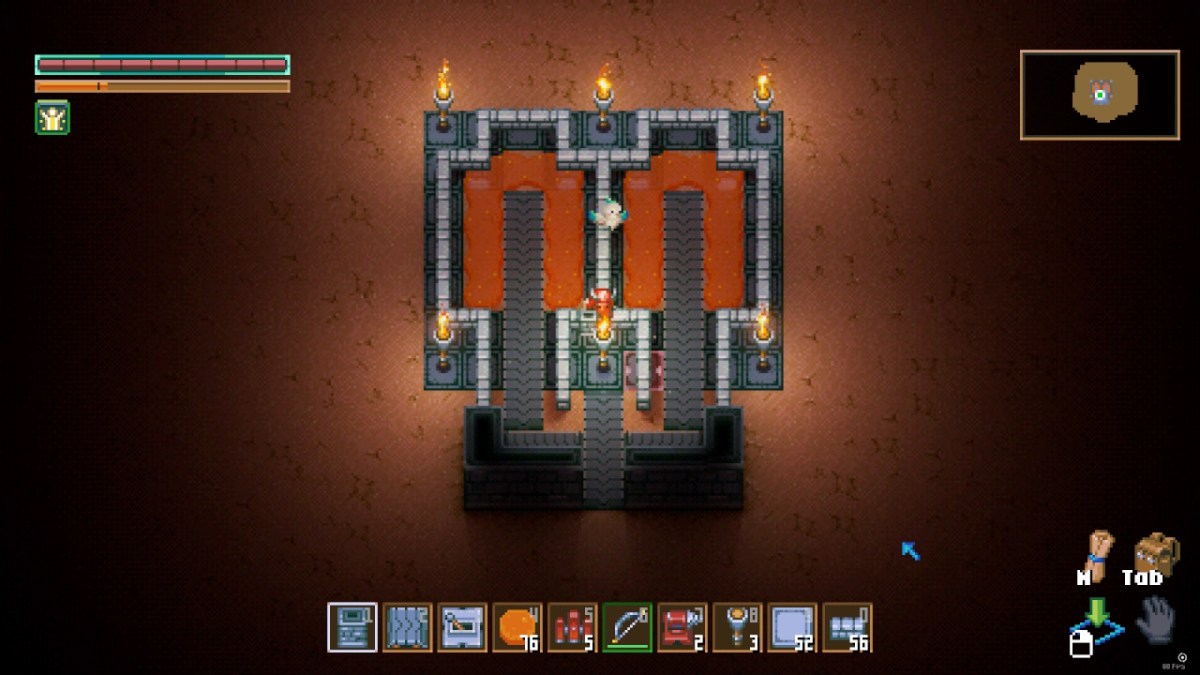
Now for the fun part. Add conveyor belts running from the middle of each chamber and join them in the middle. I have one belt running down the middle that each chamber belt joins, and I’ve encased the farm in stone walls just in case anything manages to escape.
You can create a path to ferry the Slimes as far as you like, but it must end with a Spike Trap. The Trap will kill any Slime that reaches it, although rarer Slimes take longer.
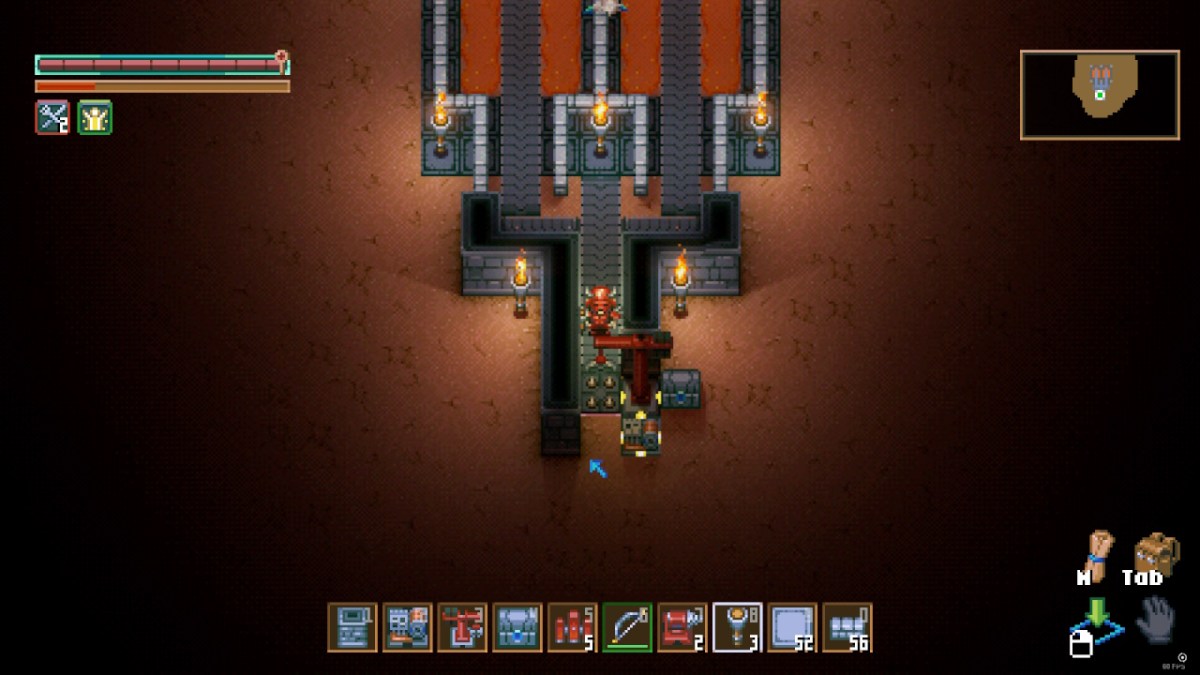
We’ve added a Robot Arm next to the Trap and a Chest on the other side. The goal is for the Robot Arm to grab any materials left on the Spike Trap and place them neatly in the chest.
Finally, we need electricity. Place a generator on the tile adjacent to the Robot Arm to power it. As the generator is so close, you don’t need wires for the farm, although they can be helpful in larger builds.
How to make a larger Automatic Farm
The best part about this design is it’s so easy to expand. You can build chambers everywhere with different Ground Slimes in each one. As long as the Slimes get to the Spike Trap, they will die eventually, and their parts will be deposited into the chest.
If your farm gets really big, I recommend adding an additional conveyor belt and Spike Trap. You can install an extra Robot Arm, Generator, and chest and double the workload for your automated build. Sadly, there’s no way to speed up Slime Spawns, but this will get the job done.
If you’re interested in other automated builds for resources like Wood, there’s plenty of options. You can’t light up the map without a ridiculous amount of torches, so it’s arguably the most valuable material to farm.


Published: Sep 12, 2024 11:44 am