There are many unique and powerful weapons throughout Baldur’s Gate 3. Some are easy to get, while others you must find through more difficult means. While you’re exploring the Rosymorn Monastery and finding your way through the Crèche Y’llek, you’ll eventually find out that there’s a secret relic hidden somewhere in the area. If you’re looking for a powerful mace in Baldur’s Gate 3, let me explain how to find Blood of Lathander in the Crèche Y’llek.
Baldur’s Gate 3: Blood of Lathander quest guide
There are many steps to this guide, which makes this a highly-rare weapon. You’ll first need to get your hands on the Dawnmaster’s Crest in the Monastery, which will later on in the Crèche Y’llek get you this mace. This involves intricate puzzles and finding hidden objects, so let’s dive into how to find Blood of Lathander in the Crèche Y’llek in Baldur’s Gate 3.
How to find the Dawnmaster’s Crest
To get this crest, which will eventually help you unlock the Blood of Lathander mace, you’ll explore many rooms throughout the Rosymorn Monastery. By now, you’ve probably realized you cannot just enter through the front doors. There are many different ways to traverse throughout this huge building, but I’ll point out the most important rooms.
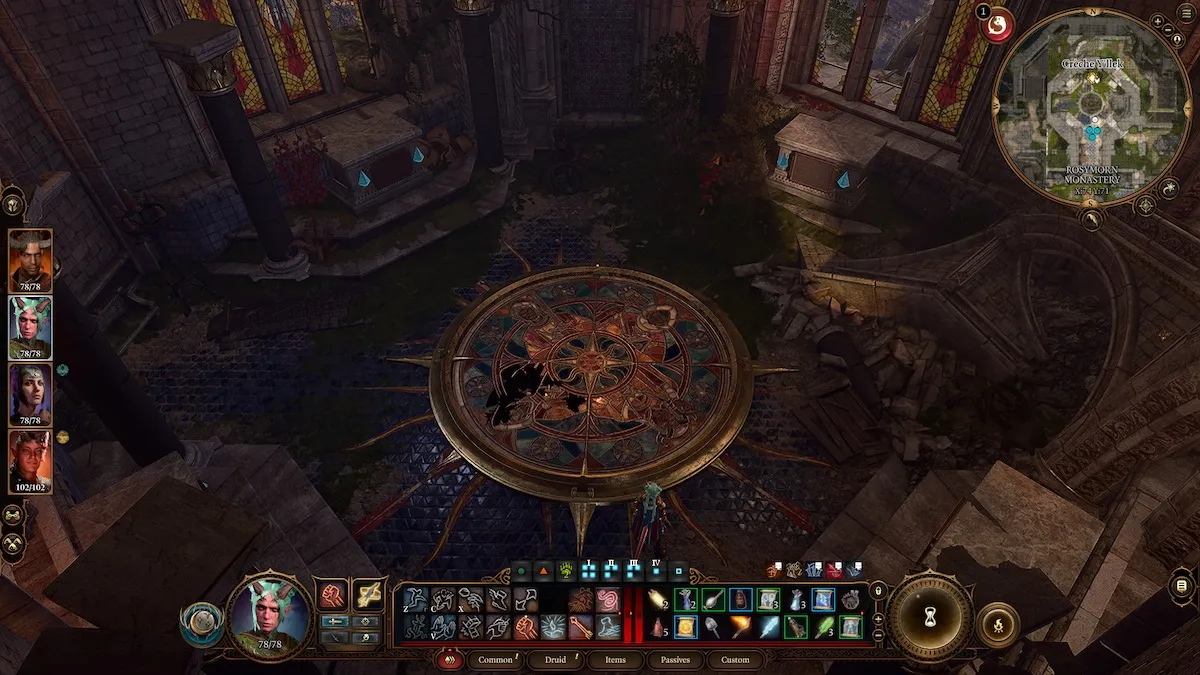
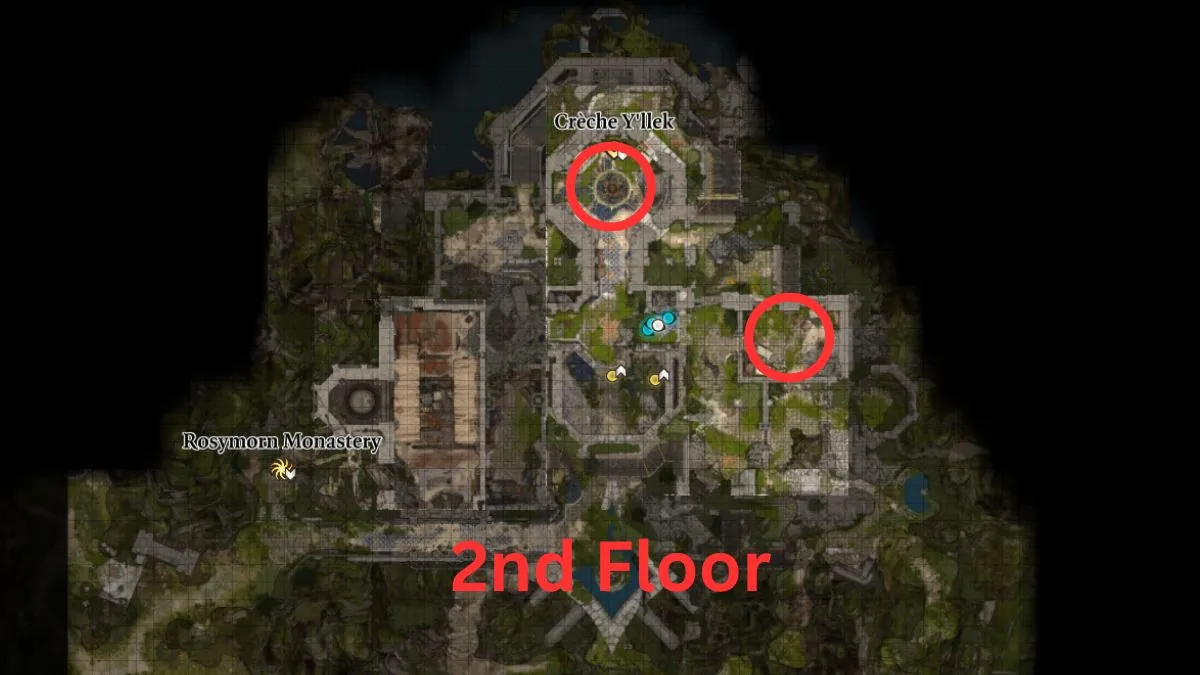
If you make it to the second floor, there’s a large circular room with a broken stained-glass window in the center of the floor. Make sure to remember where this room is, since you’ll need to come back here soon. Four alters stand around this room, each depicting a different Dawnmaster stated on plaques. Each alter is supposed to hold a weapon on it, as you should already spot one weapon. Leave it there for now. Your mission now is to find two more weapons hidden around this Monastery.
- Screenshots by PC Invasion
How to find the Ceremonial Battleaxe
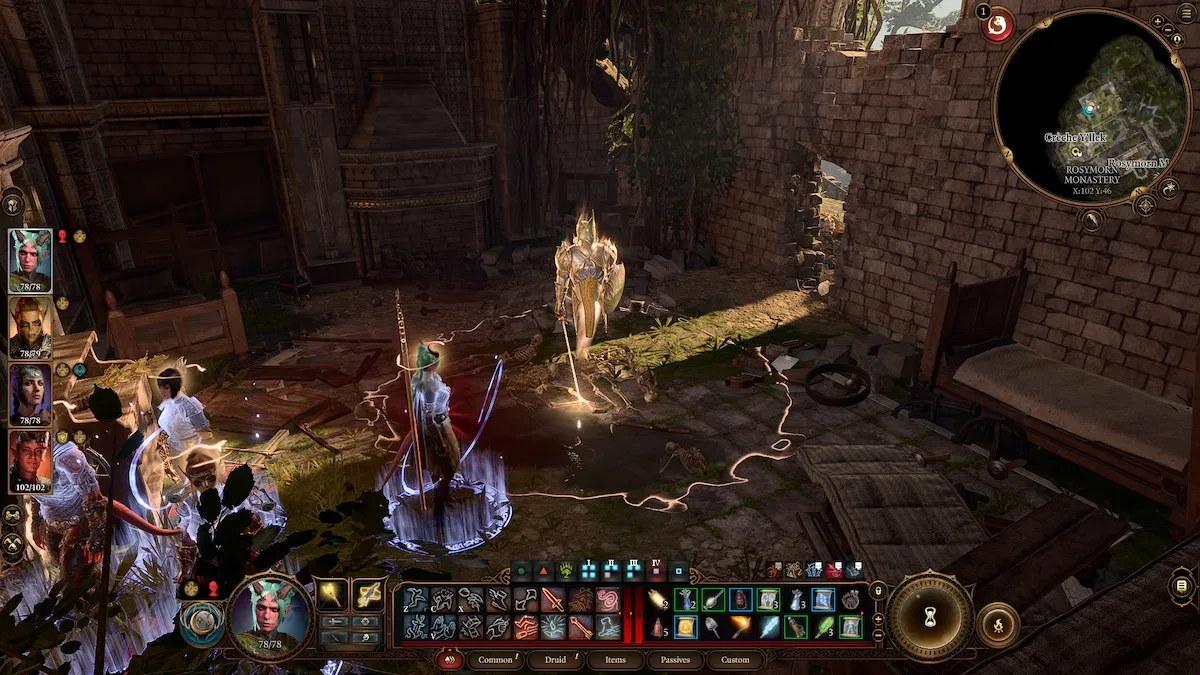
Head to this room first, which is on the same floor as the room with the four plaques. The room’s main door has an enchanted lock, and furniture is blocking it from the other side. Don’t even try to enter this way. Instead, walk around to the southern wall, where you should see a breakable crack in the wall. Break down the wall, and inside the room is a Guardian of Faith. Defeat it, and it’ll drop the Ceremonial Battleaxe.
How to find the Ceremonial Warhammer
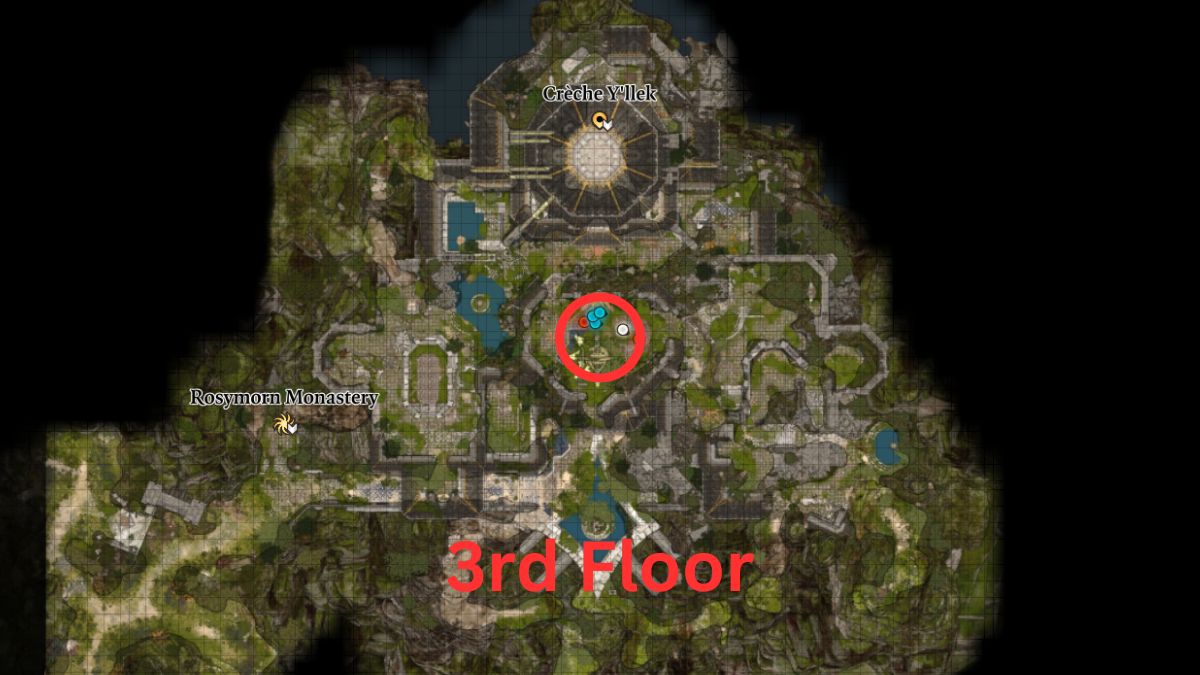
This area is on the floor above, which is tricky to get to, if you don’t know the easy way up. If you head back into the hallway outside of that room, keep walking south until you spot some knotted roots. Climb up, and you’ll get to the top of the Monastery.
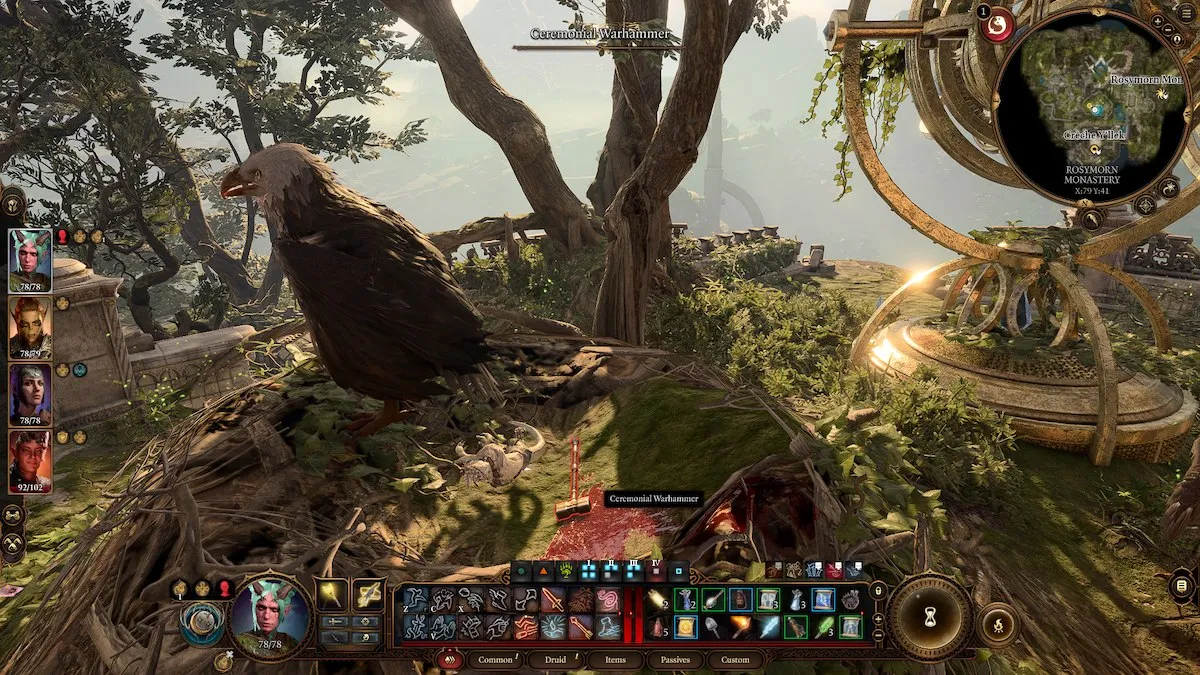
Immediately, you’ll see two giant eagles, and if your Animal Handling is high enough, you can calm the one guarding the nest. It really doesn’t matter though, because you’ll inevitably start a fight with them after taking the Ceremonial Warhammer from its nest.
How to place the Ceremonial weapons
Now, head back to the room with the four plaques, and you can start placing the weapons in their preferred spots. Just stand on top of the alters and drop the weapons to place them. You can also stand nearby, then drag and drop the weapons onto the alters.
- Dawnmaster Vaseid: Ceremonial Greataxe
- Dawnmaster Seed: Ceremonial Warhammer
- Dawnmaster Stockhold: Any weapon
Finally, a secret compartment opens holding a pouch. Inside this pouch is the Dawnmaster’s Crest. Phew, you just completed the first big step! There’s still more to go, so strap in. You can now leave the Monastery and make your way into the basement, which leads to the Crèche Y’llek.
How to get the Blood of Lathander in Crèche Y’llek
If you haven’t explored this place and done Lae’zel’s quests here yet, you should do so. It will eventually lead you to the room you need to find for this special weapon. Lae’zel is looking to cleanse herself of the parasite, so you’ll make your way to the Infirmary. Then, when the machine breaks, you’re locked inside, and you need to fight your way out.
After that, Lae’zel says that you should speak to the Inquisitor about this. This leads you to the Captain’s Quarters, and you’ll probably end up killing the Captain and everyone inside, since they’re after your Artifact. The Inquisitor’s Chamber is past this room, but you’ll need to get through the Githyanki Barrier Disruptor first. Read our guide to figure out that quick puzzle.
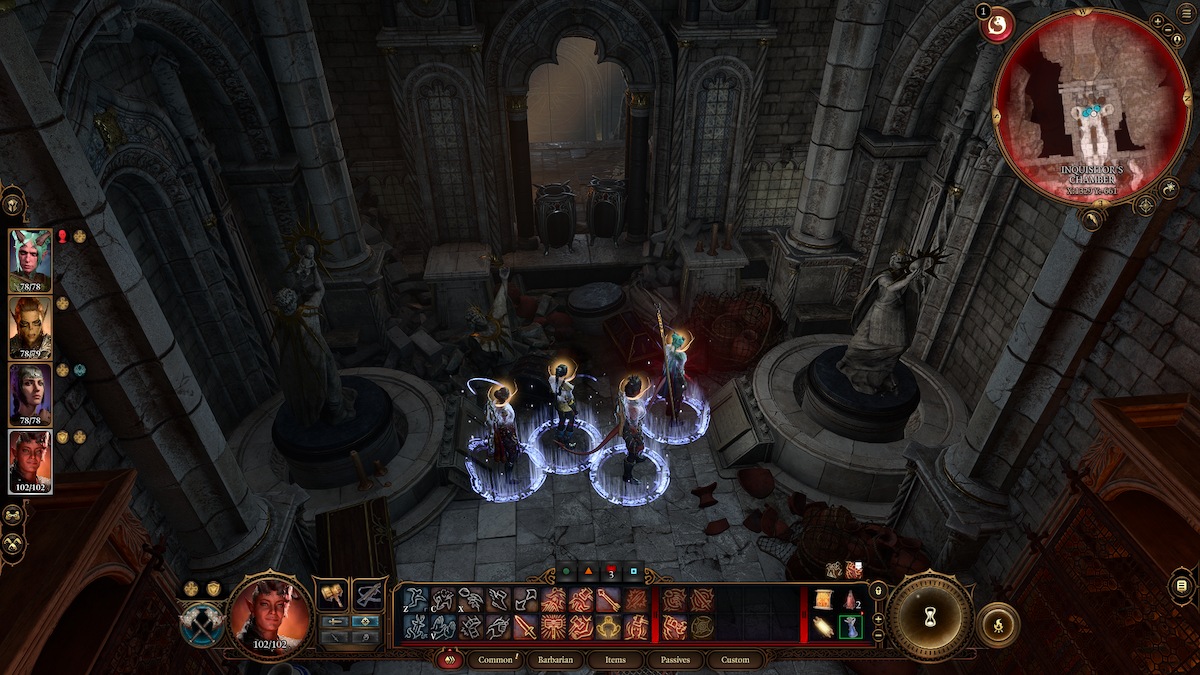
You’ll meet the Inquisitor, probably ending up in a fight to save the Artifact, and even face a difficult decision; side with your Guardian or kill them in the Astral Prism. You should get this quest over with, then once you find yourself back in the Inquisitor’s Chamber, head to the western side of the room.
Inside, is a tiny area with two large statues. With a successful Strength check, you can twist these statues in four different directions. The image above shows the correct solution. Then, a doorway opens, leading you to a secret area. More puzzles ahead!
How to get through the Secret Chamber
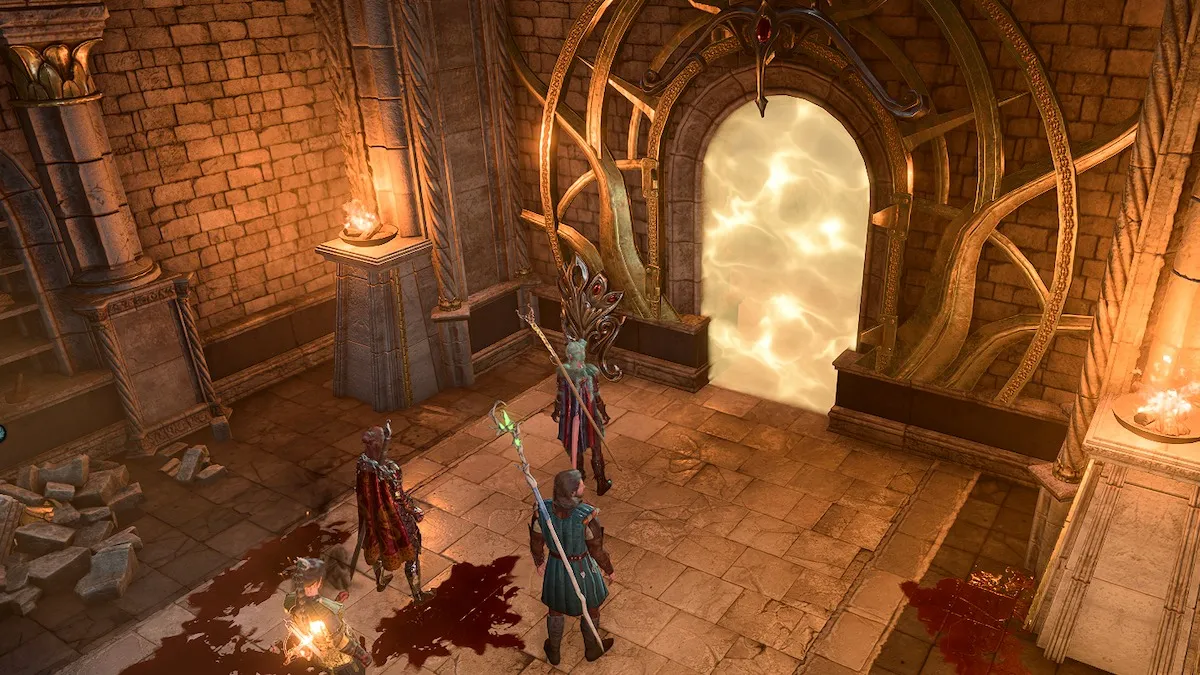
A yellow barrier stands in your way, the same one that blocked you in the Captain’s Quarters. Hit the blue crystal to the left of it with anything. I recommend a Cantrip spell or an arrow. The barrier dispels, so onto the next area.
Now there’s a more deadly trap. Take control of one character by disabling Group mode (press the ‘G’ key). It’s a device that sends out a shockwave, which will throw you over the edge to your death. Watch where you’re stepping, and Disarm it by standing behind the blast radius. Make sure to have plenty of Trap Disarm Toolkits.
This doesn’t break the barrier ahead, though. Behind that trap is a walkway that gets you around the barrier. Follow through, and on the right you’ll spot a blue crystal. Hit it to break the barrier you just walked around. There’s another trap ahead, so Disarm it like you did before.
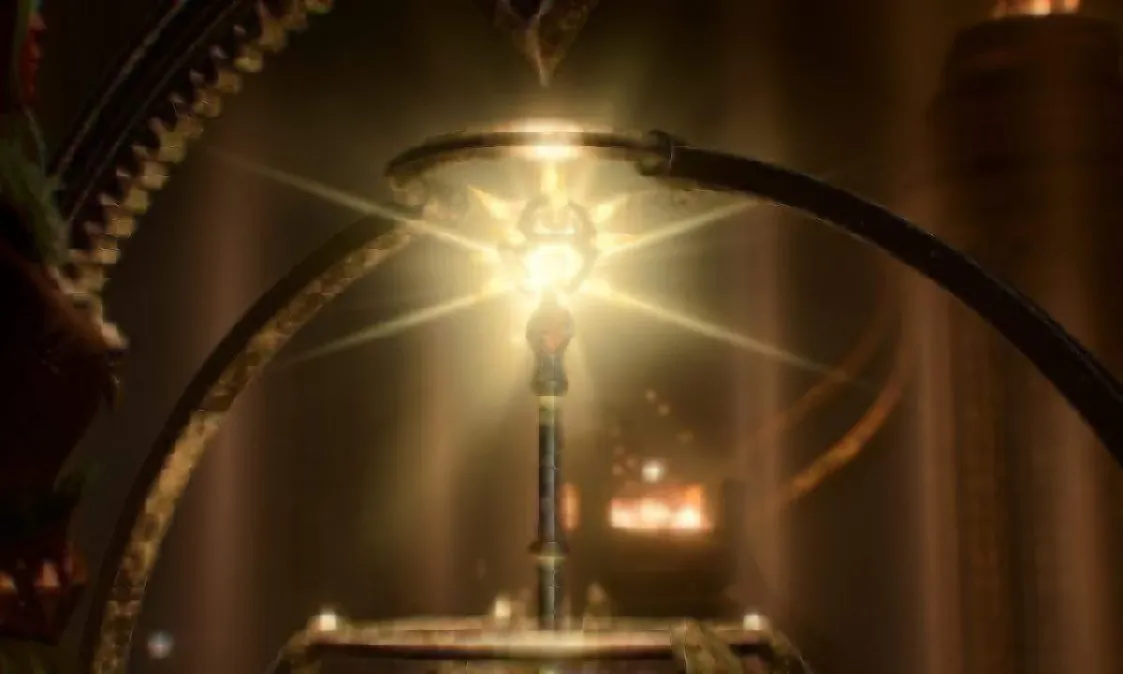
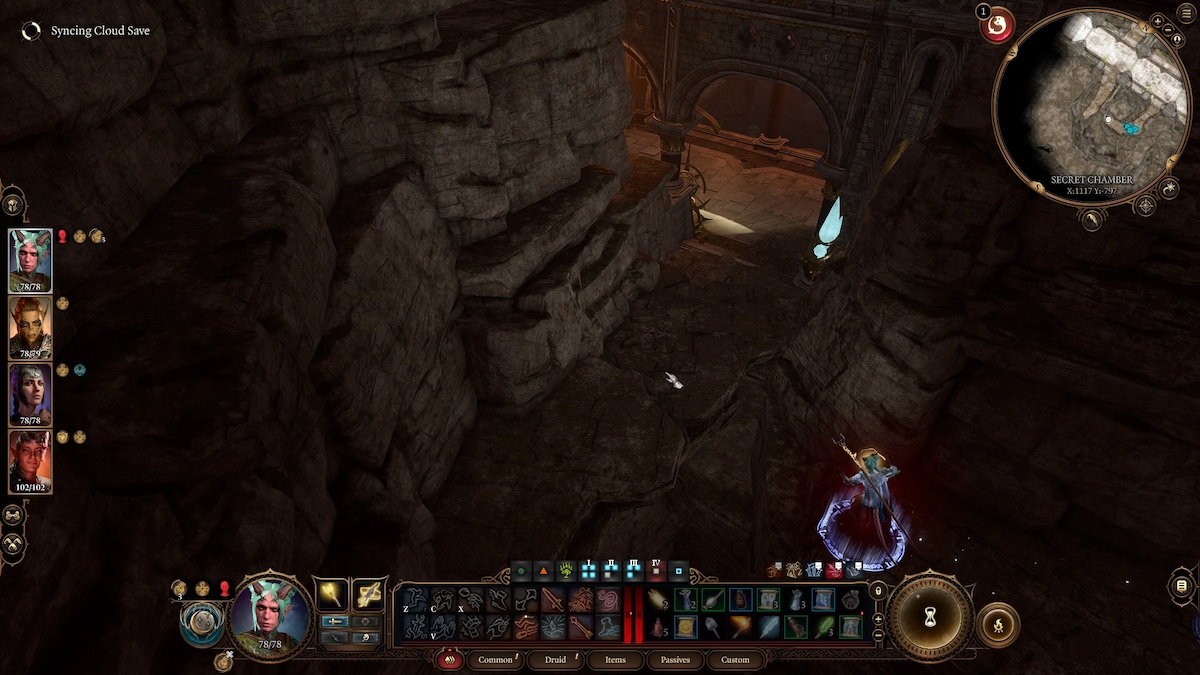
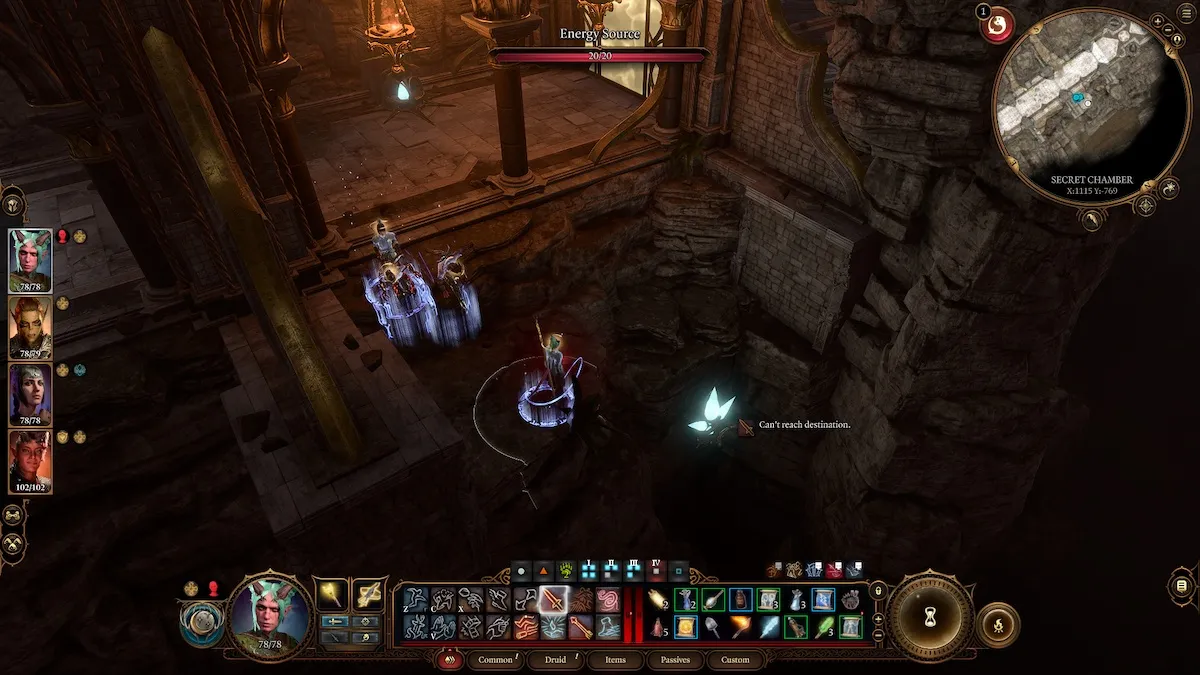
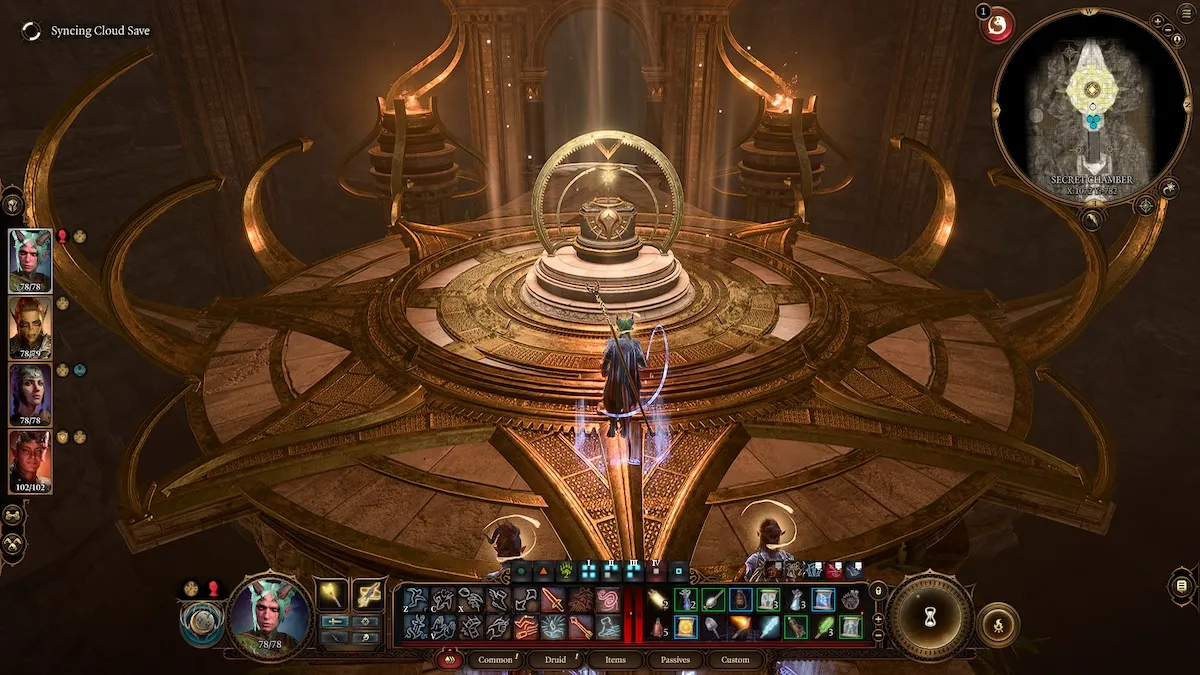
The final barrier’s blue crystal is hiding off the northern ledge. It’s hidden below, but you can still hit it at the right angle. You’re finally done with the tough parts! Head through, and you’ll find a large alter holding Blood of Lathander. Interact with the Crest Panel, and place the Dawnmaster’s Crest inside. This will allow you to safely grab the Blood of Lathander!
Blood of Lathander stats
- 1d6 + STR modifier + 3 Bludgeoning damage
- Lathander’s Blessing: Once per Long Rest, when your HP is reduced to 0, you regain 2-12 HP. Allies within 9m also regain 1-6 HP.
- Lathander’s Light: Sheds holy light in a 6m radius. In combat, friends and undead standing in the light are Blinded, unless they succeed a CON saving throw.
- Weapon Enchantment +3
- Sunbeam (Level 6 spell)
- A beam of light Blinds all creatures in its path (CON saving throw). Until spell ends, you can recast Sunbeam without expending a spell slot.
- Morninglord’s Radiance: When at the Monastery, weapon gains Levitating, and you get an additional 1d4 Radiant damage.
Baldur’s Gate 3 is available on Steam.






Published: Aug 15, 2023 5:26 PM UTC