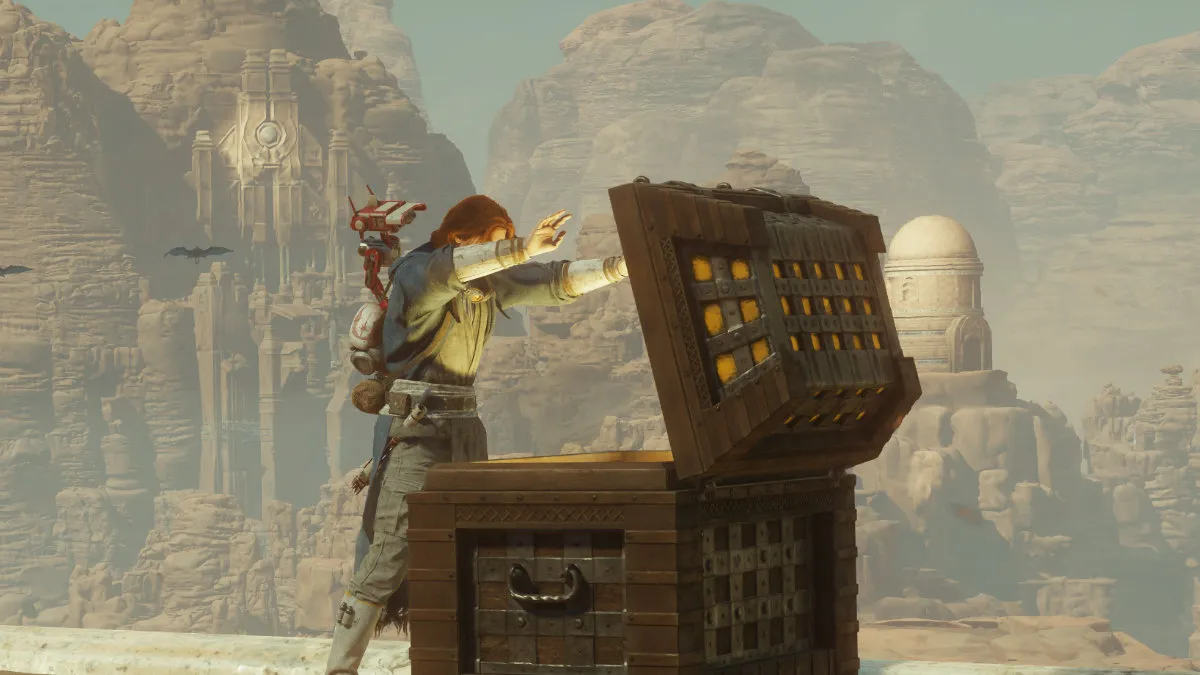
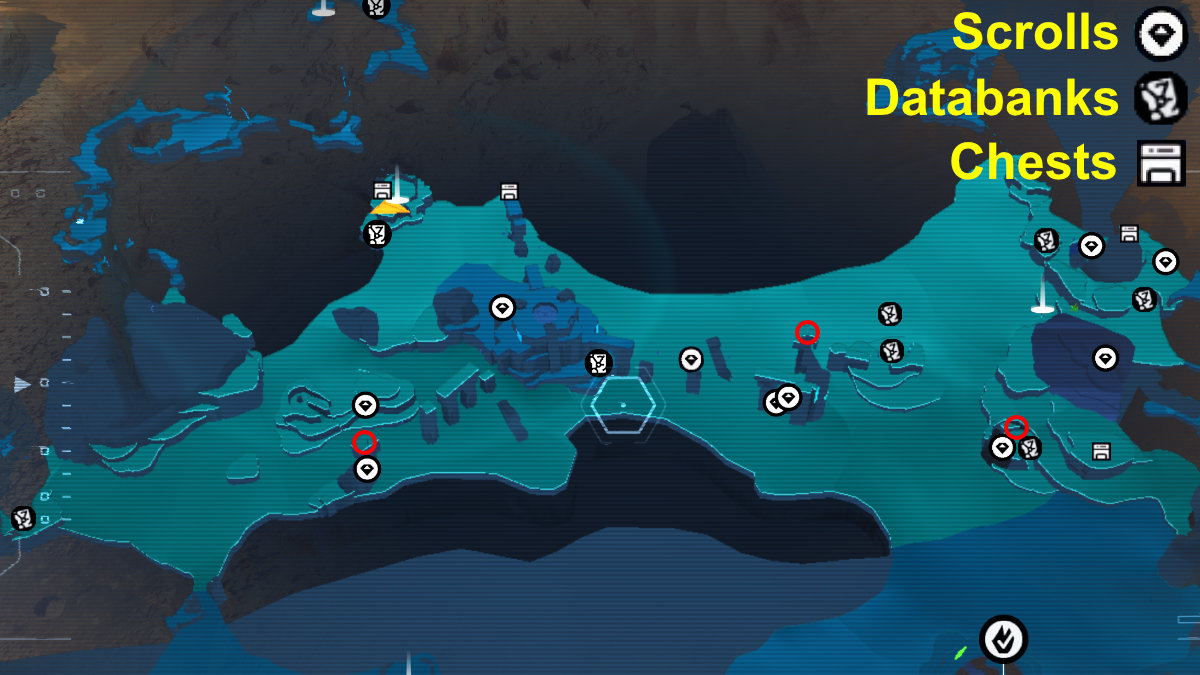
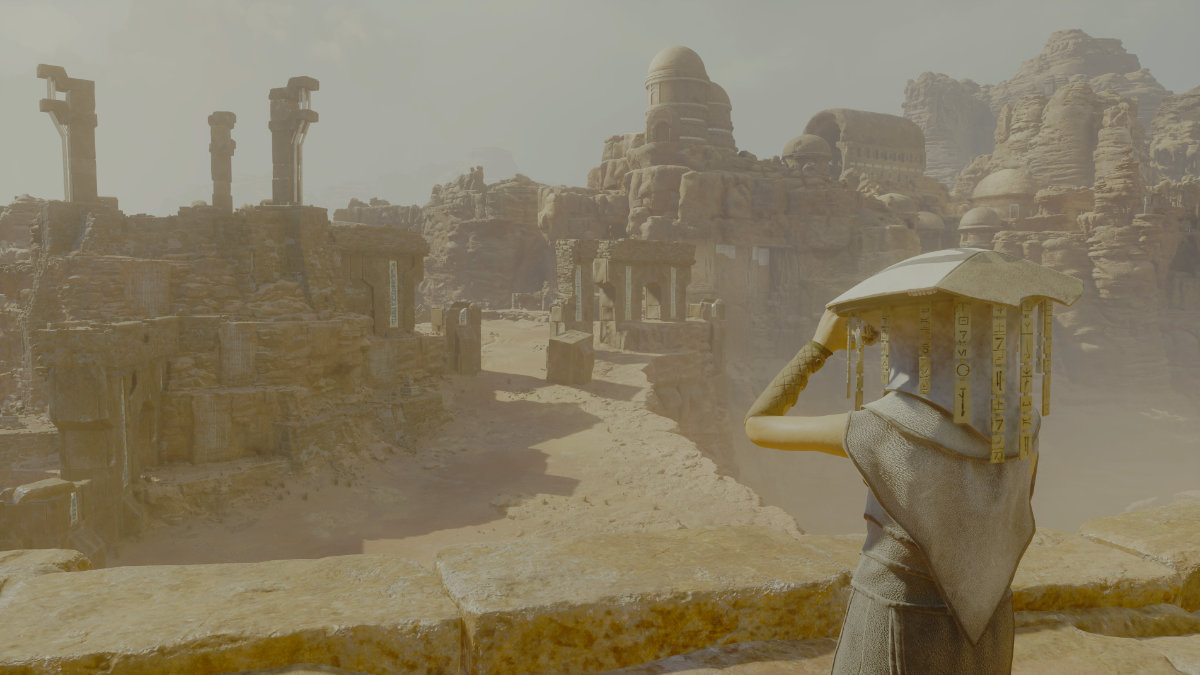
The Arid Flats look barren, but this Star Wars Jedi: Survivor location is rich in chests, Databanks, and Jedha Scrolls, making it worth snapping up all of these collectibles. This guide covers where to find all of the collectibles at the Arid Flats complete with a map and easy to identify icons for each type of collectible. We’ve also circled Force Points to help you improve your connection to the Force and complete Cal’s sequel adventure.
All Arid Flats collectible locations in Jedi: Survivor
You can reference the map below, if you already have most of the collectibles at the Arid Flats on Jedha. Our walkthrough breaks everything down into categories and not by a particular route. It’s suggested you read the entire article first before starting a run to collect everything. We recommend following the route from right to left as in the map below.
All Databank Entries
Upon exiting Cere’s Base you’ll step into a walled area that opens to the wider expanse of the Arid Flats. Immediately take a right and go the far end of the area. You’ll find a Databank entry on the ground. Next, follow the path out into the Arid Flats and take a sharp right just at the first Meditation Point. Follow the wall to a small raised landing and jump up. You’ll find a pool of water, and you can jump up onto an adjacent mesa where the remains of a Stormtrooper marks another Databank.
The next Databank is to the south in a cave. The easiest way to reach it is via a mount. You’ll need to clear the cave of enemies first, but there are several collectibles inside. Refer to the rest of the guide for specifics. The Databank is in the pit on the right when you enter.
Two more Databanks lay out in the open expanse near the first ancient structure. The first is out in the sand, while the second is by the wall of a scalable natural terrain formation.
Continue west and follow the route of the ancient pillars which used to hold up a bridge. The Databank is on the east side of the central ruins/temple. Scale halfway up the side and you’ll find it. The next Databank is northwest by the edge of the cliff near the Meditation Point and is easy to find.
The last Databank is next to the Path of Conviction puzzle structure at the far western point of the Arid Flats. Use the mount to throw yourself up to the raised landing if you don’t have the Air Dash ability or the Grapple upgrade for the nearby hovering platforms.
All Jedha Scrolls
One thing the Arid Flats contains plenty of is Jedha Scrolls, which you can use to buy appearance customizations at the vendor in Cere’s Base. Here is where to find all of the Jedha Scrolls at the Arid Flats in Jedi: Survivor.
Find the first Jedha Scroll by exiting Cere’s Base into the Arid Flats and taking an immediate left right out of the door. There’s a wall you can jump up and you’ll find a Scavenger Droid hanging out just ahead. Chase it down and destroy it to get its Jedha Scroll.
Head north (right when looking out towards the Arid Flats from Cere’s Base) for the next and look for the hovering platform which you can grapple to leap to the nearby rock arch where the Scroll is. While you’re up there, you can also jump through the break in the wall to enter a path to a pit. There’s a Scriton in the pit and a Jedha Scroll across the pit at the bottom. You’ll need to slay the Scriton or risk taking damage while attempting to recover the Scroll. Use Force Lift to recover the Scroll from the small rock pile.
There’s a cave in the southeast corner of the Arid Flats where the next Jedha Scroll resides. You’ll need to kill the lurking Sutaban in the cave to pick up in the pit.
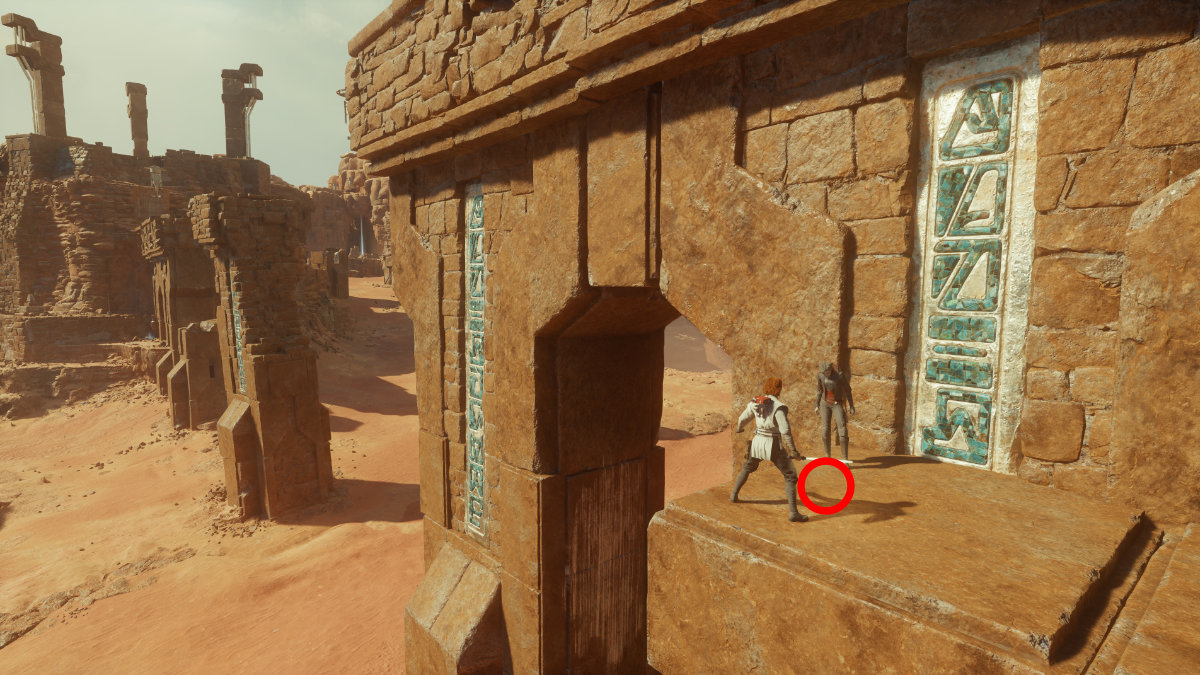
Two more Jedha Scrolls are hidden at some old ruins to the west near the broken bridge. A Scavenger Droid holds one of the Scrolls and hangs out under one of the arches at the broken bridge. The other is above the Scavenger Droid’s location, hidden on a small ledge. You can jump ascend the broken bridge column to reach the ledge.
Directly west is another Scroll, however, it’s on top of the bridge at the broken middle section. You’ll need the Grapple ability to use the hovering platforms to reach it.
Further west at the base of the central ruins is another Scavenger Droid. It hangs out on the north side and runs westward once you get near. You’ll need to destroy it before it digs below ground. Use a combination of the Lift Force ability and the blaster or lightsaber throw ability to stop it from digging and destroy it quickly.
Head southwest towards a small series of ridges for the next Scroll. There’s another Scavenger droid lurking near the entrance to an alcove there. Simply run it down and destroy it to collect the Scroll.
The last Scroll is slightly southwest of the ridges at the end of the broken bridge ruins. You’ll see a few ledges alongside the base of the column and the Scroll is on one of those ledges. However, you’ll need to drop down from the top of the ruined bridge. There’s no way to climb up to where the Scroll is. Use the Grapple to get to the top via the hovering platform nearby.
All chests
There are four chests throughout the Arid Flats in addition to secret chests inside the central temple ruins. You simply need to reach the four standard chest locations to gain access, but the hidden chests within the temple require solving three puzzles on Jedha. These include the Paths of Conviction, Resistance, and Restoration. You’ll spot these ancient ruins at similar distances from the central temple throughout the plateau. Solve all three to unlock the descending elevator on top of the temple ruins.
Here is how to reach the standard chests. The first is near Cere’s Base. Just take a right out of the base near the first Meditation Point and follow the ridge to the floating platform and grapple it to launch across onto a rock ledge. Jump through the opening in the rocks on the left, pass through the pit (there’s a Scriton lurking in the pit sands), then wall run to gain elevation, grab the ledge and climb up. Take an immediate right and follow the path back towards the direction from where you came. You’ll find the chest at the end and it contains the popular Exile Outfit Jacket.
The second chest is south at the southeast region of the Arid Flats on top of a mesa. It’s out in the open next to a rock and relatively easy to find. The chest is where you find the Commander Jacket colors for the iconic Commander outfit for Jedi: Survivor.
The third chest is across the Arid Flats at the central northern side near the Meditation Point and shortcut to the Sanctuary temple. You can simply fast travel to the Meditation Point and you’ll find the chest near the western cliffside. It contains the Commander Outfit Pants.
The last chest is directly east but at the top of a destroyed section of bridge. You’ll need the upgraded Grapple ability. Head to the top of the central temple ruins in the middle of the Arid Flats and grapple to each floating platform then finally to the bridge section where the chest is. It contains the Detachment lightsaber Emitter.
All Force Points
Force Points grant XP and health upgrades so you can unlock more of Cal’s advanced abilities and take on more powerful enemies. As noted, Force Points are circled on the map. Here are all of the Force Points at the Arid Flats on Jedha.
The first Force Point is in the cave on the southeast end of the Arid Flats. It’s the same cave that contains a Jedha Scroll and Databank with the lurking Sutaban.
The Second Force Point is locked inside of a room on the top of some ancient ruins. Climb to the top of the structure and speak to the disciple of the Hidden Path surveying the area. She’ll explain she has treasures and plans to visit the main city of Jedha. Speak to her again and convince her otherwise, then she’ll unlock the nearby room.
The third Force Point is at the end of a broken bridge branching off the main ruins at the center of the Arid Flats. You’ll need the Grapple ability to grab the hovering platforms along with the Air Dash ability to cross the distance to it.
Follow this collectible locations guide and you’ll complete your hunt for everything hidden around the Arid Flats on Jedha in Jedi: Survivor. If you need more walkthroughs like this for Jedi: Survivor, we also have guides for all Desert Ridge collectible locations and all Sanctuary temple collectible locations on Jedha. Other guides include all Loading Gantry collectible locations on Koboh and all 18 Bounty Puck locations.


Published: Jun 29, 2023 11:58 am