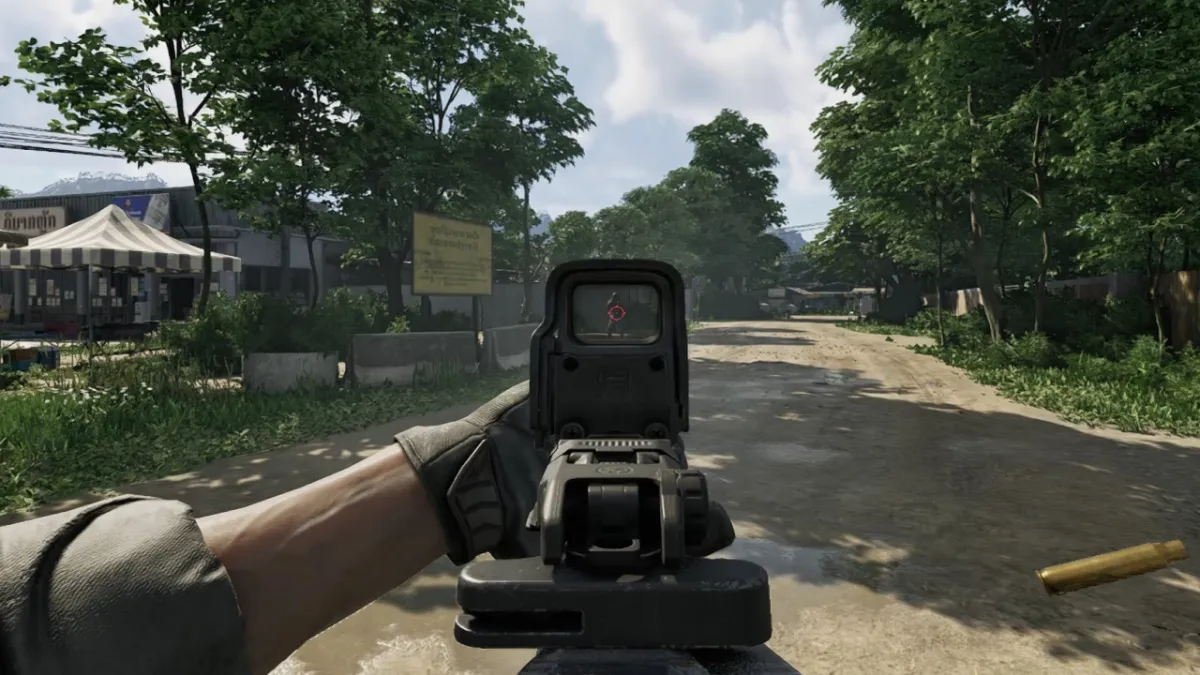
Rat’s Nest is an early-game quest in Gray Zone Warfare with several steps. You’re tasked with finding a couple of items on the map, but it’s hard when you’re constantly under fire. Let me explain everything in our Gray Zone Warfare Rat’s Nest guide.
How to complete the Rat’s Nest quest in Gray Zone Warfare
Rat’s Nest is effectively a two-part mission for the Mithras Faction. You can tackle the objectives in any order you wish, but I’ll explain them in the order they appear for the quest.
Gather Intelligence from the hideout in the East part of town

The first hideout in the Rat’s Nest quest is in a two-story building just east of the Convenience Store in Nam Thaven. This area is crawling with hostiles, so take your time as you approach the hideout. You’re after the Thug’s Smartphone, and you can find it on the table next to a PC on the second floor.
I almost died to an enemy standing still on the balcony as I entered the building, so keep an eye out for him and any hostiles that may be hiding around tight corners. Once you have the Smartphone, you can either exfil with it and return for the second item or be bold and go for it in the same raid.
Gather Intelligence from the hideout in the Northwest part of town

The second hideout is on the far Northwest edge of the Nam Thaven village, and I’ve marked the precise location on the map above. The building has distinct red graffiti on the wall outside, and it’s easy to clear as it’s all on one floor. You’re looking for the Convict’s Notepad on the table in the middle room next to the green phone.
There are plenty of hostiles in this location, and some of them just wander around the general area, so take your time as you close in on the building.
Return to Handshake
The Thug’s Smartphone and Convict’s Notepad both take up space in your inventory, so you may have to give up a couple of items to take them back. Once you reach the Hideout, speak with Handshake and hand over both items to finish the quest. When you complete the mission, you’ll earn 400 EXP, Rep with Handshake, $3,600, and a Patrol bag.
Gray Zone Warfare is already shaping up to be a solid Extraction Shooter, but your graphics settings can make or break the game. If you’re noticing stutters, it’s worth lowering your overall framerate if it means a smoother overall experience.


Published: May 1, 2024 11:07 am