The main benefit to having a dedicated server in Enshrouded is every player can hop into the server whenever they want instead of always needing the host to be present. Enshrouded does have dedicated servers, and here’s how to start one up.
How to share servers in Enshrouded multiplayer
There’s nothing worse than getting all your friends together for a game night except that one friend who holds the key to your co-op multiplayer server can’t make it. You can avoid that entirely by creating a dedicated server in Enshrouded so everyone can jump into it whenever they want.
Create an Enshrouded dedicated server through GPortal
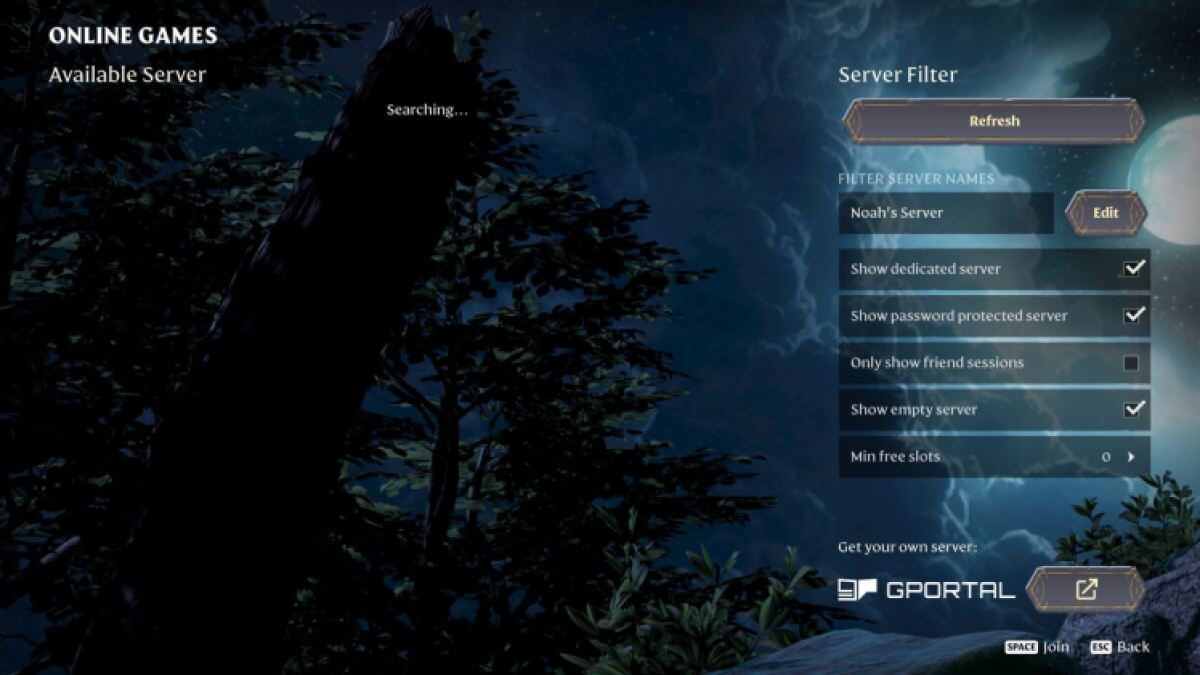
As advertised in the game when selecting a server, you can host a dedicated server in Enshrouded by subscribing to GPortal. While this does cost money, the benefit is the dedicated server runs through GPortal’s network instead of whoever created it. If you don’t want to do this, there is a way to create your dedicated server in Enshrouded for free.
How to download Enshrouded Dedicated Server

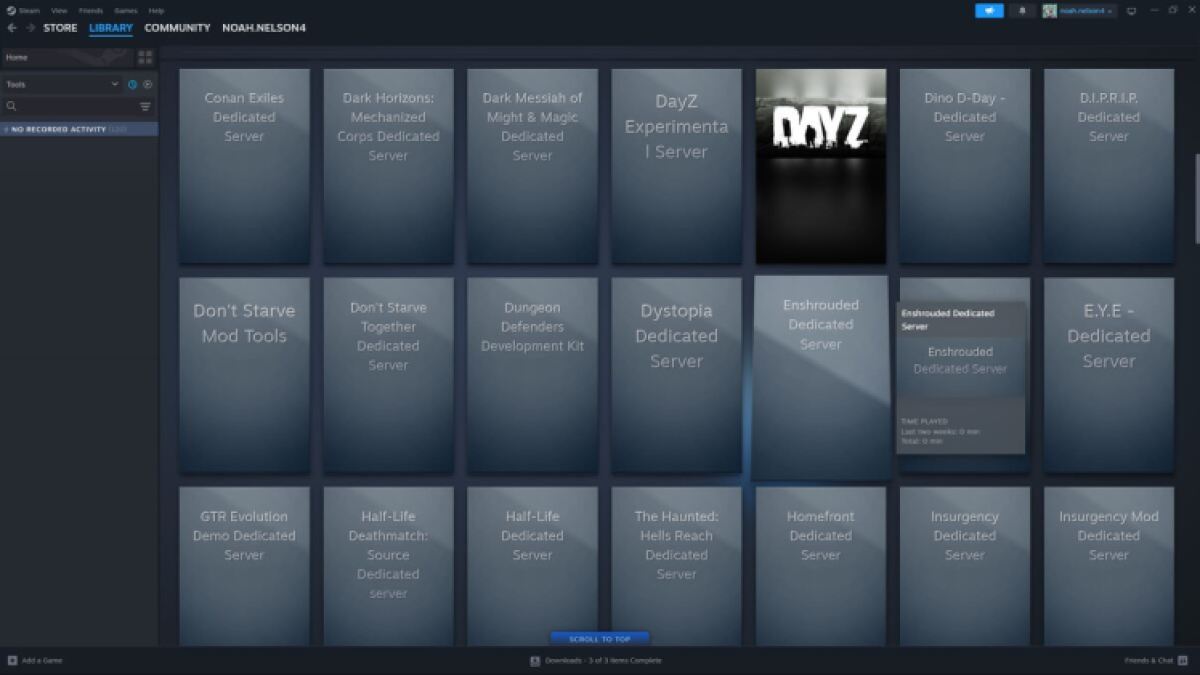
Buying Enshrouded on Steam automatically gets you the Enshrouded Dedicated Server Tool. To see your Enshrouded Dedicated Server Tool, follow these steps:
- Go to your Steam Library
- Click the dropdown below Home
- Only check Tools
- Click No Recorded Activity to open all your Tools
- Find the Enshrouded Dedicated Server
With the Enshrouded Dedicated Server installed, follow these steps to fully set up your dedicated server:
- Install the Enshrouded Dedicated Server
- Right-click it and select Properties
- Select Installed Files
- Click Browse
- In the new folder winder, run “enshrouded_server.exe”
How to configure your Enshrouded dedicated server

After doing this, refresh the folder to see “enshrouded_server.json.” You can open this with any text editor. Once open, you’ll see the following in a new window:
{
“name”: “Enshrouded Server”,
“password”: “”,
“saveDirectory”: “./savegame”,
“logDirectory”: “./logs”,
“ip”: “0.0.0.0”,
“gamePort”: 15636,
“queryPort”: 15637,
“slotCount”: 16
}
Here, you can change the configurations of your dedicated server. If you’re new to this, I highly recommend just changing the name and setting a password. Don’t delete anything. Also, the maximum slot count, or player count, on a dedicated server is 16.
To change the name, erase “Enshrouded Server” and insert the name you want, remembering to keep the quotation marks in between. Everyone can see your dedicated server name, so keep it appropriate. You definitely should set up a password. To do this, insert one between the quotation marks after “‘password’:.” When you’re done, click File and Save.
How to port forward for your Enshrouded dedicated server
The last step to make your Enshrouded dedicated server visible to you and your friends is to port forward. This is a fairly technical process that allows your friends to use your network remotely. PureVPN has a great article detailing how to port forward. I recommend you figure out port forwarding there since I’m too new to port forwarding to educate you on it.
If you have any more questions about creating a dedicated server in Enshrouded, I suggest you check out the official Enshrouded dedicated server FAQ page. If you’re in Enshrouded, on a dedicated server or not, you’ll want to know what the best graphics settings are.


Published: Jan 24, 2024 12:03 pm