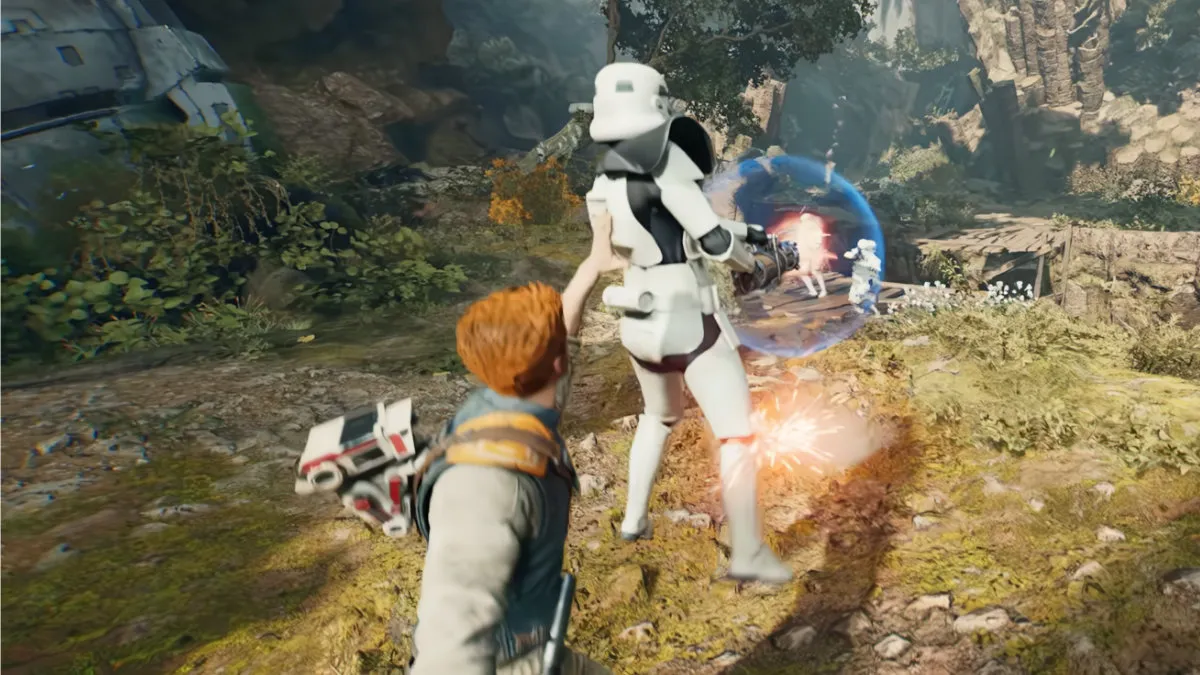
The default controls in Star Wars Jedi: Survivor are not exactly the best way to play the game, so we’ve put together controller settings and mouse and keyboard keybind recommendations to improve your experience.
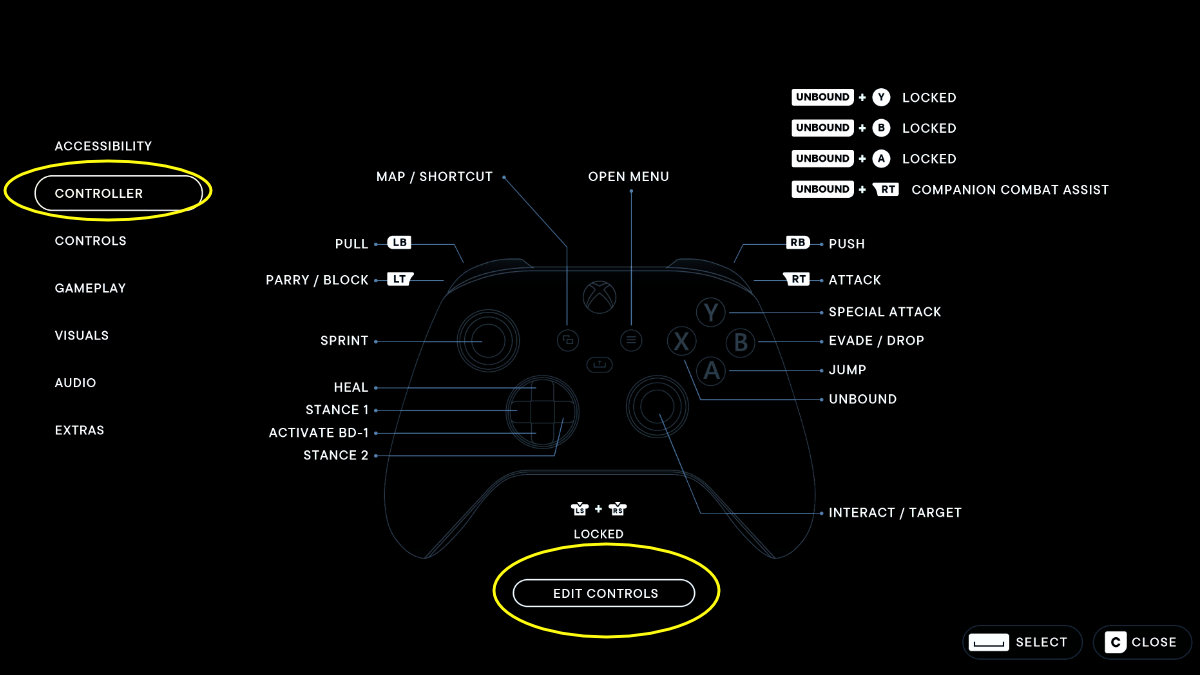
The menu system in this game is not straightforward in regards to programming custom inputs. Finding the correct submenu isn’t obvious either. Go to Settings/Options and then enter the Controller submenu. You’ll see a button labeled “Edit Controls,” which you need to click on. This is where you remap controller inputs, and it includes keybinds for keyboard and mouse as well.
A lot of the menu UI isn’t mouse friendly. In fact, mouse clicks won’t do anything in the input mapping menu. Use the WASD keys to move between input remapping options. Follow the on-screen prompts at the bottom right of the screen for remapping.
The left column is only for controller. The middle and right columns are for mouse and keyboard. You’ll see the game supports secondary keybinding options for mouse and keyboard players in the event you’d like to map a command to two keys.
Best controller settings and layout for Jedi: Survivor
The default controller layout leaves a lot to be desired with the primary attack button located on the X button on the Xbox controller and Square on PlayStation 5. However, controller remapping is currently bugged due to how the game uses the same buttons for different actions. Any changes you apply will unbind another input that uses the same button.
You’ll need to use the default controller layout for the time being, and there is only one layout option. The developers need to patch this issue or rework inputs entirely to account for traversal mechanics and Force abilities. Once this is fixed, we’ll update this guide with our recommendations for controller button remapping.
Best mouse and keyboard keybinds for Jedi: Survivor
Jedi: Survivor plays much better on mouse and keyboard than the predecessor game Jedi: Fallen Order. However, Respawn still recommends controller for the best experience. For those who would rather not, we still have you covered with the best mouse and keyboard keybinds. Most of the default keybinds in Jedi: Survivor are solid, so we only recommend a few changes to improve your experience.
The combat in this game relies heavily on dodging/evading enemy attacks, particularly at higher difficulties. For this reason, the default binding to the Tab key isn’t the best choice because it’s uncomfortable/awkward to reach and recover from in the middle of fast-paced fights. Move it to CAPS Lock for less strain.
We also recommend rebinding the Confuse Force power to 1 for easier access instead of the default “Z” key.
If you have a mouse with plenty of extra buttons, you can of course take advantage of that as well for things like Force powers. Most mouse and keyboard players should at least have forward and back buttons on the side of the mouse.
We recommend Force Push on the forward button and Pull on the back button. This is particularly useful for Pull since you can hold the suspended enemy in the air with your thumb without restricting any of your fingers for other inputs. This is particularly useful on higher difficulties where you’ll need faster reflexes and more flexibility with your controls.
This game also supports Slow Mode for beginners. We suggest remapping Toggle Slow Mode per your preference. The default selection is the “=” key which is awkward to reach. Choose something like F1 that you can easily mash during tense moments.
Use these controller and mouse and keyboard keybind recommendations for the best experience in Star Wars Jedi: Survivor. You may find a different configuration you prefer, but these settings will certainly feel and perform better than default.
We also have some guides that explain the difficulty settings and a guide that explains the performance issues on PC and some things you can do to improve low fps until the developers release patches to properly fix the game.


Published: Apr 29, 2023 10:07 pm