Microsoft Flight Simulator is arguably one of, if not the most accessible flight sims on the market. Yet, there are some key things that every virtual pilot should know about the sim in order to get the most out of the experience.
These Microsoft Flight Simulator tips are beneficial whether you intend to fly a small Cessna, or a huge jetliner like the Boeing 747. So, whether you’re a seasoned veteran or a newcomer, try to incorporate all of these into your flying routine.
Use the VFR Map for more than just flying
Microsoft Flight Simulator’s built-in VFR Map is a real lifesaver in basically every situation. Not only does it give you the current location of your aircraft, but it also displays the topography of the area you’re flying over. Green is for flat terrain, yellow is for hills, and red indicates mountains. Use this Microsoft Flight Simulator feature when you intend to fly low and slow, and also when flying into an unfamiliar airport that may have dangerous terrain surrounding it. Not every aircraft comes with a GPS unit, so this makes up for that.
You can also use the VFR Map on the ground. Every airport in the sim has a detailed layout featured in the VFR Map. This is great for navigating unfamiliar taxiways and finding out which runway you need to land on, whether you’re told by ATC or if you’re deciding for yourself.
Watch the wind
Unsurprisingly, the wind has a big effect on an airplane’s behavior and performance. Remembering this when flying in Microsoft Flight Simulator can allow you to have smoother flights.
If you don’t communicate with ATC when taking off, then pay attention to the orange and white windsock that’s planted next to the end of the runway on most airfields. Planes takeoff and land into the wind. That is, the direction of the wind should be pointing towards the aircraft. This helps the aircraft gain altitude more quickly when taking off and slows the plane down a little faster when landing.
Headwinds and tailwinds describe the behavior of the wind while flying. If there’s a strong headwind, that means the wind is blowing towards the nose of the aircraft. If it’s very strong, then an aircraft will need to work a little harder to maintain speed. The opposite effect, the tailwind, can carry a plane rather quickly to its destination and is the preferred situation as it saves time and fuel. A lot of the planes in Microsoft Flight Simulator will have little wind indicators on the GPS screen. The orientation of the indicator changes from aircraft to aircraft.
As an example, the shot above is taken from the Just Flight Piper Warrior II’s cockpit. Here, the small blue arrow in the bottom right corner shows the wind is blowing towards the nose of the aircraft at 21 knots; a relatively average wind speed that’s not very fast, but not slow either.
Crosswinds are not fun to fly through and definitely not fun to land in. Thus, a tip for landing in a crosswind is to use the aircraft’s rudder to keep the nose pointing straight. This is called “crabbing.” It takes a lot of technique to pull off, so practice makes perfect.
How “bad” is bad weather?
How a plane handles bad weather in Microsoft Flight Simulator depends on a lot of things. The sim takes into account a lot of realistic factors: air pressure, humidity, wind speed, wind direction, temperature — the list goes on. In short, a lot of the factors real pilots have to pay attention to also apply here. Thus, when using the “Live Weather” setting, you’re bound to encounter bad weather at some point.
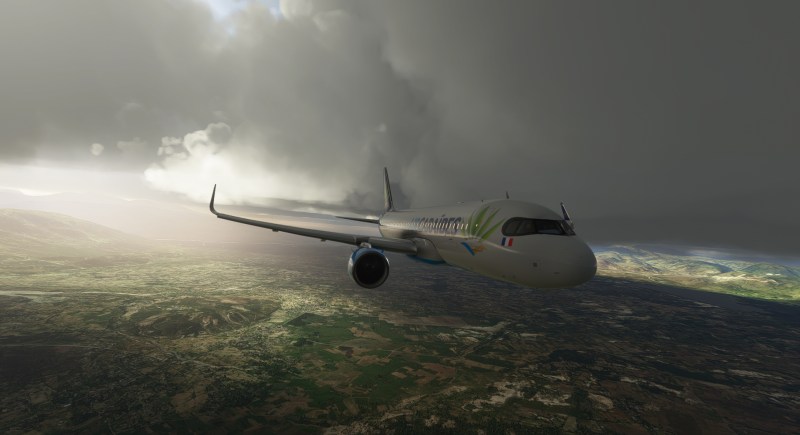
Obviously, a little Cessna 172 is not going to be fun against a very strong thunderstorm when compared to a Boeing 787. That said, a key tip for Microsoft Flight Simulator is to try to avoid any clouds that are particularly tall, dark and gray, regardless of aircraft. You won’t necessarily crash, but you won’t have a lot of fun either. Aircraft both large and small reroute and divert if storms are truly bad. This includes high winds, torrential downpours, and similar conditions. If ice is a factor, some planes should not be flying as they lack de-icing systems. For example, the Cessna Citation CJ4 can fly through ice, but the Cessna 172 cannot.
There are three ways to get a read on weather conditions in Microsoft Flight Simulator. The easiest is to ask Air Traffic Control. The second way applies to only some aircraft. If equipped with a weather radar system, they can display the amount of precipitation within range of the radar. An example below can be seen on the right screen where the map is. Notice the green shades, representing a line of precipitation that can be visually seen off in the distance. Green areas are light rain, yellow are moderate rain, red indicates heavy rain and pink spots are the really nasty storm clusters that should be avoided.
The final and most comprehensive method is to use the Meteoblue website. Meteoblue is the service that provides the data for Microsoft Flight Simulator’s weather engine. Thus, using its site will provide the same weather info that’s injected into the sim. You can look up the current conditions of your origin and destination airport, and even view radar loops of the area to give you a good idea of what weather to expect along your journey.
If conditions are ever too bad, remember this tip: the weather in the sim can be changed almost instantaneously at any time from the Quick Select bar.
Use synthetic vision
A lot of the aircraft in Microsoft Flight Simulator come equipped with a high-end GPS unit that is capable of “synthetic vision.” This feature provides a 3D model of the entire planet from the perspective of a pilot’s view. It’s an extremely useful piece of kit when flying through low-visibility conditions, especially in areas with mountains and valleys. Airports are also displayed on the screen, so you can essentially “fly blind” without being truly blind. Using this in conjunction with the autopilot system can make even the hairiest of situations a lot more manageable.
Some examples of planes that feature this are the Beechcraft Bonanza, Beechcraft Baron, King Air, Cessna Grand Caravan, Diamond DA62, and TBM 930. Above, we have a Bonanza that has the synthetic view enabled on the left screen. Even small geographical details like the rivers are visible, which the real ones can be seen outside of the window. So, the real tip here is feel free to gravitate towards aircraft with more modern cockpits when flying above challenging or unfamiliar terrain.
Weight and balance
In real life, every aircraft needs to have its weight checked prior to takeoff to ensure that it’s not overweight. In addition, the weight has to be distributed evenly, otherwise, the plane will be unstable and may not even gain altitude. The same factors apply in Microsoft Flight Simulator. Every aircraft starts off perfectly balanced when selected, but if you alter the configuration, keep an eye on the Center of Gravity indicator to make sure it stays as centered as possible. If it falls out of balance, the sim will alert you.
Fuel weighs a lot, so this will always have the biggest effect on the plane’s weight and balance. Planes often only carry as much fuel as they need to in order to reach their destination. So, you don’t have to start with your tanks at 100%. Remember that heavier plane flies slower, so optimize your loadout for each specific journey.
Trim the aircraft
Another big factor with aircraft’s balance is trimming, in particular with its elevators (which control the aircraft’s pitch). The ailerons and rudders can also be trimmed. Whether flying a small prop or a big jet, trim settings are essential for stable flight. If you find your plane drifting up, down, left, or right unintentionally, then it needs to be trimmed. The autopilot function will take care of that automatically. But, as long as you’re hand-flying the aircraft, keep your fingers close to the trim buttons.
This becomes particularly useful during takeoff, ascent, descent, and landing. It’s a much more gradual and smoother effect than using the control stick, particularly when pitching the nose up or down. Thus, the trick is to use this over the control stick as much as possible; save that for when an immediate response from the aircraft is necessary. Be careful not to over trim, as that will cause a dramatic change in flight behavior very quickly.
Let the computer handle it
Depending on your preferences, you may want to control every aspect of the flight from startup to shut down. But if you want a balance between ease and realism, then letting the computer handle some core operations isn’t a bad option. In real life, there’s often a co-pilot for each captain, so in this instance, the computer can fill that role.
In Microsoft Flight Simulator, you can set just how much control the AI has. You can set it to perform almost the entire flight (even in planes that lack actual autopilot systems). Or you can give it just core tasks to complete. This includes going through the checklist to prepare the aircraft and start it up, talking to ATC (if you want to talk to them at all), and landing the aircraft.
Letting it handle more mundane tasks like talking to ATC and going through the checklist is a good middle-of-the-road option, allowing you to just focus on flying.
Snap up a storm with the drone camera
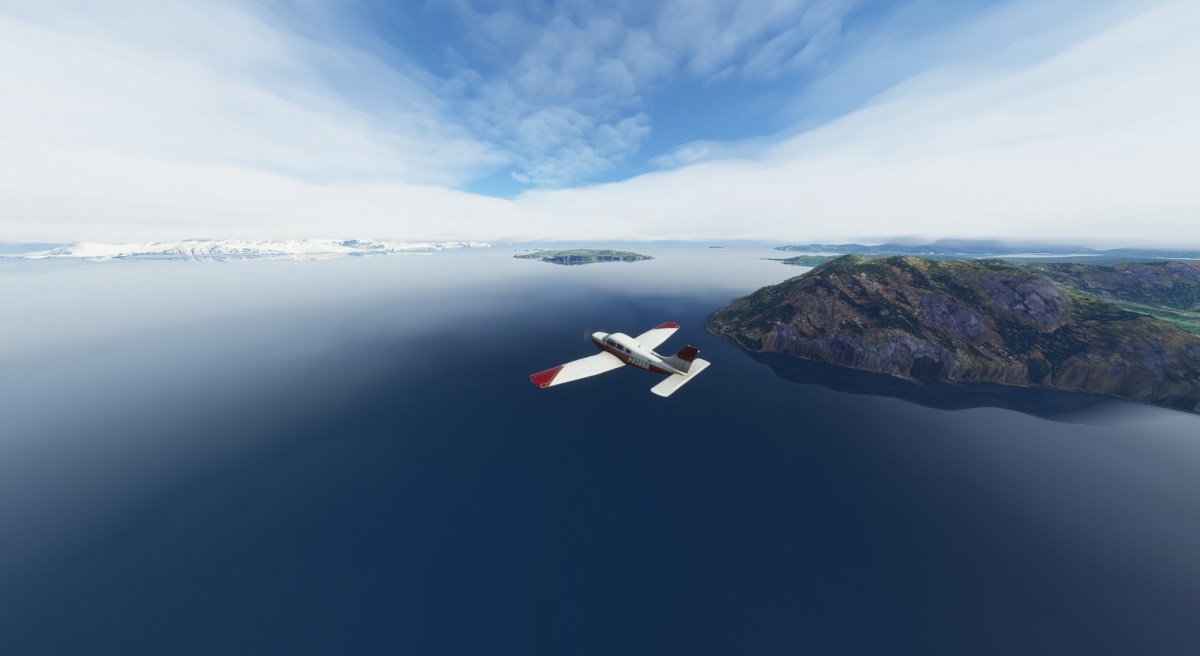
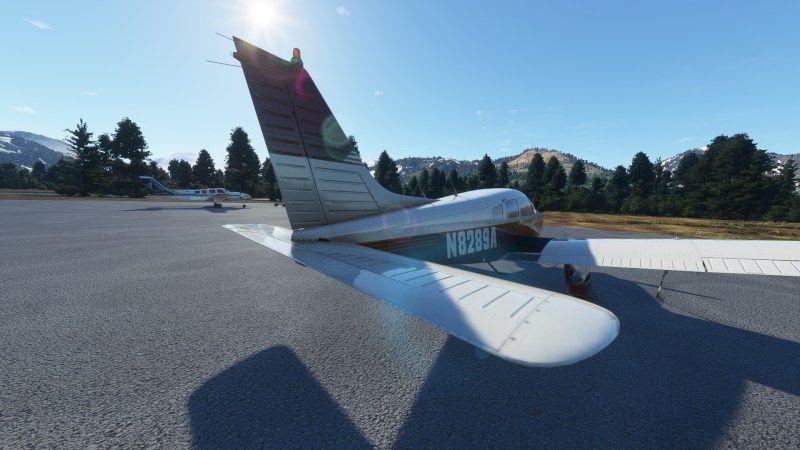
Admittedly, this won’t have an effect on the flying experience. But, be honest, you picked up Microsoft Flight Simulator partially because of how pretty it looks. So, here are some tips for getting some Instagram worthy shots.
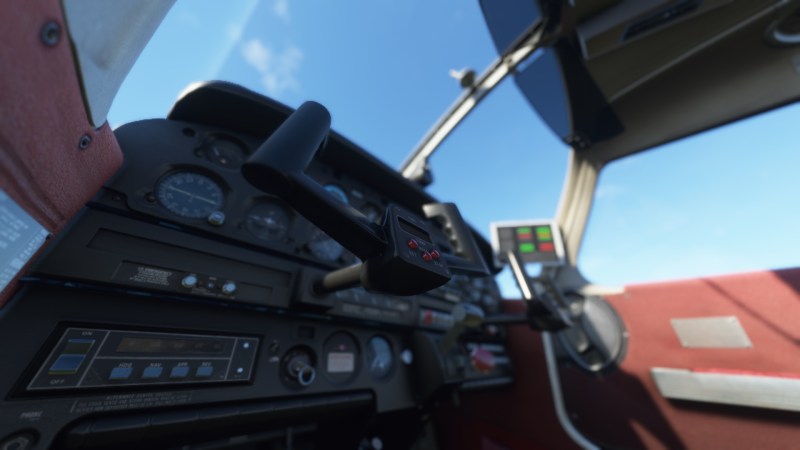
While the sim lacks a proper photo mode like most other modern titles, its Drone Camera functions very similarly. Using it along with the Active Pause feature allows you to freeze your aircraft in place and take pictures from literally any angle. Go high, go low, go wide, go close-up, it’s up to you. You can even try using it for creative interior shots, like this one:
Another camera tip is to alter the aperture of the camera. After adjusting that, toggle the “focus” function, which will then create a very intense bokeh effect when zooming in very close. Play with the intensity to find a good balance with each specific shot. Another trick is to tilt the camera sideways. This allows you to get a portrait shot that’s perfect for smartphone screens. You can also play with the lighting by changing the weather in real-time. If a shot isn’t dramatic enough, just set the mood yourself.
As a bonus tip for PC pilots, when using the Drone Camera for video recordings do so with a controller. This is the ideal way to get smooth, cinematic footage. Additionally, if you’re feeling mighty curious, then you can unlock the Drone Camera from following the aircraft and use it to fly anywhere at rapid speeds. You can even slow it down dramatically to “walk” through the scenery in first-person.
Microsoft Flight Simulator is available via Steam, the Microsoft Store, and also as part of Xbox Game Pass. For more information, check out our features and guide hub.


Published: Jul 28, 2021 01:30 pm