After reaching the gates of Steeltown and encountering the refugees, you’ll go inside the complex itself. Steeltown’s Admin Level is where you’ll meet up with Abigail Markham, the administrator of the facility, as well as her assistant Benni Bianchi and various scientists. Here’s our Admin Level walkthrough and guide for Wasteland 3: The Battle of Steeltown.
Note: For more information about Wasteland 3: The Battle of Steeltown and the base game, check out our guides/features hub and expansion walkthrough.
Wasteland 3: The Battle of Steeltown walkthrough – Admin Level guide
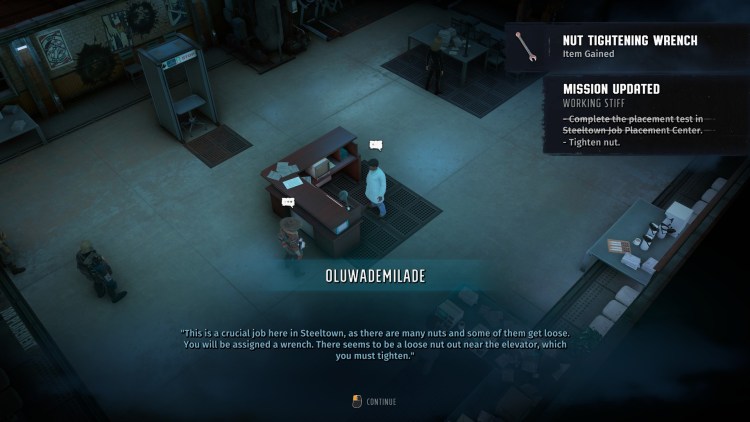
Upon entering the Admin Level in Wasteland 3: The Battle of Steeltown, you’ll be introduced to Bennie Bianchi. You can choose other responses (Hard Ass 5 or Kiss Ass 5), but she still wants you to take the job placement tests. Talk to Oluwademilade to begin some of these tests, which include multiple-choice questions. Eventually, you’ll be tasked with “tightening and loosening a few nuts.” You can interact with the pipes near vendors in this area as part of a sidequest called “Working Stiff.”
Note: I would advise you to complete the first two tasks of “Working Stiff” (i.e., the nuts/pipes). Later, you’ll be asked to meet an NPC in the Factory Level, and it’s possible for this sidequest to bug out.
Off to the side, there’s a small room with a machine and some locked chests (Lockpicking 6). The machine, the EEG Hood Prototype, is part of another sidequest that I’ll get to in a while. Meanwhile, the chests have a couple of Disruption weapons.
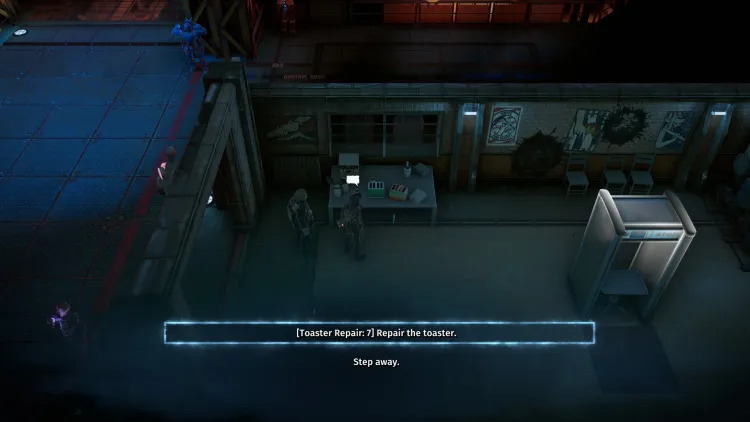
Likewise, the office area has a toaster (Toaster Repair 5). Once opened, it’ll reveal another toaster (Toaster Repair 7) that happens to have another toaster (Toaster Repair 8). Your final reward is a Russian Doll. Oluwademilade wants to trade it for some McToasties Breakfast Cereal (I declined initially, but you have the option to exchange for it later).
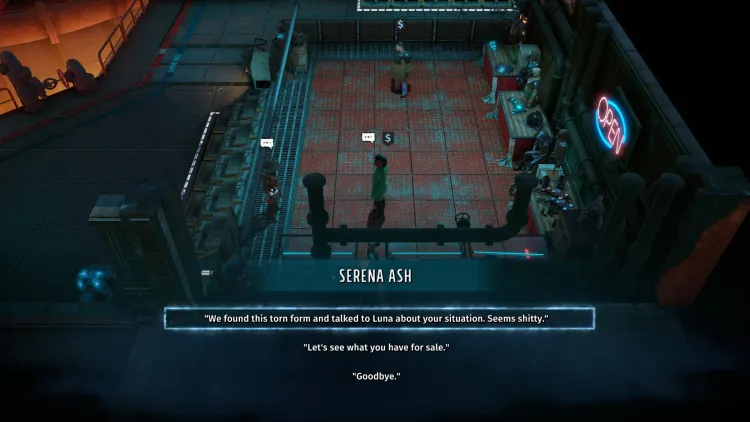
Once you reach the walkway, you’ll find three named NPCs (Amos, Serena, and Winks). They don’t do a lot right now, but you’ll eventually be able to purchase weapons and armor pieces from them. Whatever happens, don’t test the gun on Amos since that’ll just kill him.
As for Serena, she’s part of a minor task that doesn’t appear as a sidequest (you’ll meet an NPC named Luna Moon once you go to the Factory Level). Lastly, there’s a nurse who can cure your wounds.
Meeting Abigail Markham and other sidequests
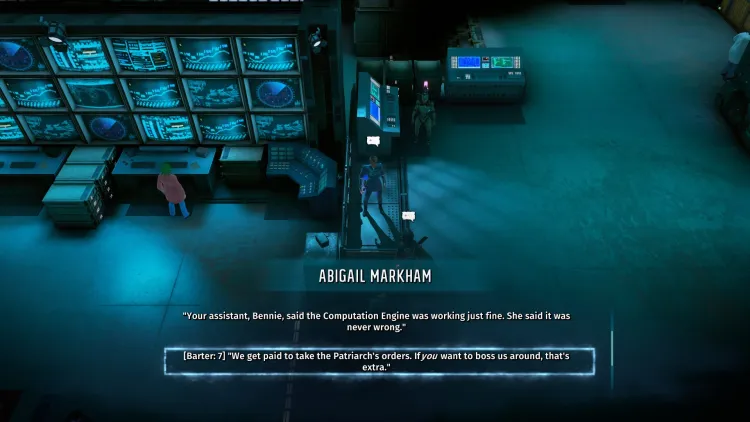
Head to the northern office to meet Abigal Markham. She’s the boss of Steeltown, and she wants you to solve her problem in the Factory Level. It seems that workers have gone on strike, and her security officer, Ludlow, hasn’t gotten the job done yet. Markham will give you 10x Tellurium Steel and some crafting blueprints for Disruption-type items.
Markham also introduces you to Di. This robot will be an AI-controlled companion throughout Wasteland 3: The Battle of Steeltown. She has energy-based weapons that apply the Disruption debuff. Beware because she’s completely loyal to Markham, so try to pick dialogue options that follow Markham’s instructions if you want to keep her around.
Note: Markham’s bedroom is nearby, but it’s locked. You can open it, but the guard will be hostile if you keep at it. This will also cause the entire facility to become hostile to you and it could lead you to fail the expansion’s main quest. Don’t worry because we can enter this area later.
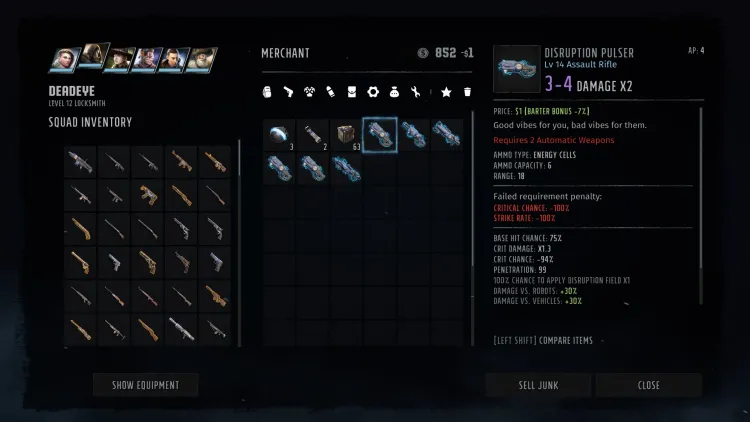
Before you go to the Factory Level, though, you can do a few extra stuff. First, talk to Markham’s R&D head to purchase Disruption gear (seen below). For now, these will only cost $1, but they’ll be more expensive later once you progress further in Wasteland 3: The Battle of Steeltown.
If you have the “Order Up” sidequest from Cookie in the refugee area, you can talk to several clerks here. They’ll give you the bureaucratic runaround, though some options (Hard Ass 7/Mechanics 8) might speed things up. Once the process is completed, you can return to Cookie to complete the quest.
Likewise, if you have the “Hot Commodities” sidequest from Carla Asphalt-Runner, you can ask Bennie Bianchi about the War-Bot, but she wants you to talk to Markham first. After the conversation with Markham is done, speak with Bianchi again.
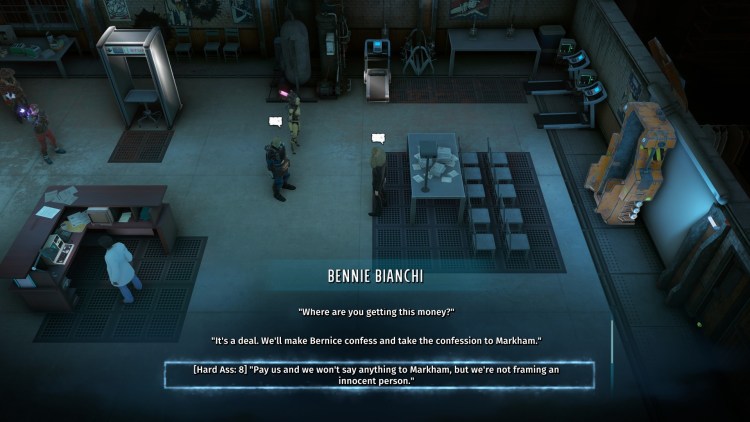
If you have Perception 7, you’ll notice that Bianchi was planning to smuggle a War-Bot. She’ll bribe you with the “Fireball” auto rifle blueprint and 10x Tellurium as long as you lie that it’s her assistant who planned it all. If you have Hard Ass 8, you can get her to provide the rewards immediately. Then, you can go to Markham to tell her the truth and receive 10x Tellurium. Markham won’t be able to fire Bianchi just yet, but she’ll consider it once the crisis has been averted.
The last sidequest is called “Gift of the Magi.” There are several scientists in Markham’s office:
- BF wants you to pick up the bio-metric governor from a control unit in the factory. She can then install it in the EEG Hood Prototype (the machine in the room next to where you found Bianchi and Oluwademilade). BF will give you 8x Disruption Traps and 8x Chemical Neutralizers.
- Ivan, meanwhile, wants you to replace the bio-metric governor that’s already in the EEG Hood Prototype so he can sabotage BF’s project. Enrico will reward you with several blueprints for Elite Exo armor.
- You can use Kiss Ass 7 and Hard Ass 7 respectively to receive some rewards before you complete these tasks.
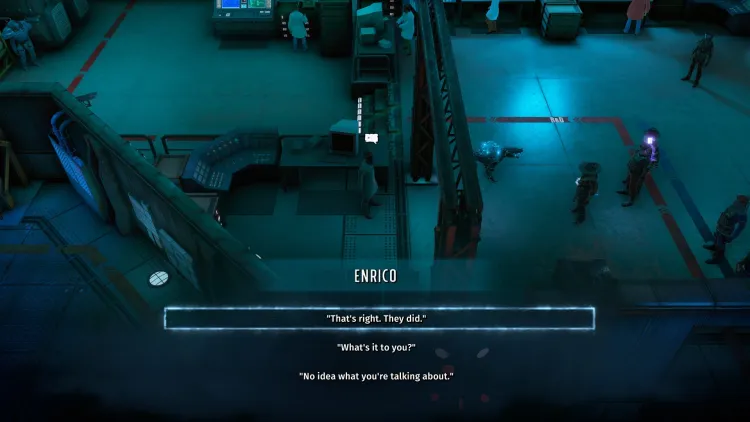
- Then, there’s the third option. A scientist named Enrico wants you to take the component in the Factory Level and steal the one inside the EEG Hood Prototype as well. This will sabotage both projects and kill the two scientists. Enrico doesn’t offer any reward. He just counts on your morality since these projects were meant to subvert the minds and experiment on hapless workers. The choice is entirely up to you.
In any case, let’s head over to the Factory Level in the next portion of our Wasteland 3: The Battle of Steeltown walkthrough and guide.
Wasteland 3: The Battle of Steeltown is available via Steam. For more information, check out our guides and features hub and expansion walkthrough.



Published: Jun 3, 2021 06:30 am