Microsoft recently rolled out an official app to stream games and content from your PC to your Xbox One console. There app actually has a number of different uses, but the ability to stream games for some couch PC action is of course the one that excites us the most.
Here’s a quick guide to get you setup and ready to enjoy this feature.
Step 1: Download The App On Your Xbox One
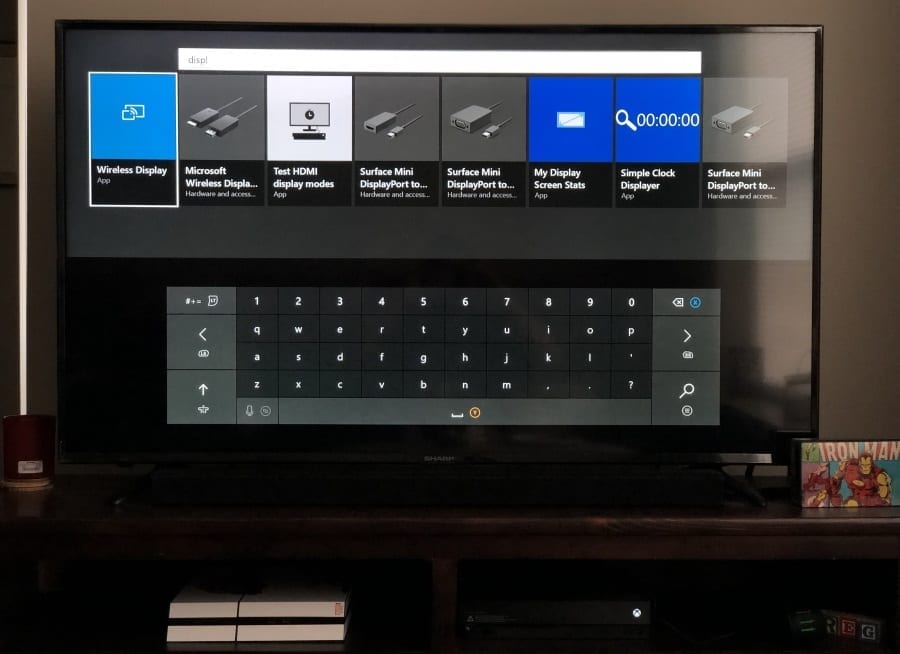
Your first reaction might be to download the app from the Microsoft Store on your PC. You can do so, but it’s much easier to do it on your Xbox first. Simply searching the term “display” in the Microsoft Store on Xbox Live will bring up the Wireless Display app as your first choice.
Step 2: Launch The Wireless Display App On Your Xbox One
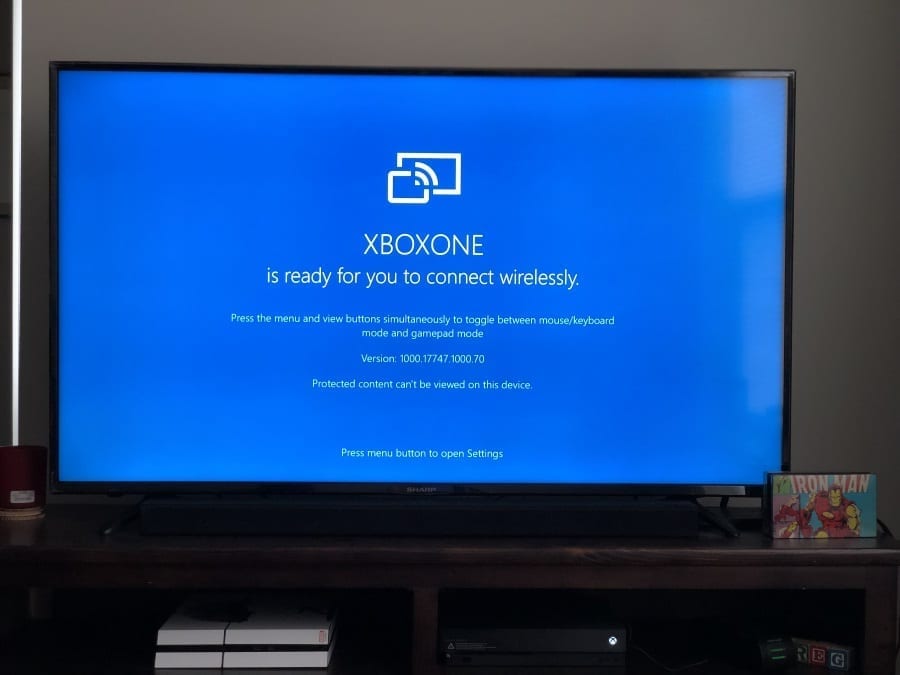
After downloading the app, you’ll want to launch it on Xbox One. Doing so will prompt you with a screen, ready to connect your Xbox One as an additional display for your gaming PC. It also leaves your console ready to be found as a connected device. This works much better than downloading the app on your PC first and it starting to search for supported devices on your network. The size of the app on Xbox One sits at 2.32MB, which is miniscule compared to the games eating up your console’s hard drive space.
Step 3: Download The Display App On The Windows Store To Your PC
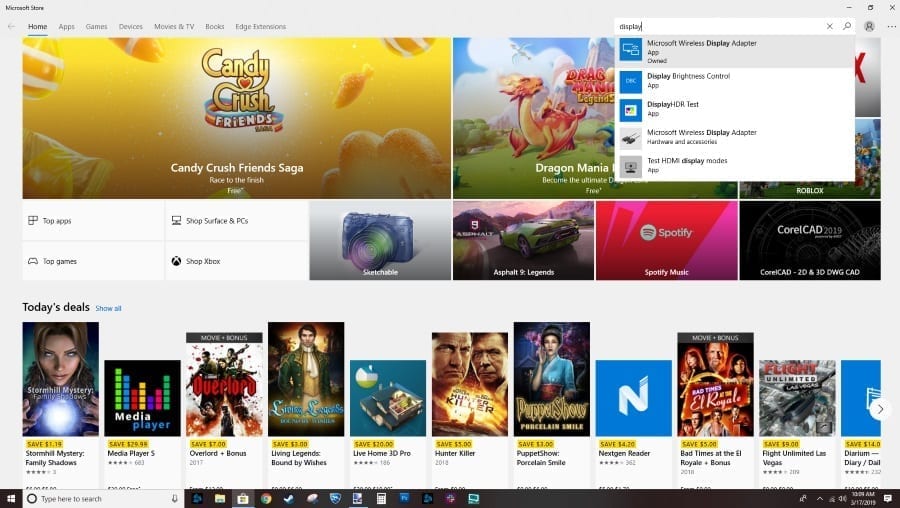
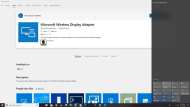
Once your Xbox is set up on your TV and has the blue screen prompted, head to your PC. You’ll need to open the Microsoft Store and search for the Wireless Display app. You’ll need around 5mb of free space on your PC to install it. You can do the same search, typing in “display” in the search bar to bring up the official app.
Step 4: Open The Action Center
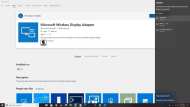
You might not pay much attention to the action center in the bottom right-hand portion of your screen. Most times you’ll just see desktop notifications pop up there and go about your day. Depending on the type of personality you have, you might ignore everything and anything about this tab. However, this is an easy and accessible way to complete your wireless setup. Once you launch the Wireless Display app, a screen appears to ask you to open the Action Center tab.
Opening the tab will reveal a few panels about your PC. One of them is the “Connect” tile. This allows your computer to connect with devices that are located on your network. For example, when enacting the search here, my computer located both my Smart TV (w/ built-in Roku) and Xbox One console. With the prompt on my Xbox ready to connect, it was easy enough to link the two. Click on your Xbox One console listed here and watch the magic happen!
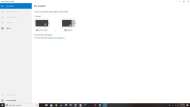
Once connected, your desktop will extend to your new wireless display. You can see it in the image above that I now have three monitors available, rather than just the two screens physically hooked up to my PC. It shouldn’t take very long for your gaming PC and your Xbox One to connect. You can also allow mouse, touch, and keyboard support to the newly connected device. I should also mention, once this was done my default sound settings automatically changed to my new display. I was using a wireless gaming headset at the time and noticed my sound had moved to my newly connected wireless display.
Step 5: Connect And Check
Check to also make sure that you are indeed seeing your desktop on the new device. Since my Xbox One X is hooked up to a 4K TV, some of the display parameters did change, as both of my monitors are 1080P. My TV is also in a different room, with my rig in my office and TV in the living room. So, it might be a little difficult to ensure that whatever game you’re running fully fills your extended display.
And that’s it, folks! You have now completed the steps on both your PC and Xbox One to use the Wireless Display app to stream to your Xbox from your PC.



Published: Mar 17, 2019 12:34 pm