Journey to the Savage Planet takes you to a wild and wacky world filled with numerous enemies to slap around and puzzles to solve. Here’s our beginner’s guide with several tips to help you out.
Oranges are yummy, but you don’t need to focus on them
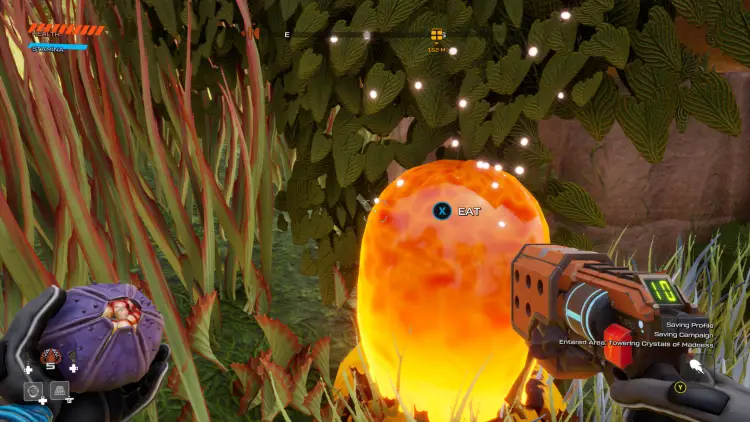
Fairly early in Journey to the Savage Planet, you’re introduced to Orange Goo. These are your means of leveling up (adding more health pips and a bit of stamina). There are a hundred of these all throughout Journey to the Savage Planet‘s levels. It’s fine even if you don’t find all of them. You could reach the very end of the game with only 10 pips of health (or 100 HP) and you wouldn’t feel hassled.
The reason for this is because most Orange Goo locations can’t be reached (or are harder to find) unless you have the necessary upgrades. Trying to look for them early on can also be quite distracting.
Combat is easy in Journey to the Savage Planet
In our official review, I mentioned that Journey to the Savage Planet‘s FPS combat system is uninspired and unchallenging. You have one weapon (the Nomad Pistol) and you’ll hardly use AoE elemental bombs outside of specific situations or puzzles.
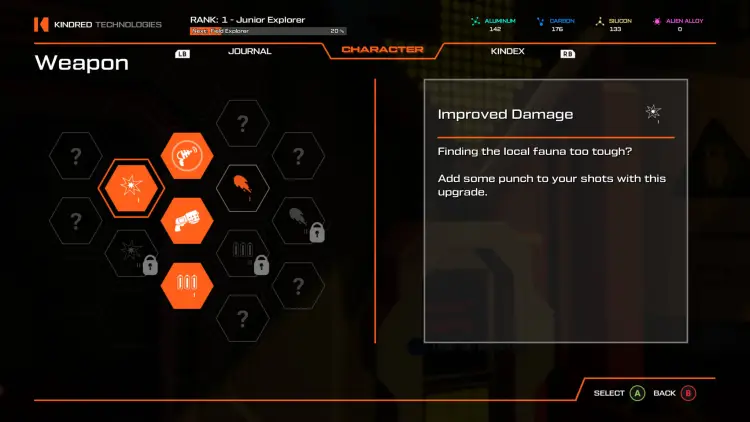
As such, you should simply focus on a select few Nomad Pistol upgrades. Fast Reload, Improved Damage, and Advanced Battery are more than enough to finish off the game’s bosses and “event-like” encounters. Oh, and don’t pick up Supercharged Shot. You’ll never use it, and it has the same keybind as your reload button. Its casting animation can be very annoying when it’s accidentally activated.
As for additional attacks, you can also press E (keyboard) or X (gamepad) to stun enemies that are attempting to hit you in melee range. This works for mobs such as Kapyenas and Boomerbangs.
Dying is a pain in the butt
There are a few things to consider when your character dies in Journey to the Savage Planet:
- If you simply fall off a cliff and you have some health remaining, you’re automatically spawned at your last location.
- If you lose all your health (via fall damage or enemy damage), you’re spawned back inside your Javelin ship.
The good news is that whatever resources you’re carrying prior to your demise won’t be lost. You can just fast travel back to the area and pick up your loot crate to gather your belongings. Make sure to head back to the Javelin to ensure that your resources are permanently stored in case of deaths.
Finished Journey to the Savage Planet? Now go complete it
I finished Journey to the Savage Planet‘s main story in around six hours, and that even includes alt-tabbing to jot down notes for the reviews and guides. It’s a very short game, and that can be quite a bummer for some players. Still, there are a few side objectives that you can continue to finish:
- Survey the Planet – Scan every possible flora and fauna in the game.
- Alien Edibles – Harvest all 100 Orange Goos.
- Metallurgist – Recover all 32 Alien Alloys.
- Alien Architecture – Activate all teleporters/fast-travel networks. (Funnily enough, I completed the game even though I missed two of these teleporters.)
- Round Trip – Find 10 Javelin Fuel Sources.
- Alien Cinema – Scan 10 Alien Tablets.
- Lost and Found – Scan 8 Explorer Logs.
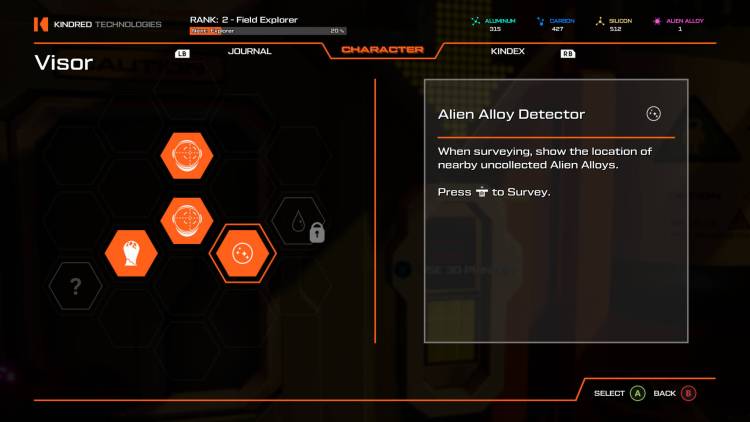
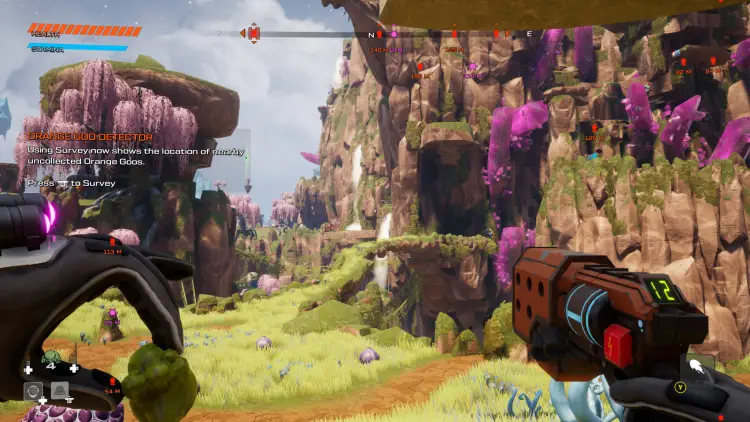
To speed up your progress, you should complete the Explorer Rank 2 and Explorer Rank 3 objectives when you’re free. These will let you unlock the Alien Alloy Detector and Orange Goo Detector upgrades. Pinging the area (Z or R3) will reveal their locations (seen below).
I actually found that saving these side objectives after finishing the main story was more beneficial. It allowed me to focus on the task at hand without getting distracted. Then again, it also left me a bit disappointed due to the game’s length outside of searching for collectibles.
Journey to the Savage Planet is available now via the Epic Games Store. You can head over to our guides and features hub for more info.




Published: Jan 27, 2020 08:45 pm